Basic Stitches for Amigurumi
This post may contain affiliate links. If you make a purchase through links on our site, we may earn a commission.
Do you want to learn how to crochet amigurumi? With this post you will learn the basic crochet skills that are needed for not only amigurumi, but are the foundations for many different crochet projects.
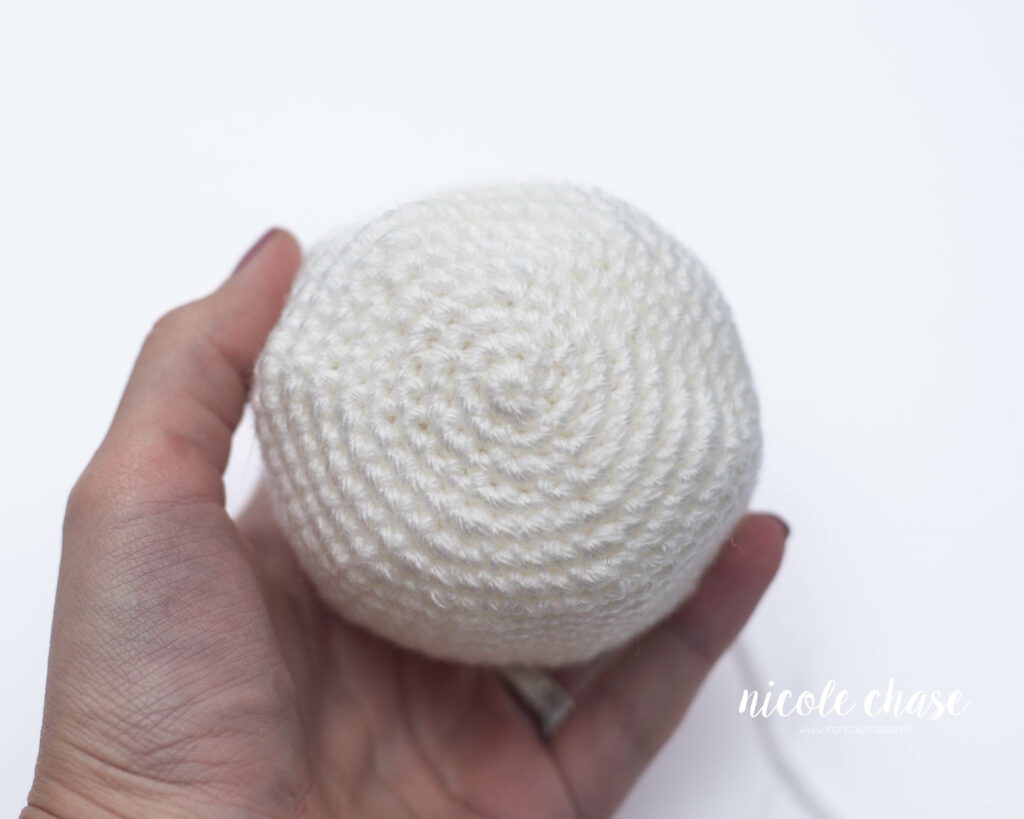
Table of Contents
While amigurumi crochet projects may look complicated, the stitches that an amigurumi is made up of is actually quite simple. Most amigurumi projects are made of a combination of single crochet stitches, including increases and decreases, which helps to create the various shapes used.
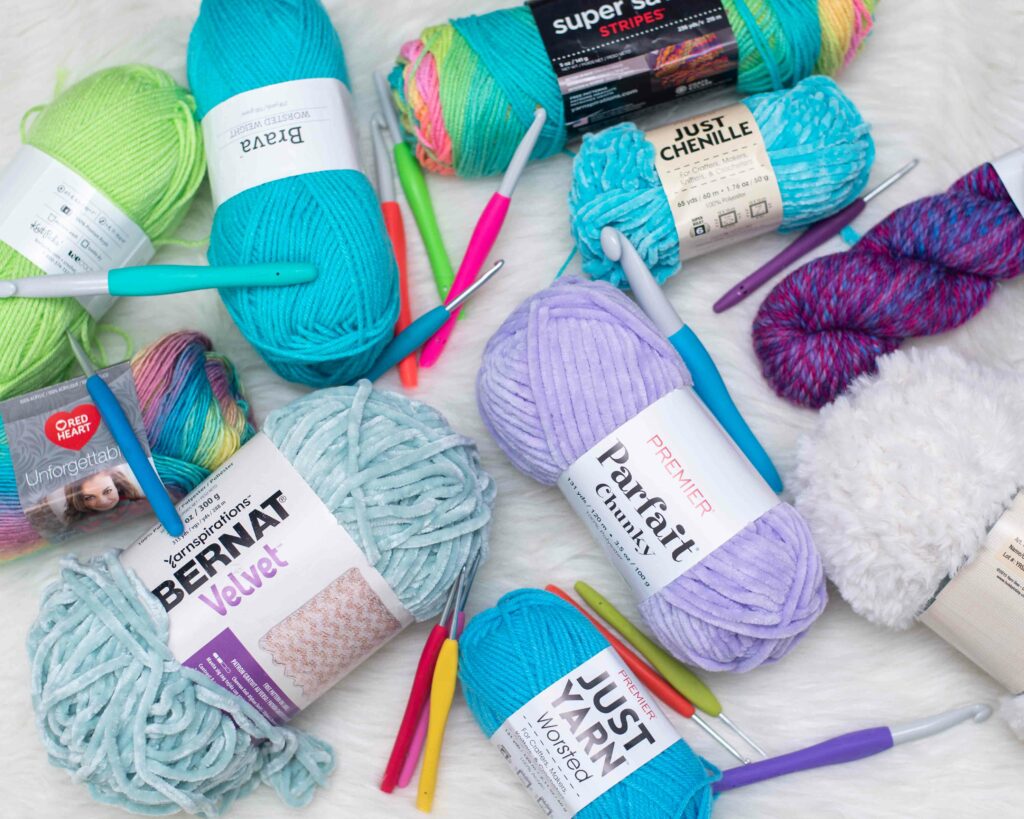
The first step in learning how to crochet amigurumi is getting comfortable with your tools: the hook and yarn! Be sure to check out my list of amigurumi supplies to make sure you have everything you need.
How to Hold the Hook and Yarn
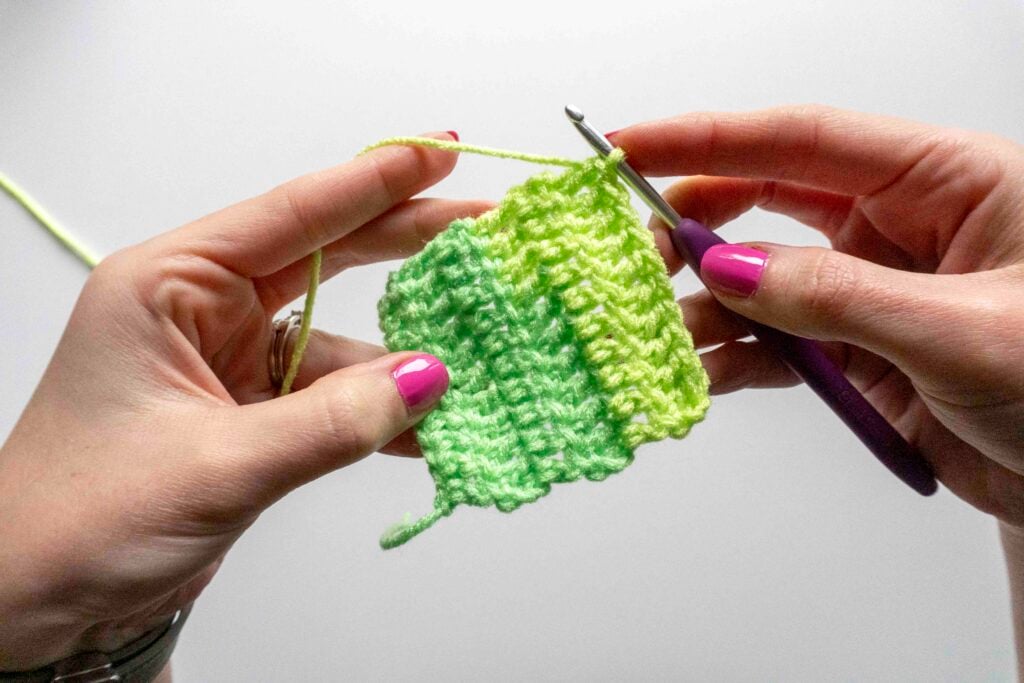
Everyone holds their hook and yarn a bit differently. The key is to find how you are most comfortable holding them that keeps consistent tension. Tension refers to how tight or loose your yarn is held, which in turn determines how tight or loose your stitches are.
This video will show you both the pencil grip and knife grip for holding your hook, and how I hold my yarn tension.
This video is also available on YouTube. Watch this video: Holding the Crochet Hook and Yarn on YouTube.
Slip Knot and Chain
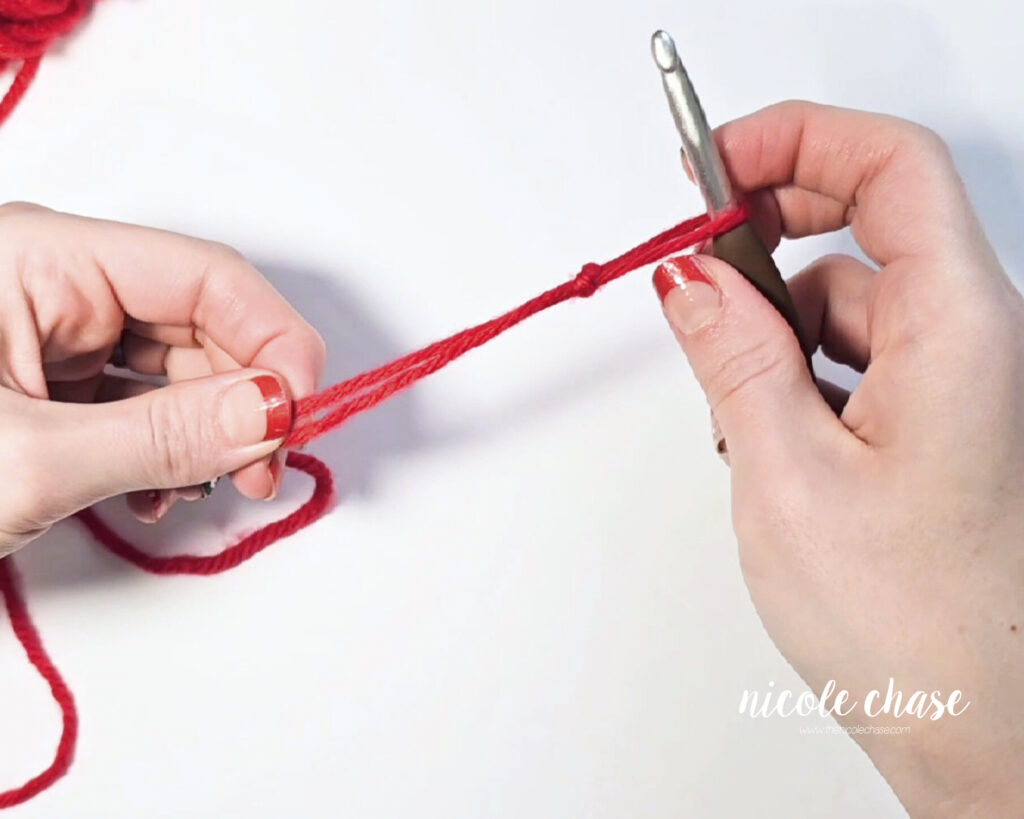
I would bet that every crocheter out there will tell you that the first stitch they were taught when learning crochet was the chain stitch. While the chain might not be used excessively in all amigurumi projects, the repetitiveness of this stitch will help you get comfortable with working with your yarn and hook.
The knot used in order to secure your yarn to your hook is called a slip knot. A chain is made of a series of loops, and can be made to be as long or as short as you’d like. Let’s learn them both here:
Single Crochet
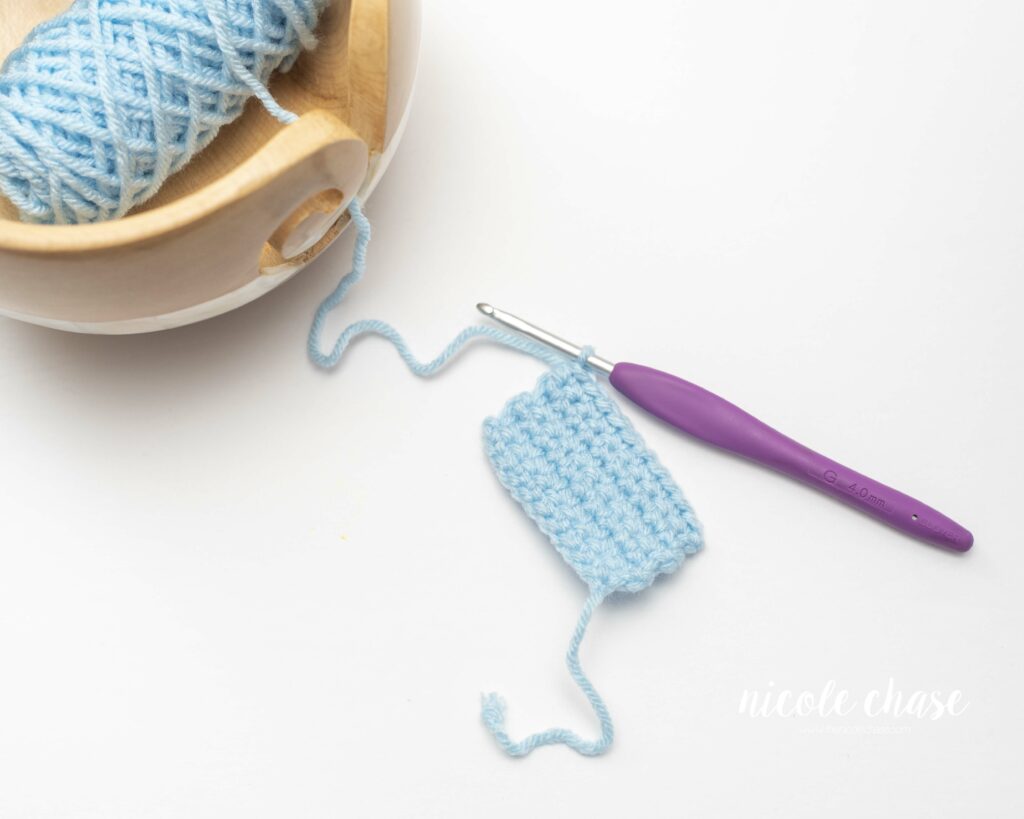
When learning how to crochet amigurumi, it is very likely that most, if not all of your entire crochet project will be made up of the single crochet stitch. When learning crochet in general, in addition to how to crochet amigurumi, this stitch is one of the easiest stitches to learn, and it can create so many fun and interesting pieces.
In this next tutorial, we will learn how to make the single crochet stitch.
Magic Ring
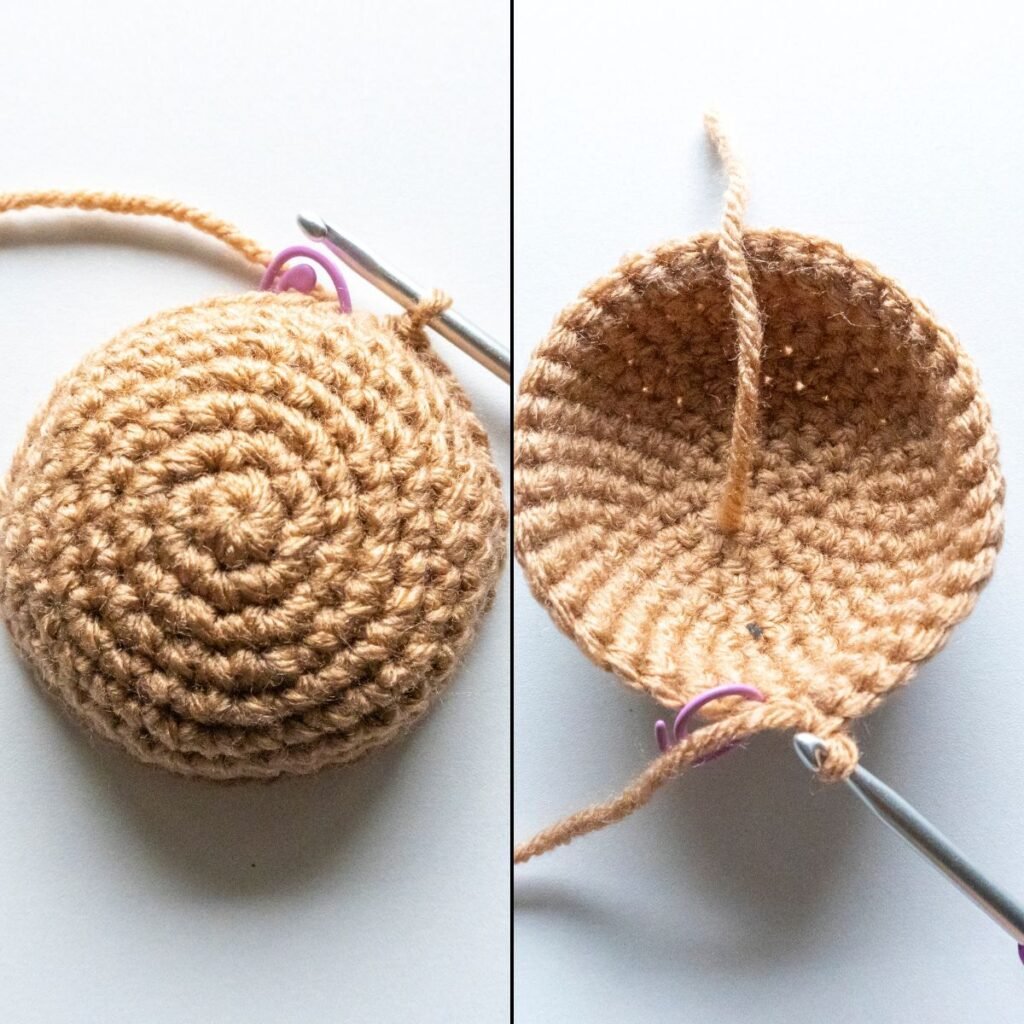
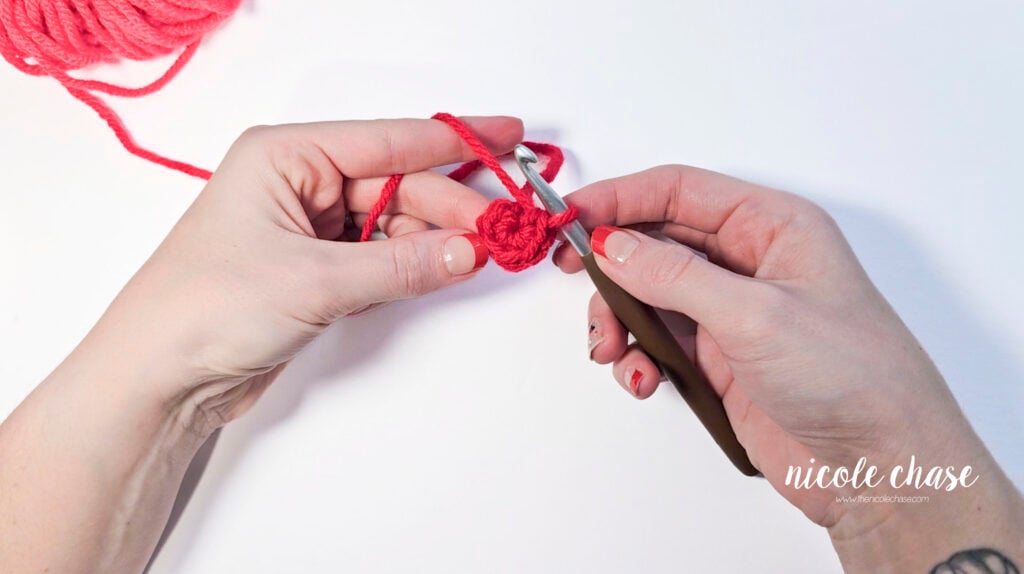
The magic ring, also known as the magic circle, is typically the start of every amigurumi pattern. The magic ring is what you start with to create the round spherical shapes that amigurumi is known to use.
While amigurumi can certainly be created with flat pieces that are perhaps joined and/or folded together to make 3D shapes, those 3D figures are typically worked up that way.
Let’s learn more about the magic ring and why it is so important for amigurumi:
Increases and Decreases
After learning the single crochet stitch, you might be wondering how on Earth that little stitch can create so many different shapes. The answer is simple: increases and decreases! Increases and decreases are so important when learning how to crochet amigurumi, as these stitches create the shaping of your project.
You might see a single crochet increase written as inc, INC, or 2 SC. A decrease can be made a few different ways, and can be written as dec, DEC, or SC2tog. Let’s learn how to create the single crochet increase and decrease:

Invisible Decrease
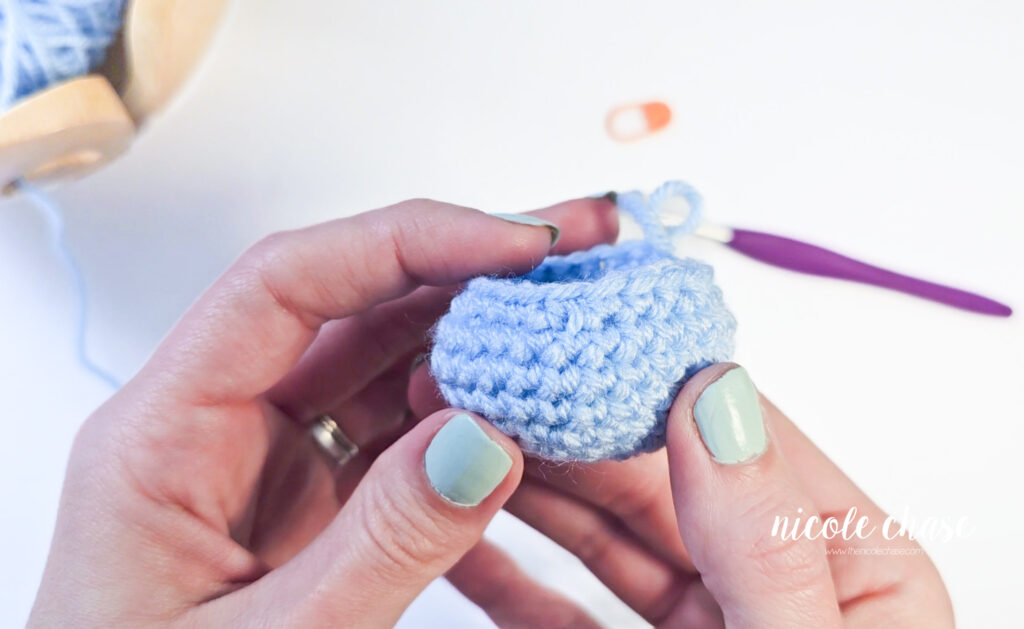
The invisible decrease is a game changer when learning how to crochet amigurumi! The invisible decrease is most commonly used in amigurumi projects. It serves the same purpose as a standard decrease, but gives a much cleaner appearance. We’ll learn the invisible decrease in this next tutorial:
Slip Stitch and Fasten Off
The slip stitch can be used for a variety of reasons, but when learning how to crochet amigurumi, it is often used for finishing off a row, adding details, or joining pieces together.
Like the slip knot and chain, it isn’t used very often, but it is still a very important part of the fundamentals of learning crochet.

Learn How to Crochet Amigurumi!
Sign up for my free amigurumi for beginners course and learn everything you need to know to make your own crochet plush!
To see what is included, check out the course summary page!
More Crochet Tutorials and Resources
I hope you enjoyed this post! Be sure to leave me a comment below to let me know what you think.
Want to see more from me? Be sure to subscribe to my email newsletter so that you never miss a post!
Follow along with me on Instagram for daily updates and a behind the scenes look at my designs.
I’d love to see what you make with this tutorial! Don’t forget to share your finished work with me: on social media by tagging me @thenicolechase, in your Ravelry projects, or post over in my Facebook group!
Thanks for stopping by! Happy crafting!
Nicole
PATTERN COPYRIGHT © 2026 NICOLE CHASE. ALL RIGHTS RESERVED.
PATTERN MAY NOT BE ALTERED, COPIED, REDISTRIBUTED OR SOLD AS YOUR OWN PATTERN.
YOU MAY SELL THE FINISHED PRODUCT ON A SMALL SCALE. PATTERN/DESIGN CREDIT GIVEN TO WWW.THENICOLECHASE.COM IS APPRECIATED. PERMISSION TO SELL DOES NOT INCLUDE MASS PRODUCTION. LARGE SCALE PRODUCTION IS PROHIBITED.
PHOTOGRAPHY COPYRIGHT © 2026 NICOLE CHASE. ALL RIGHTS RESERVED.
PHOTOS MAY NOT BE ALTERED, COPIED, REDISTRIBUTED OR SOLD AS YOUR OWN.
This post may contain affiliate links. If you make a purchase through links on our site, we may earn a commission.


