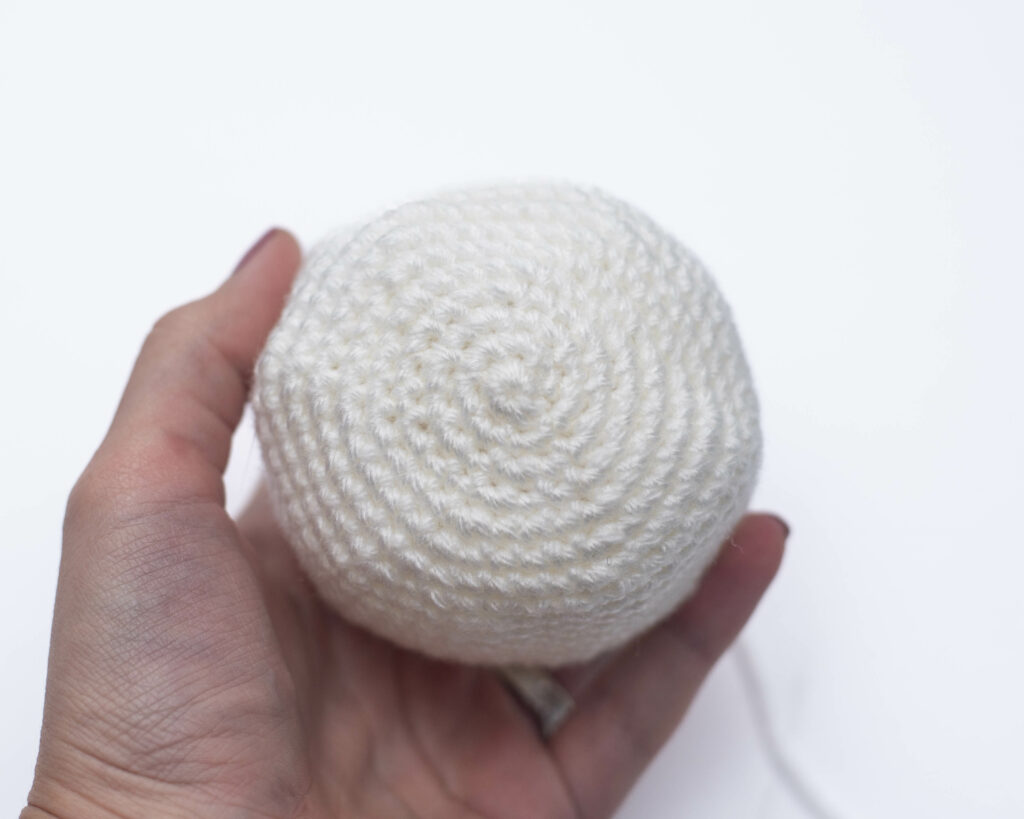
Amigurumi Supplies
This post may contain affiliate links. If you make a purchase through links on our site, we may earn a commission.
Are you just starting on your crochet journey? Wondering what do you need to crochet amigurumi projects? Here we will cover all of the tools and amigurumi supplies you will need to crochet your very own plushies!

Table of Contents
What do you need to crochet amigurumi?
When you are first learning to crochet, it can be overwhelming to see all of the options for tools and supplies. Here I’ll break down everything that you actually need in your amigurumi supplies, from yarn, crochet hooks, and more!
Yarn Basics
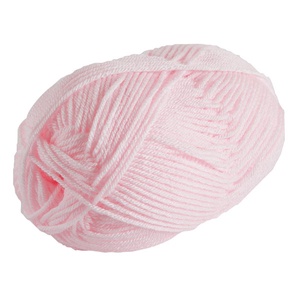
The most important of all of your amigurumi supplies is yarn! There are plenty of big box stores that sell yarn, such as JoAnn Fabrics, Michaels, and Walmart. You can even find yarn at some Dollar Tree locations!
Looking at the yarn aisle for the first time might be a bit daunting. There are so many options! Here we will go over the kind of yarn to get started with.
Note: Yarn is commonly sold in a skein. A skein refers to the way that the yarn is wound.

What kind of yarn should I get for Amigurumi?
Amigurumi can be made with nearly any type of yarn, but when first starting out, I’d recommend sticking with worsted weight yarn.
Yarns are distinguished by their weight/thickness and their fiber content. Here in the US, medium (4) worsted weight yarn is one of the most common and easily found yarn. This is a great type of yarn to start with, and after you are confident in the basic skills, you can try out a variety of different yarns!
Worsted weight yarn can be identified on the label with any of the following terms:
- Medium
- Yarn ball symbol with a number 4 on it
- Worsted
- Afghan
- Aran
Worsted weight yarn can be found easily both online and in store. My personal favorite is WeCrochet’s Brava Worsted yarn. You can get a multi-pack of this yarn, featuring a variety of colors.
Some common worsted weight yarns that can be found in stores are: Red Heart Super Saver, Lion Brand Vanna’s Choice, Big Twist Value (Joann store brand), and Impeccable (Michaels store brand).

All of the yarns mentioned here are worsted weight yarn, and their fiber content is 100% acrylic, making them all budget friendly options for your amigurumi supplies list.
Reading a yarn label
If you decide to shop for a yarn outside of the ones recommended above, you’ll need to learn how to read a yarn label! No matter what kind of yarn you choose, information about that yarn can be found on the label. The parts of a yarn label include:
- Yarn Weight
- Yardage / Skein Weight
- Fiber Content and Dye Lots
- Washing Instructions
- Suggested Hook Size
Check out my post on how to read a yarn label for more details!
Crochet Hooks
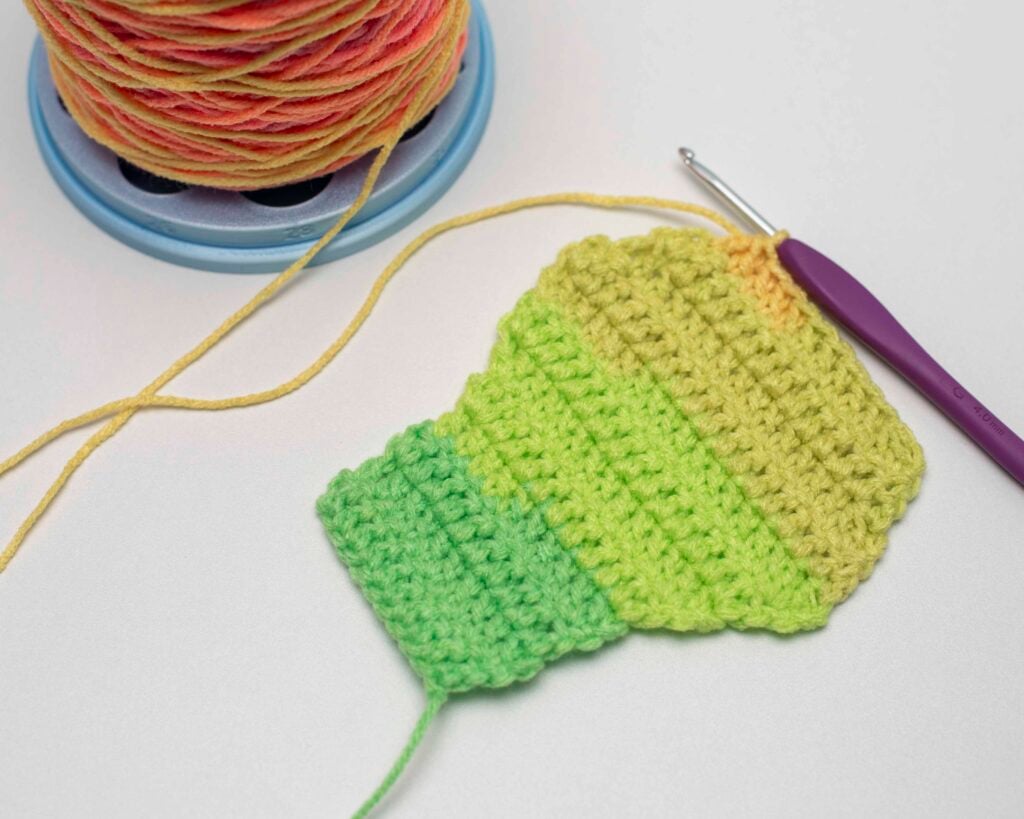
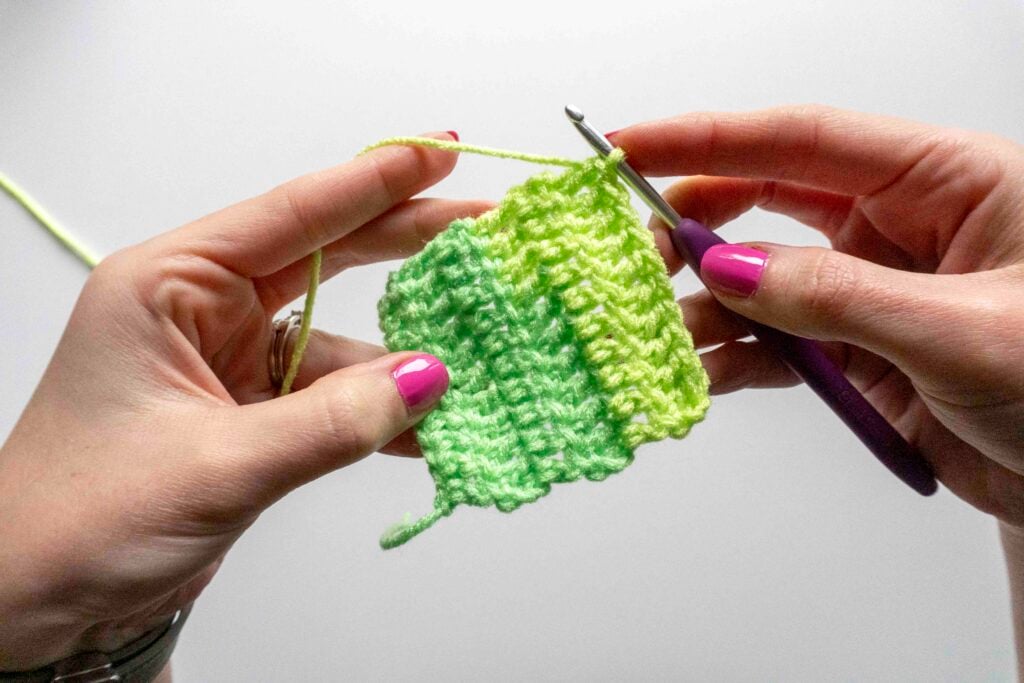
A crochet hook is another important addition to your amigurumi supplies. The crochet hook is the tool that you will use to craft your yarn into your desired amigurumi.

Crochet Hook Sizing
The crochet hook size refers to the thickness of the shaft of the crochet hook, which is what establishes the size of your crochet stitches.
A crochet hook can be measured with a millimeter range and a US size range. Most hooks provide both measurements, but some hooks may only provide one.
Some common hook sizes are:
| Millimeter Size | US Size |
| 3.5 mm | E |
| 3.75 mm | F |
| 4.0 mm | G |
| 5.0 mm | H |
| 5.5 mm | I |
What size Crochet Hook Should I Get?
Typically, the crochet pattern that you are using will provide you with a suggested crochet hook size. This is a great starting point if you are using the same type of yarn that is recommended in the pattern. However, as your skills improve, you may want to adjust your hook size based on your own tension. Learn more about choosing the right amigurumi hook size here.
If you are able to purchase a set of crochet hooks when collecting your amigurumi supplies, I recommend it. With a set, you can experiment with different hook sizes with every new yarn you use, to make sure you are using the best yarn/hook combination.
If a full hook set isn’t in your budget for amigurumi supplies, I would pick up a 4.0mm (G) crochet hook to use with your medium (4) worsted weight yarn. That is my most used and favorite hook size for worsted weight yarn.
My favorite crochet hooks are Clover Amour crochet hooks. You can find these hooks on Amazon, or at any of the stores I mentioned above where you might be purchasing your yarn and other amigurumi supplies. Clover Amour hooks are a tapered style hook, and are the only hooks that I use.

Other popular hook brands that you’ll find are Boye and Bates. There are some differences between the two, such as Bates being an inline style, and Boye being a tapered style hook.
Learn more about choosing an amigurumi hook size in my full post.
Everything Else
The yarn and hook are definitely the most important things needed in your amigurumi supplies. What do you need to crochet amigurumi after you have those? Let’s go over the rest of the amigurumi supplies that you’ll need:
Scissors

This one is pretty self explanatory. Of course we’ll need scissors to cut our yarn when we’ve finished a project, finish with a certain color, or cutting excess yarn after assembling.
You don’t need anything fancy, and you probably already have a pair of scissors in your house! My favorite scissors are these green ones that I picked up at Michaels years ago, and they work just fine for me!
These scissors on Amazon are similar to the ones I use.
Yarn Needle

This amigurumi supply isn’t as obvious as the others, but it is just as important… a yarn needle!
Now you might be wondering why you would need a needle for crocheting? You’ll need the yarn needle for the very end parts of your project, such as seaming, assembly, or any finishing details like embroidery.
You can find a yarn needle, also known as a tapestry needle, at any of the local stores I mentioned, or you can grab some on Amazon. I prefer the metal yarn needles over the plastic ones, but either option will work!
Stitch markers

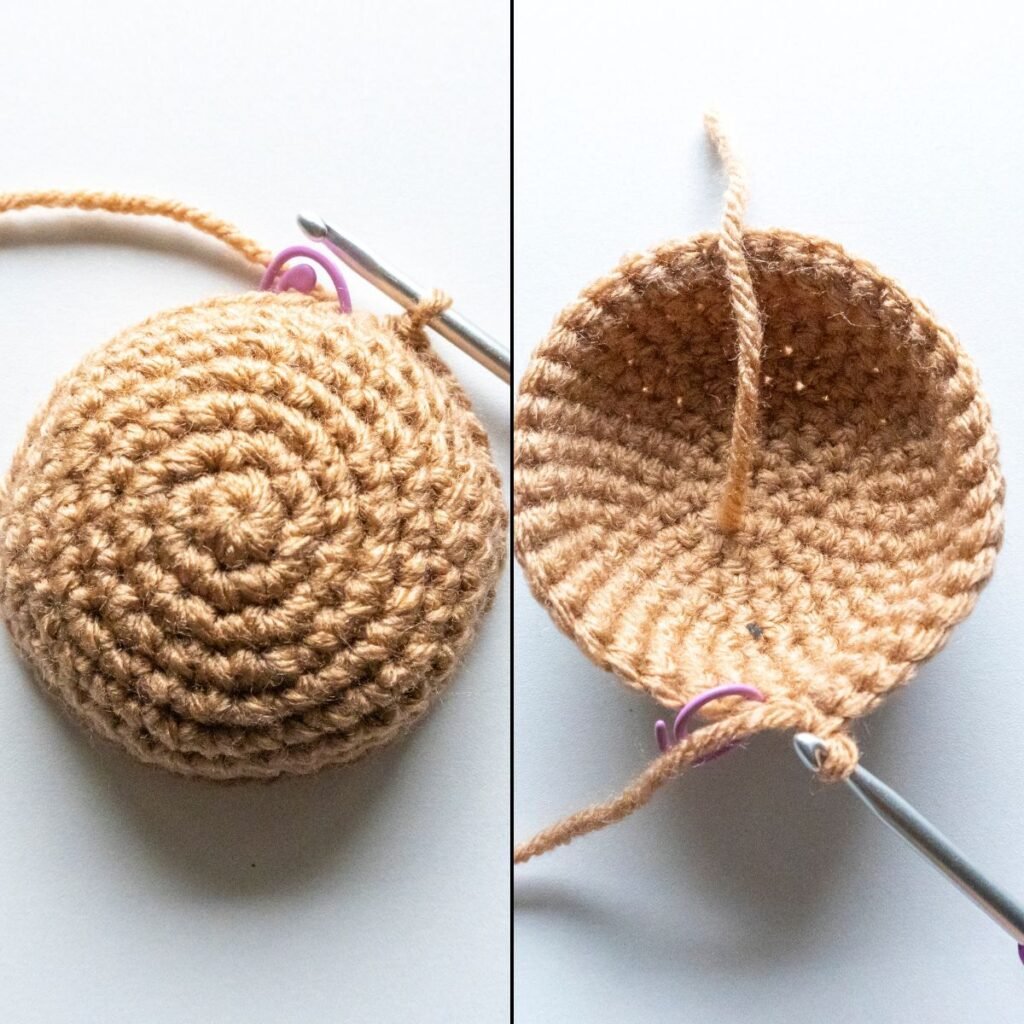
Since amigurumi is worked in a continuous round, or a spiral, stitch markers are important! You’ll use a stitch marker to keep track of where each of your rows start. If you don’t use something to mark your stitches, you’ll have to keep a count of every single stitch that you work throughout your project, which is no fun!
I mostly use these plastic interlocking stitch markers, but you can also find metal interlocking stitch markers. If you want to use something that you have on hand, you could also use a bobby pin, safety pin, or even a scrap piece of yarn!
Pins

While pins aren’t required to make an amigurumi, I think they are super important to a successful amigurumi, and I highly recommend them!
You can use pins for holding your various amigurumi pieces together while you sew them together. For example, if you needed to connect an arm to a body, you can use the pins to hold the arm in place so that it doesn’t move around while you’re sewing and get attached crooked!
Your pins don’t have to be anything fancy, and you might even have some in a sewing box at home! I personally love to use T pins because the head of them doesn’t slip through the stitches.
Poly-fil Stuffing
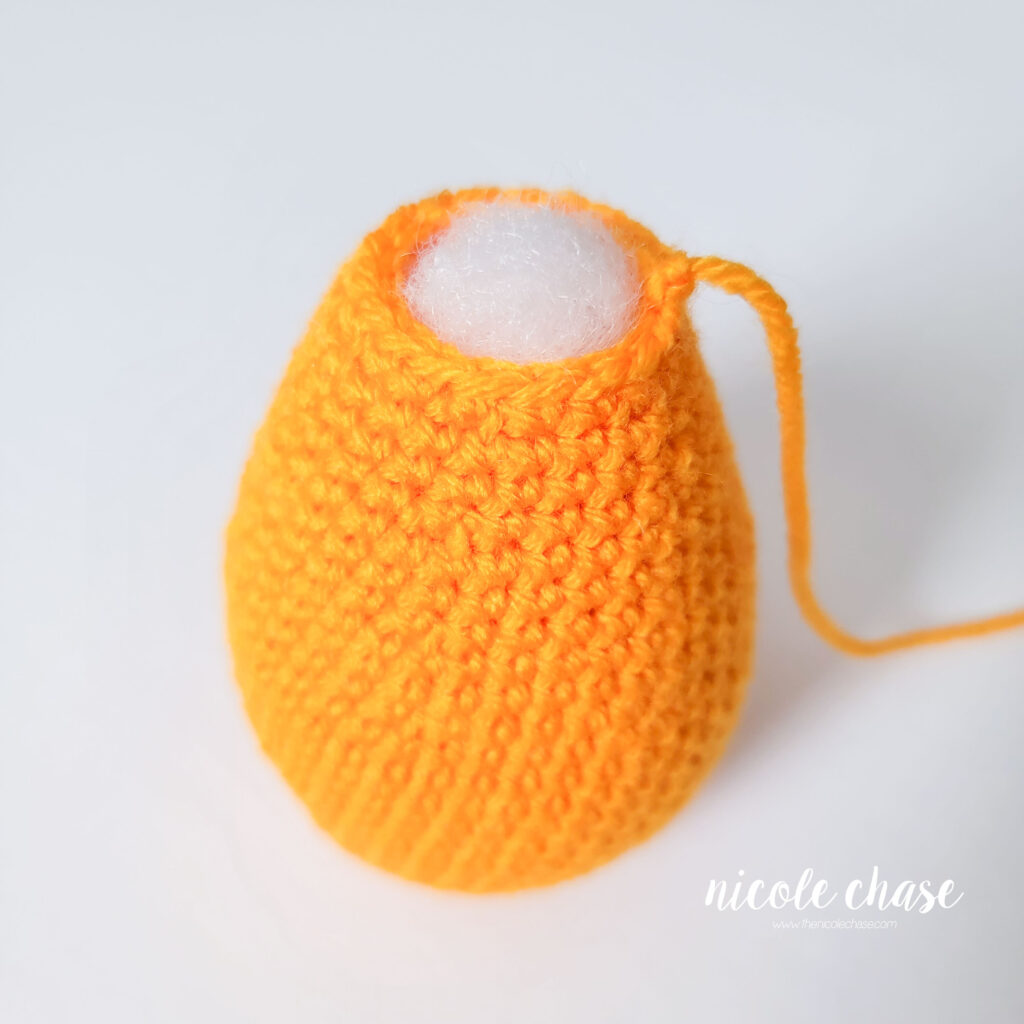
Poly-fil stuffing is what we will use to put inside of our amigurumi to help it keep it’s shape. Just like a stuffed animal that you would buy at the store, your amigurumi will need stuffing!
You can grab a bag of poly-fil stuffing from any of the stores mentioned above, and it’s also available on Amazon. Joanns and Michaels also offer their own store brand of poly-fil. If you don’t want to buy a bag of stuffing just yet, I’ve seen some people use the filling from a pillow!
Safety Eyes (Optional)
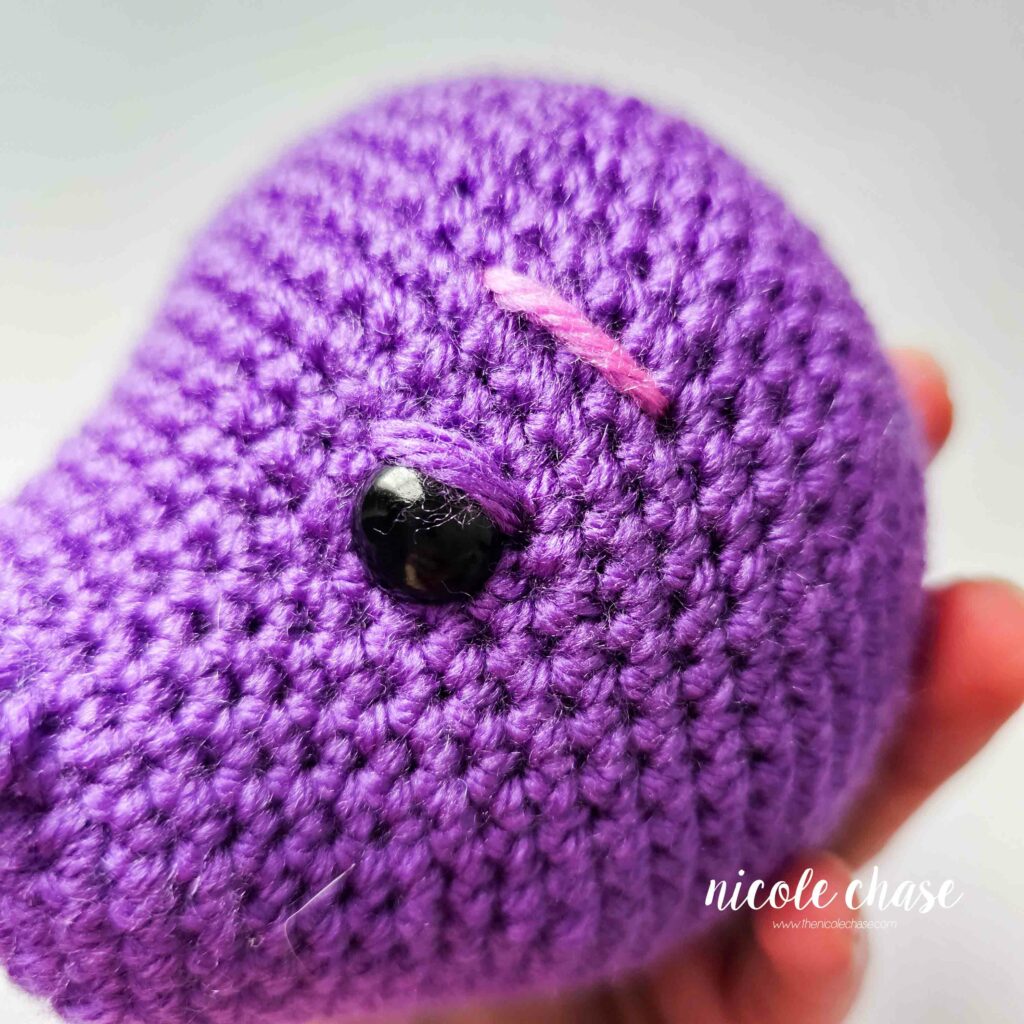
While safety eyes aren’t required to make adorable plushies, they are super handy and help to give a more finished and polished look. Safety eyes come in a variety of sizes, and colors. The pattern that you’re working on will typically tell you the recommended size of safety eyes for that project.
These can be a bit more difficult to find in local stores, but I have seen them with the doll making supplies in Joann and Michaels on occasion.
An alternative to safety eyes would be embroidering the eye details, or using felt eyes. Both are a great methods to use while figuring out your preferences!
Row Counter (Optional)

A row counter isn’t completely necessary when making amigurumi, but it can be really helpful!
After you complete each round of your project, you can just tap the button on your row counter to know exactly what round of stitches you’re on. This is especially helpful so that you don’t have to continue counting up your rows to see exactly where you’re at if you’ve lost count.
Alternatively, you can keep track of your rounds with tally marks on a sheet of paper.
You can find all of these items in the Amazon shopping list that I created for my Amigurumi for Beginners course!
Learn How to Crochet Amigurumi!
Sign up for my free amigurumi for beginners course and learn everything you need to know to make your own crochet plush!
To see what is included, check out the course summary page!
I hope that you’ve found this post on amigurumi supplies helpful!
More Crochet Tutorials and Resources
If you’ve liked this article on what do you need to crochet amigurumi, you may also enjoy some of my other articles about crochet amigurumi as a beginner. Be sure to check out the basic stitches of amigurumi, and where to find crochet patterns.
I hope you enjoyed this post! Be sure to leave me a comment below to let me know what you think.
Want to see more from me? Be sure to subscribe to my email newsletter so that you never miss a post!
Follow along with me on Instagram for daily updates and a behind the scenes look at my designs.
I’d love to see what you make with this tutorial! Don’t forget to share your finished work with me: on social media by tagging me @thenicolechase, in your Ravelry projects, or post over in my Facebook group!
Thanks for stopping by! Happy crafting!
Nicole
PATTERN COPYRIGHT © 2025 NICOLE CHASE. ALL RIGHTS RESERVED.
PATTERN MAY NOT BE ALTERED, COPIED, REDISTRIBUTED OR SOLD AS YOUR OWN PATTERN.
YOU MAY SELL THE FINISHED PRODUCT ON A SMALL SCALE. PATTERN/DESIGN CREDIT GIVEN TO WWW.THENICOLECHASE.COM IS APPRECIATED. PERMISSION TO SELL DOES NOT INCLUDE MASS PRODUCTION. LARGE SCALE PRODUCTION IS PROHIBITED.
PHOTOGRAPHY COPYRIGHT © 2025 NICOLE CHASE. ALL RIGHTS RESERVED.
PHOTOS MAY NOT BE ALTERED, COPIED, REDISTRIBUTED OR SOLD AS YOUR OWN.
This post may contain affiliate links. If you make a purchase through links on our site, we may earn a commission.


