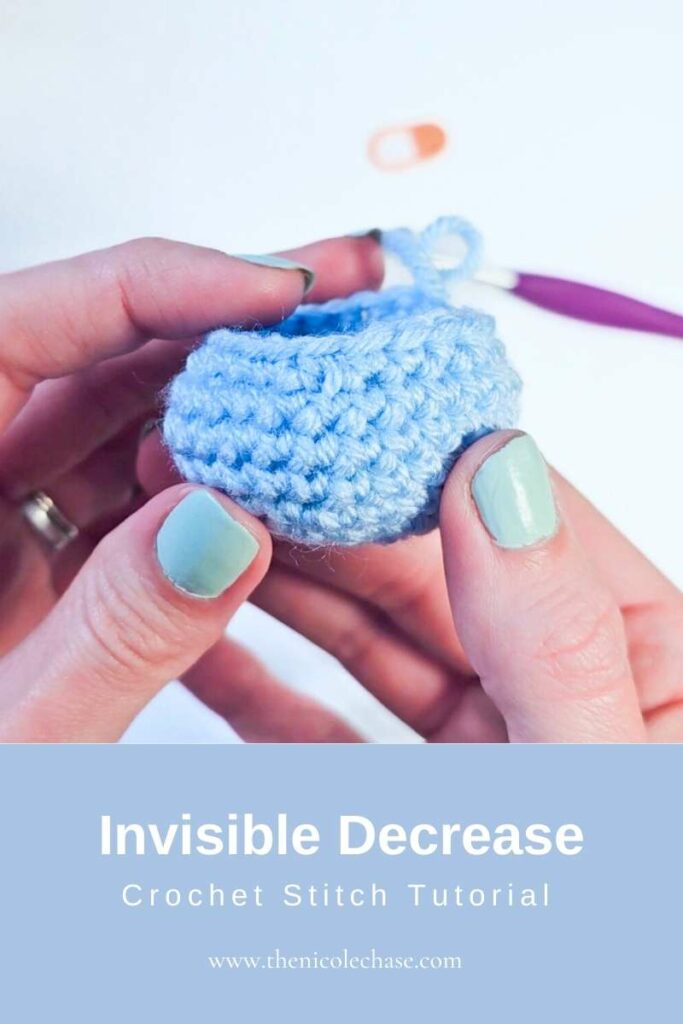
Invisible Decrease Crochet Tutorial
This post may contain affiliate links. If you make a purchase through links on our site, we may earn a commission.
One stitch that you definitely need to know when making amigurumi is the single crochet decrease. Learning the crochet invisible decrease method will help to level up your amigurumi even further. Here I’ll show you how to make the single crochet invisible decrease with a video tutorial, photos, and step-by-step instructions.

Table of Contents
Pin this crochet invisible decrease tutorial for later.
What is an invisible decrease?
A crochet invisible decrease joins two single crochet stitches together and is most often used in amigurumi projects. It can be abbreviated as “Inv Dec”, “Inv SC2tog”, or can be used to replace “Dec” or “SC2tog”.
Why should I use an invisible decrease?
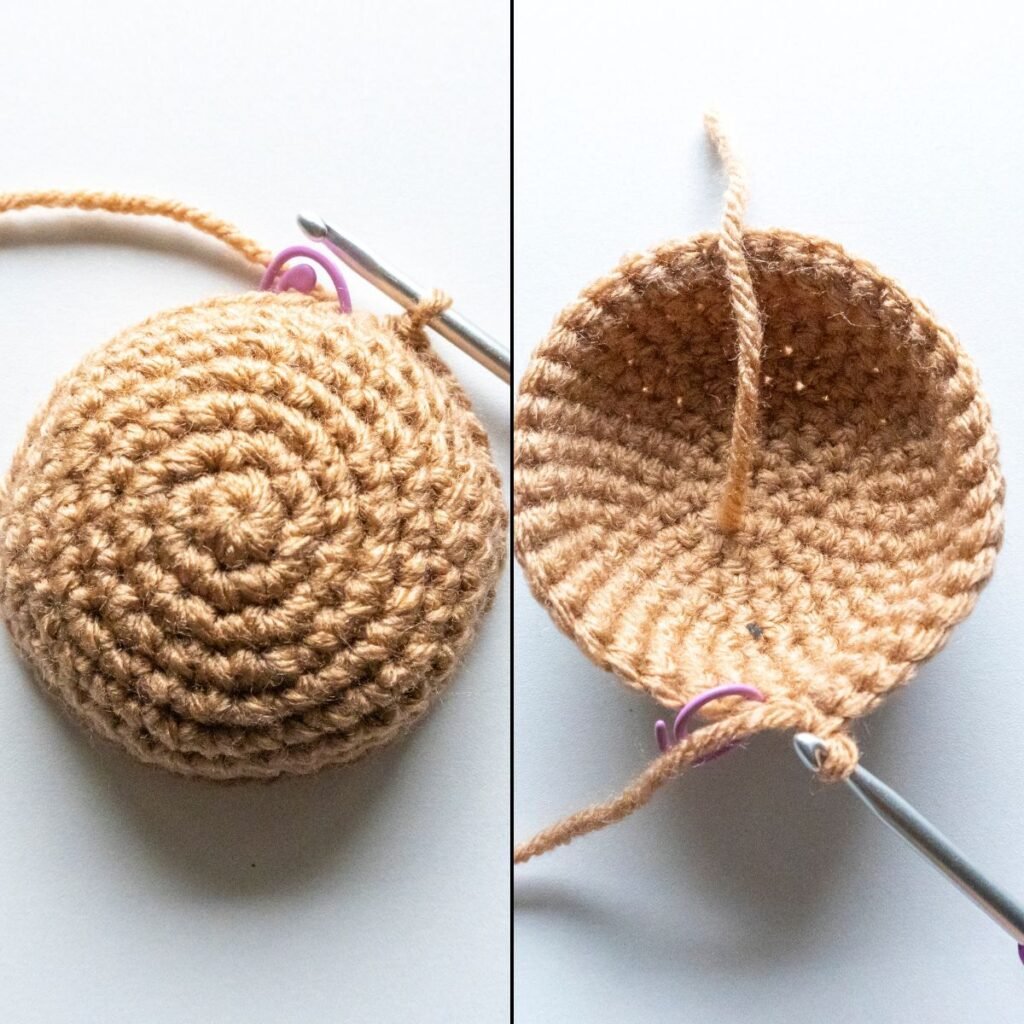
While the single crochet invisible decrease serves the same purpose as a standard decrease, a standard decrease can leave your work with bumps and can sometimes look sloppy in amigurumi.
The invisible decrease keeps your work smooth, and they are almost undetectable!
I recommend using the invisible decrease method for all of my amigurumi patterns.
How to make a single crochet invisible decrease
Let’s learn how to do the single crochet invisible decrease! This is illustrated in both a video and photo tutorial below.
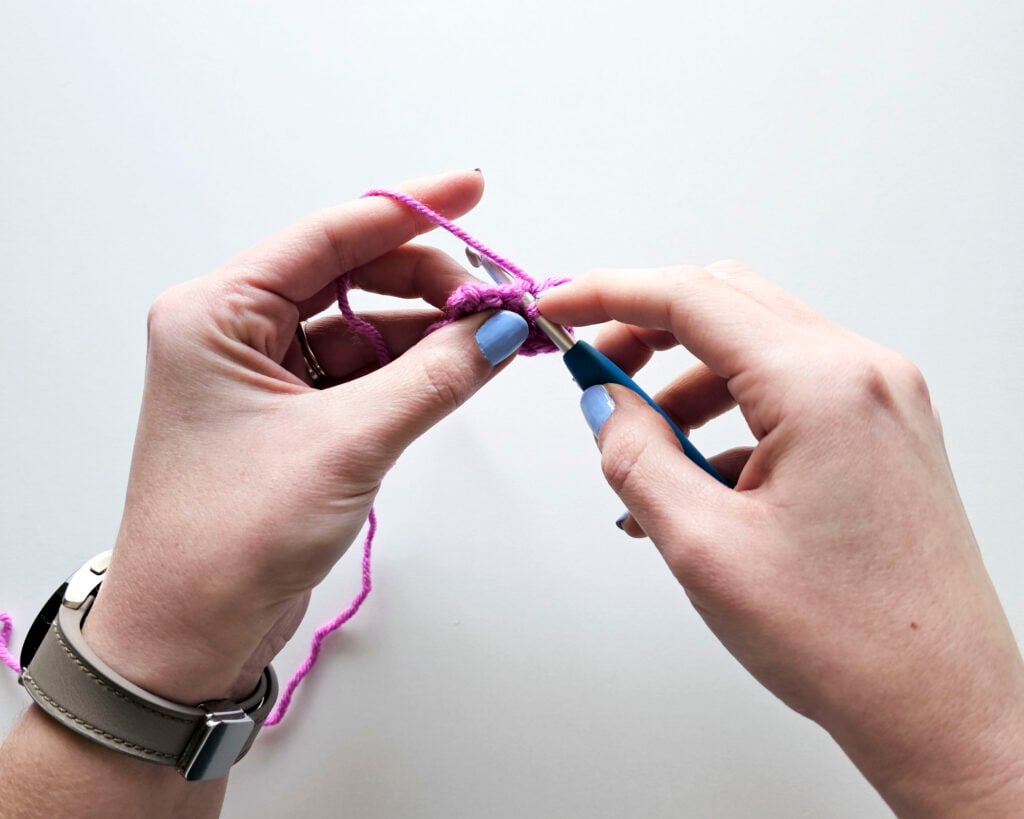
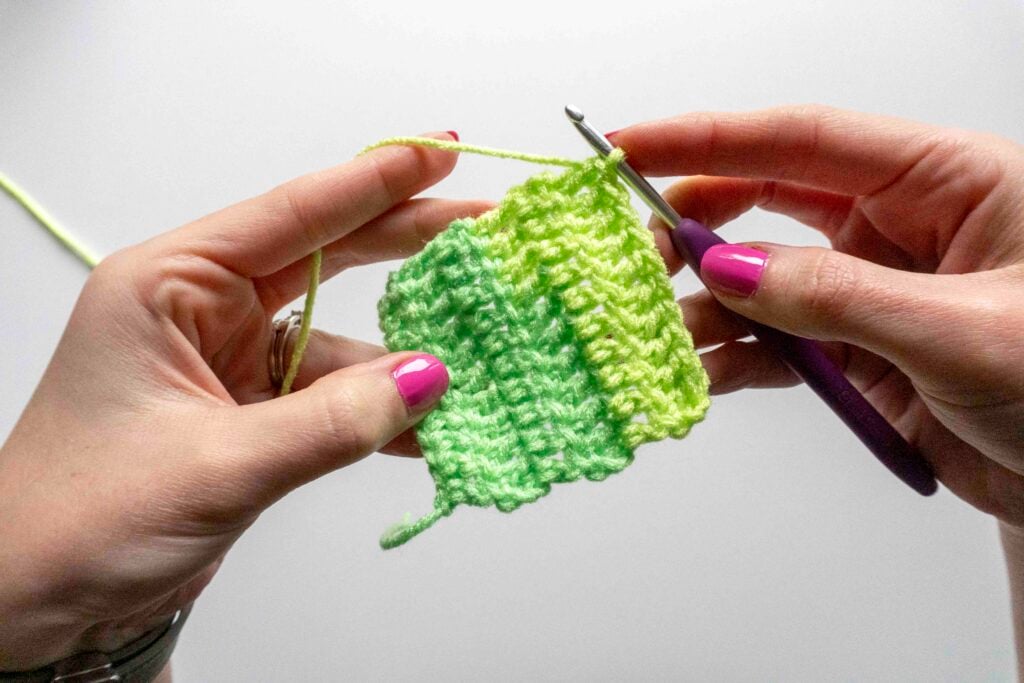
First you will insert your hook into the front loop of the first stitch. Next you’ll insert your hook into the front loop of the second stitch. Yarn over and pull up a loop through the first two loops on your hook. Finally, you’ll yarn over and pull through both loops on your hook, completing the stitch.
Essentially, you are creating a single crochet stitch through the front loops of the two stitches that you are joining together.
Video tutorial
In this crochet video tutorial I will demonstrate how to do a single crochet invisible decrease stitch.
This video is also available on YouTube. Watch this video: Invisible Decrease Crochet Tutorial on YouTube.
Photo Tutorial
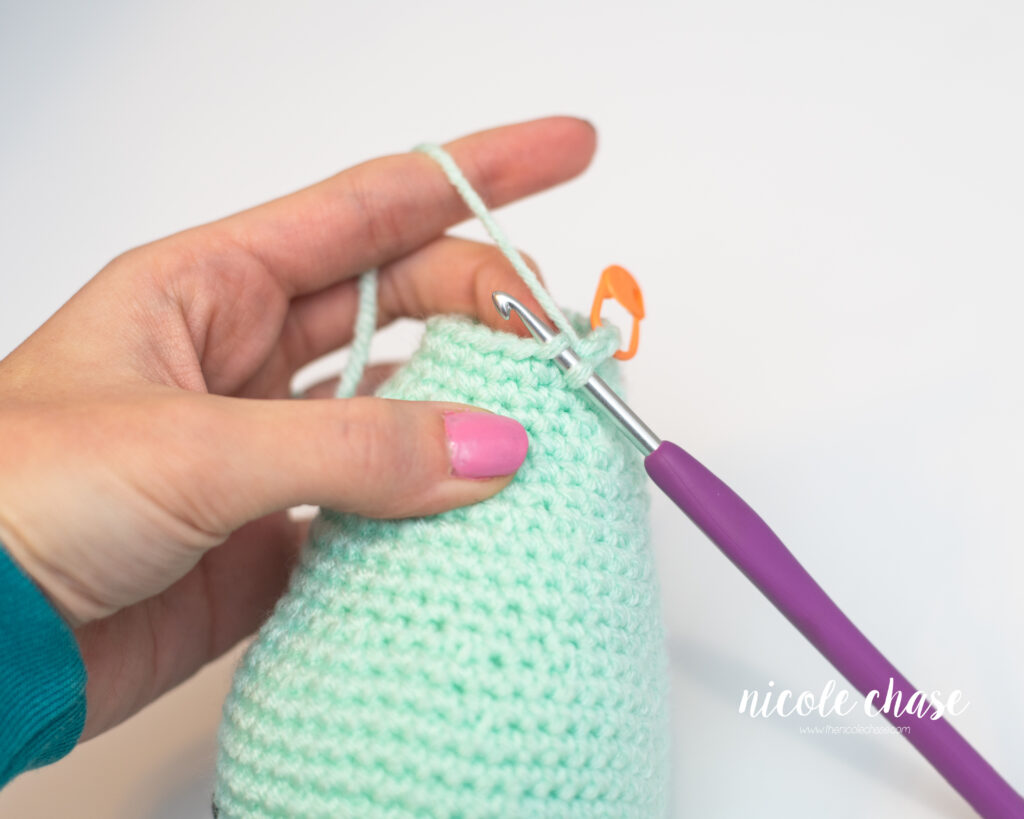
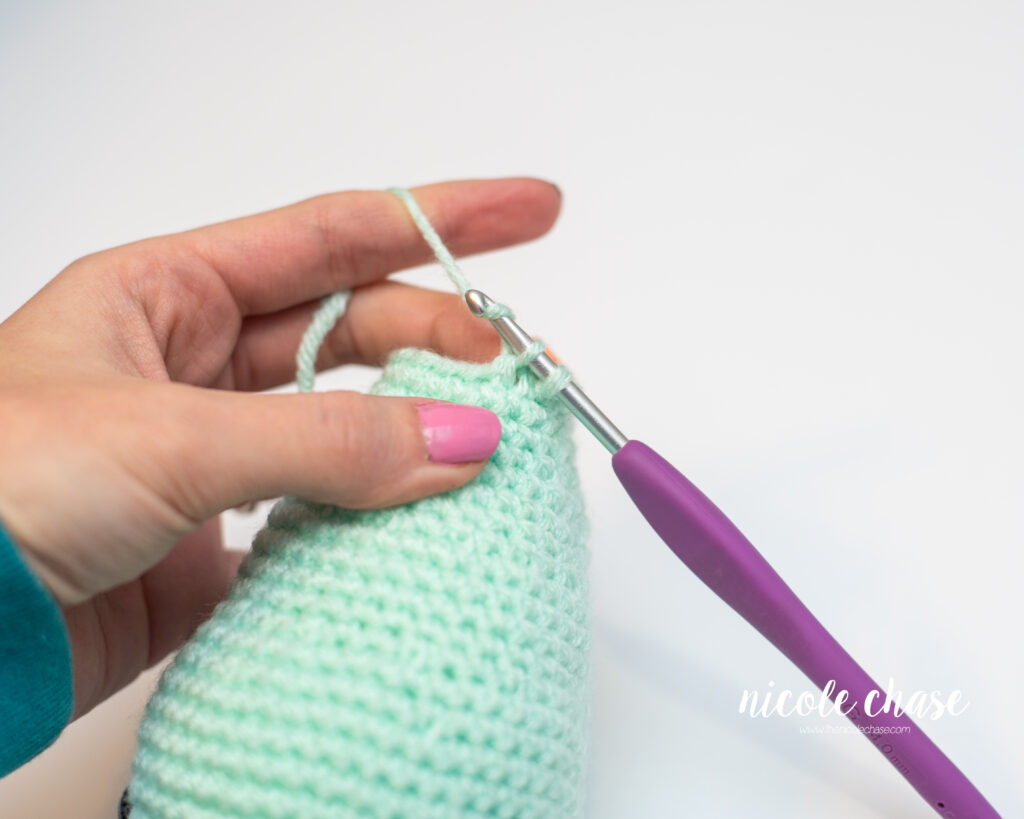
First, you will insert hook into the front loop of the first stitch.
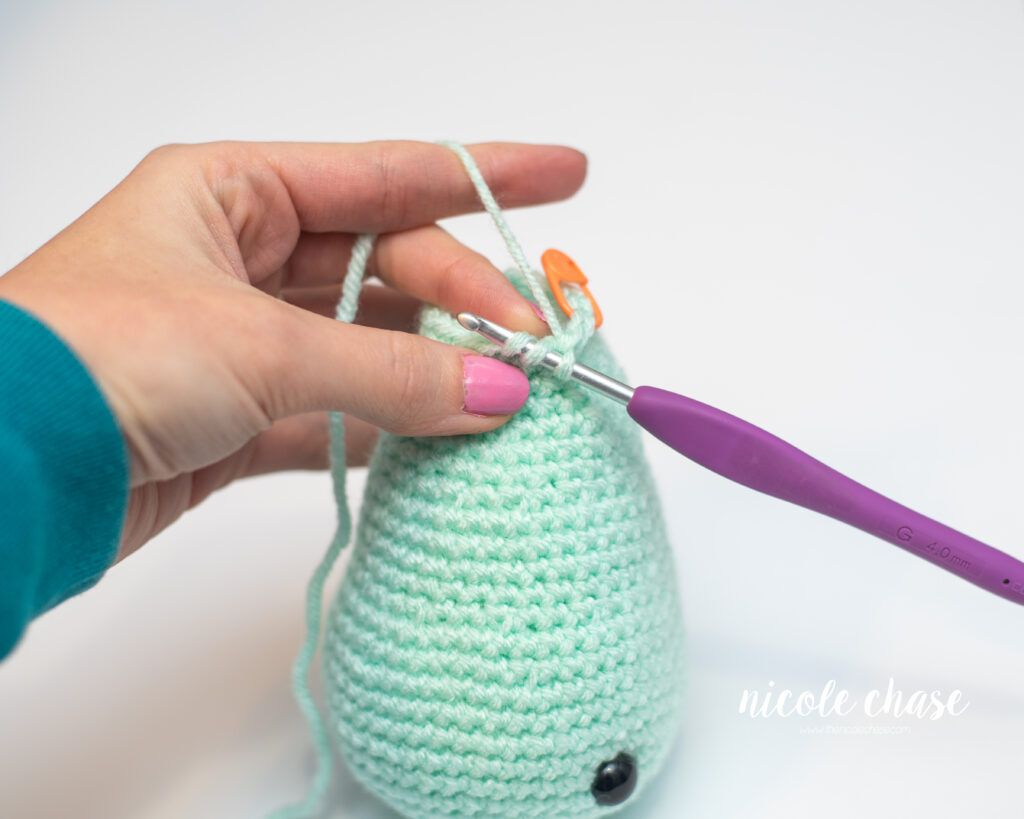
Next, insert hook into the front loop of the second stitch. You will have 3 loops on your hook.
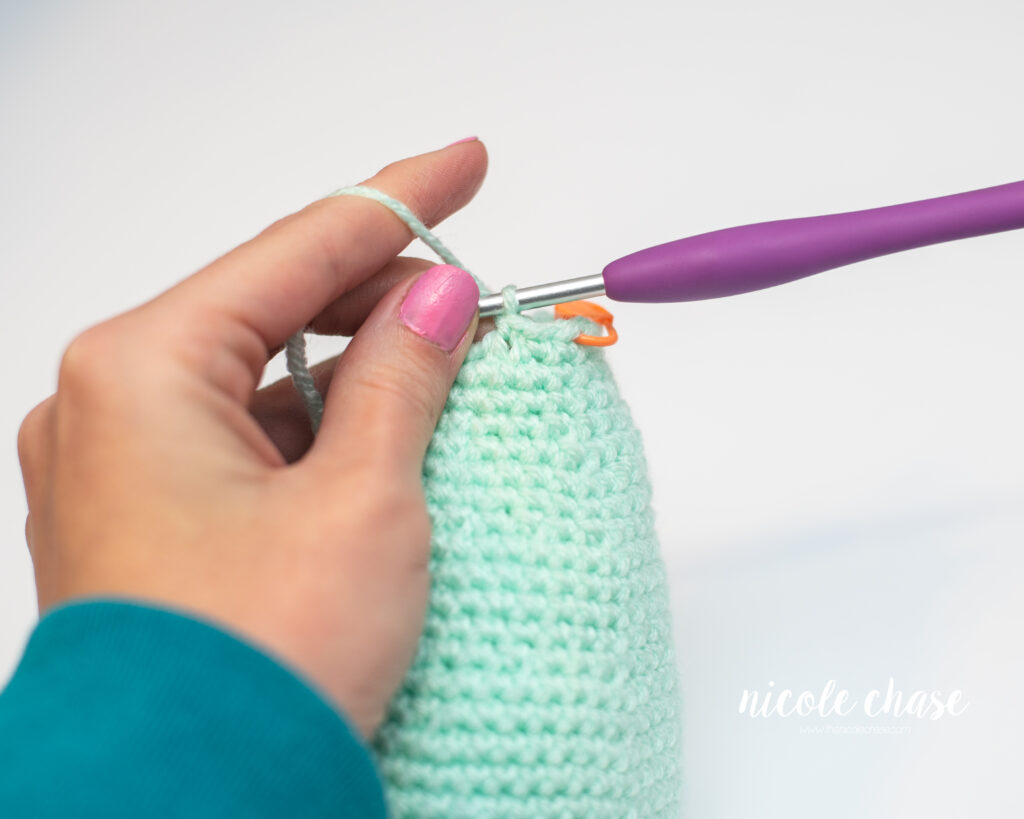
Yarn over.
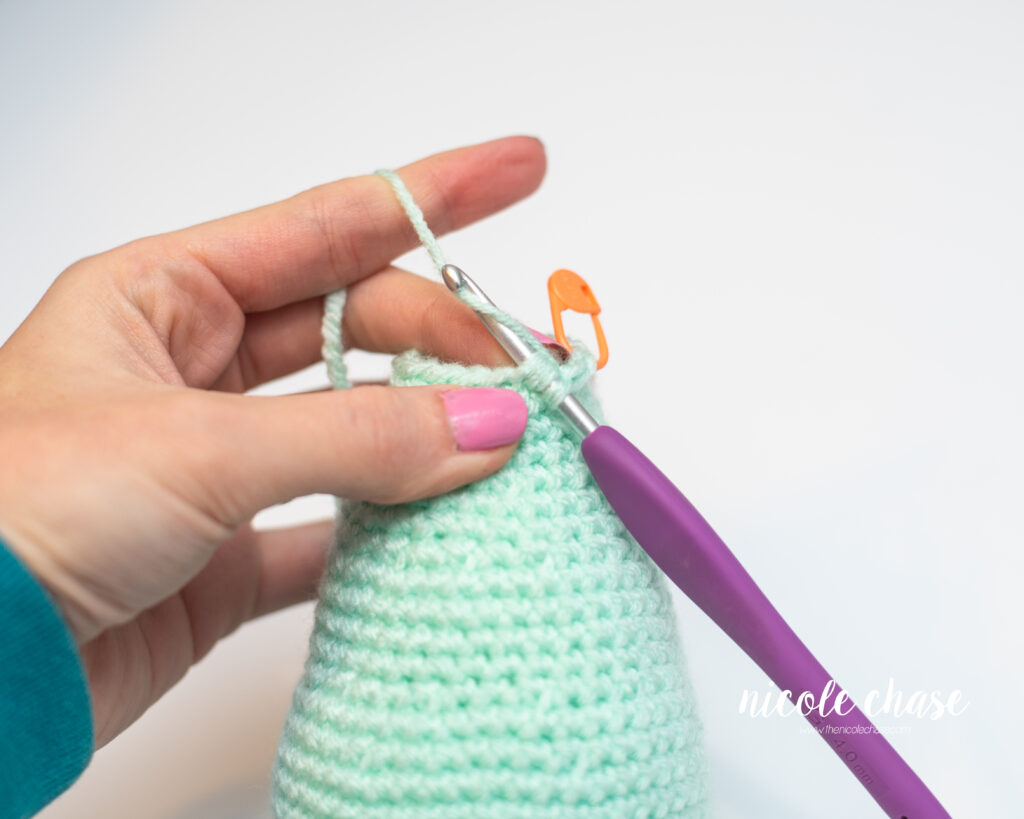
Draw through the first two loops on hook. You will now have two loops on your hook.
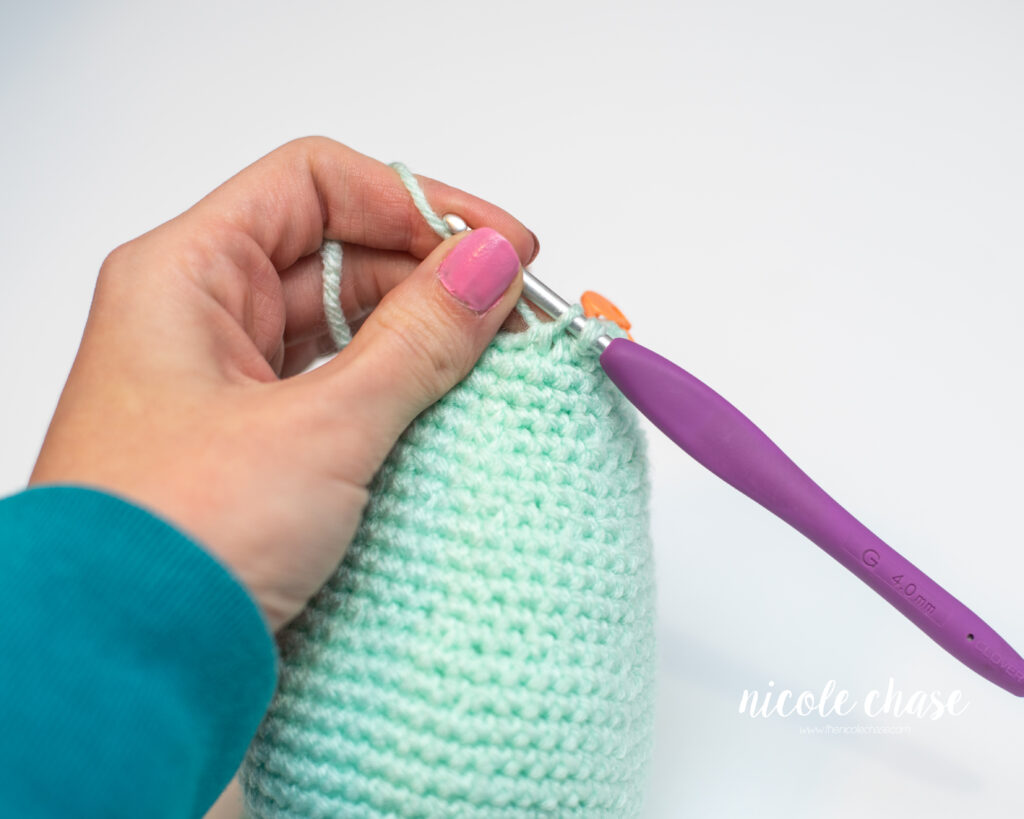
Yarn over.
Draw through both of the remaining loops on the hook.
Now you’ve completed the single crochet invisible decrease method!
You can see that when you are completing the single crochet invisible decrease, you are essentially working a standard single crochet stitch through the front loops of two stitches. This ensures that all of your stitches appear uniform, as they all look like they are simply single crochet stitches.
I hope you’ve enjoyed this single crochet decrease tutorial. Check out my other crochet tutorials and tips, and if you’re making amigurumi, check out my amigurumi tips and tricks. I also offer a free course on learning amigurumi, which you can find here on my blog.

More Crochet Tutorials
If you’ve enjoyed this crochet invisible decrease tutorial, be sure to check out some of my other crochet tutorials. You may enjoy my tutorial on the single crochet stitch, or my post on other basic stitches necessary for amigurumi.


I hope you enjoyed this post! Be sure to leave me a comment below to let me know what you think.
Want to see more from me? Be sure to subscribe to my email newsletter so that you never miss a post!
Follow along with me on Instagram for daily updates and a behind the scenes look at my designs.
I’d love to see what you make with this tutorial! Don’t forget to share your finished work with me: on social media by tagging me @thenicolechase, in your Ravelry projects, or post over in my Facebook group!
Thanks for stopping by! Happy crafting!
Nicole
PATTERN COPYRIGHT © 2026 NICOLE CHASE. ALL RIGHTS RESERVED.
PATTERN MAY NOT BE ALTERED, COPIED, REDISTRIBUTED OR SOLD AS YOUR OWN PATTERN.
YOU MAY SELL THE FINISHED PRODUCT ON A SMALL SCALE. PATTERN/DESIGN CREDIT GIVEN TO WWW.THENICOLECHASE.COM IS APPRECIATED. PERMISSION TO SELL DOES NOT INCLUDE MASS PRODUCTION. LARGE SCALE PRODUCTION IS PROHIBITED.
PHOTOGRAPHY COPYRIGHT © 2026 NICOLE CHASE. ALL RIGHTS RESERVED.
PHOTOS MAY NOT BE ALTERED, COPIED, REDISTRIBUTED OR SOLD AS YOUR OWN.
This post may contain affiliate links. If you make a purchase through links on our site, we may earn a commission.