10 Essential Amigurumi Tips & Tricks You Need to Know
This post may contain affiliate links. If you make a purchase through links on our site, we may earn a commission.
If you’ve ever thought that amigurumi looks too difficult to tackle, I’m here to tell you that anyone can learn! In this ultimate guide, I’ll share my best amigurumi tips for beginners to help you create perfect amigurumi. From the best way to stuff your projects to mastering the invisible decrease, these crochet tips for amigurumi will have you creating beautiful projects with confidence.
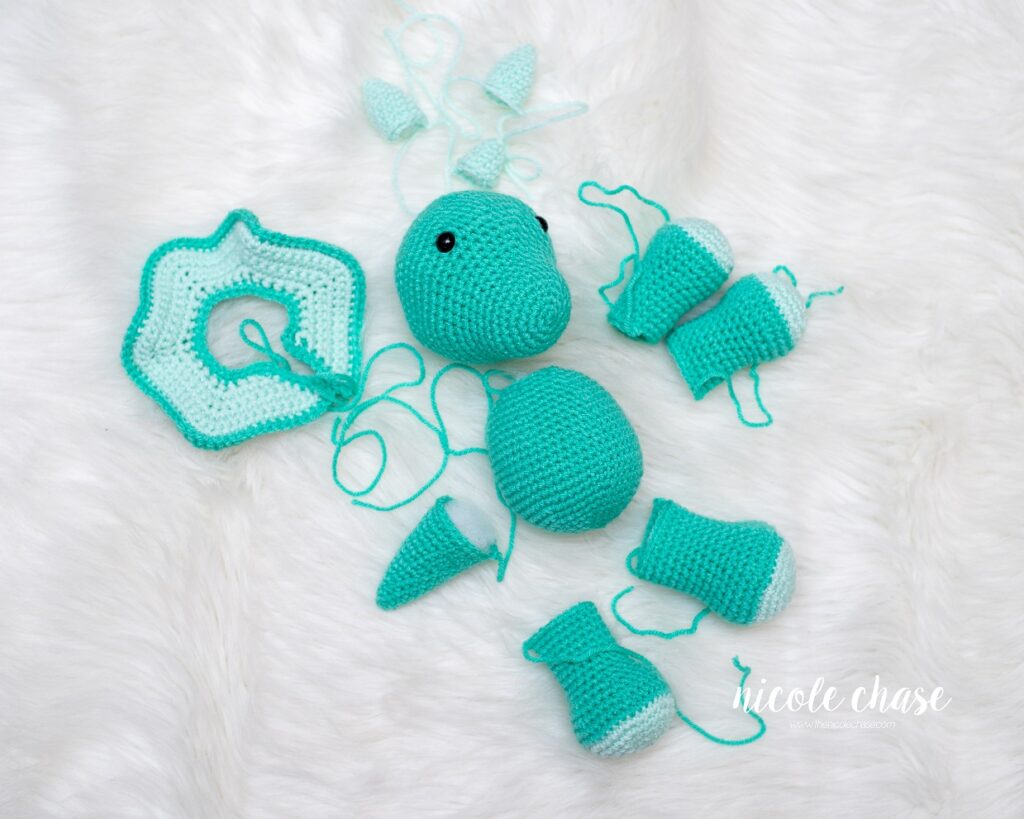
Table of Contents
Getting Started with Amigurumi
Amigurumi is the Japanese art of crocheting or knitting stuffed toys. While it may seem intimidating, anyone can learn! If you’re looking for a full guide on what amigurumi is, be sure to check out my post on the topic.
If you are brand new to crochet and amigurumi, I recommend checking out my free amigurumi for beginners course. It includes all the details you need to know to get started, from the materials you’re using to the stitches you’ll be making.
My very first, and most obvious amigurumi tip is to learn all of the basic stitches, including:
This video is also available on YouTube. Watch this video: Amigurumi Tips and Tricks on YouTube.
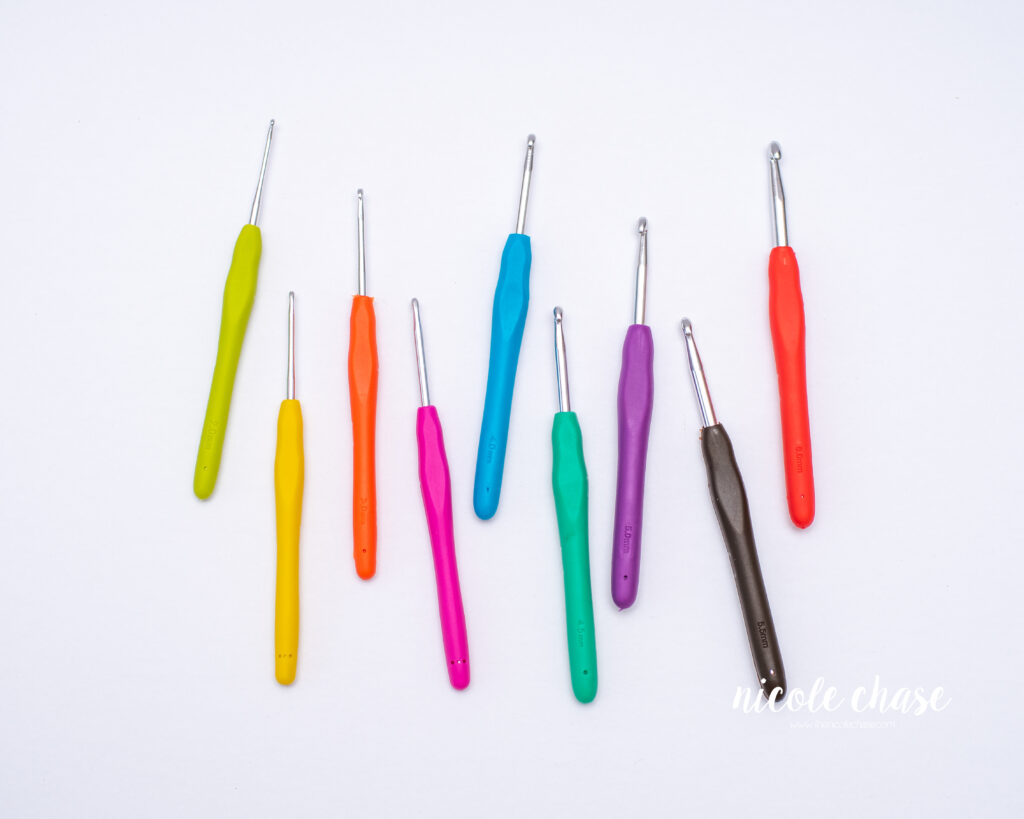
1. Use a Smaller Hook
Probably the most important of my crochet tips for amigurumi is to use a smaller hook! When making amigurumi, you should always use a smaller hook than what is recommended on the label. The reason is simple: a smaller hook keeps your stitches as tight as possible, ensuring that no stuffing shows through in your finished projects.
How to Choose Your Hook Size
Every yarn label will recommend a hook size based on the yarn weight. This is indicated with a small icon that looks like a skein of yarn with a number on it.

For example, a skein of WeCrochet’s Brava Worsted recommends hook sizes 5.25mm (I) through 6.5mm (K). This is my go-to yarn for amigurumi, and I use a 4.0mm (G) hook when making projects with it.
In addition to using a smaller than the recommended hook size, you’ll also want to consider your tension. If you crochet fairly loosely, you may want to go even smaller in hook size. If you crochet very tightly, you might not need to go down quite as far. This is something you’ll know for sure through trial and error.
You can read more about this in my full post on choosing a hook size for amigurumi.
Have a Full Set of Crochet Hooks
One of the best amigurumi tips I can give you is to have a full set of crochet hooks on hand. This allows you to easily adjust your hook size whenever you need to, which is key to getting the right tension for every project. My absolute favorite hooks are the Clover Amour hooks, and a great budget-friendly alternative is WeCrochet’s Bright set.
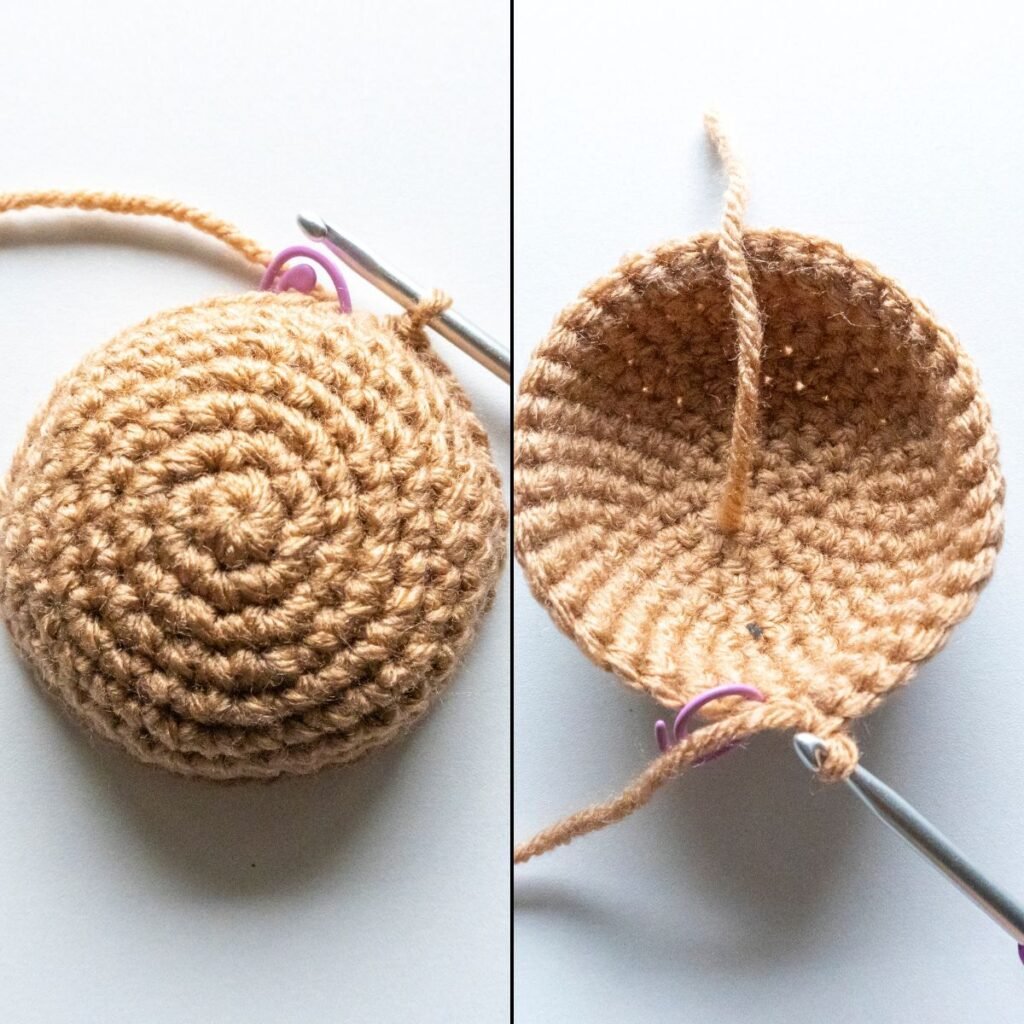
2. Know the Right Side (RS) vs. Wrong Side (WS) of Amigurumi
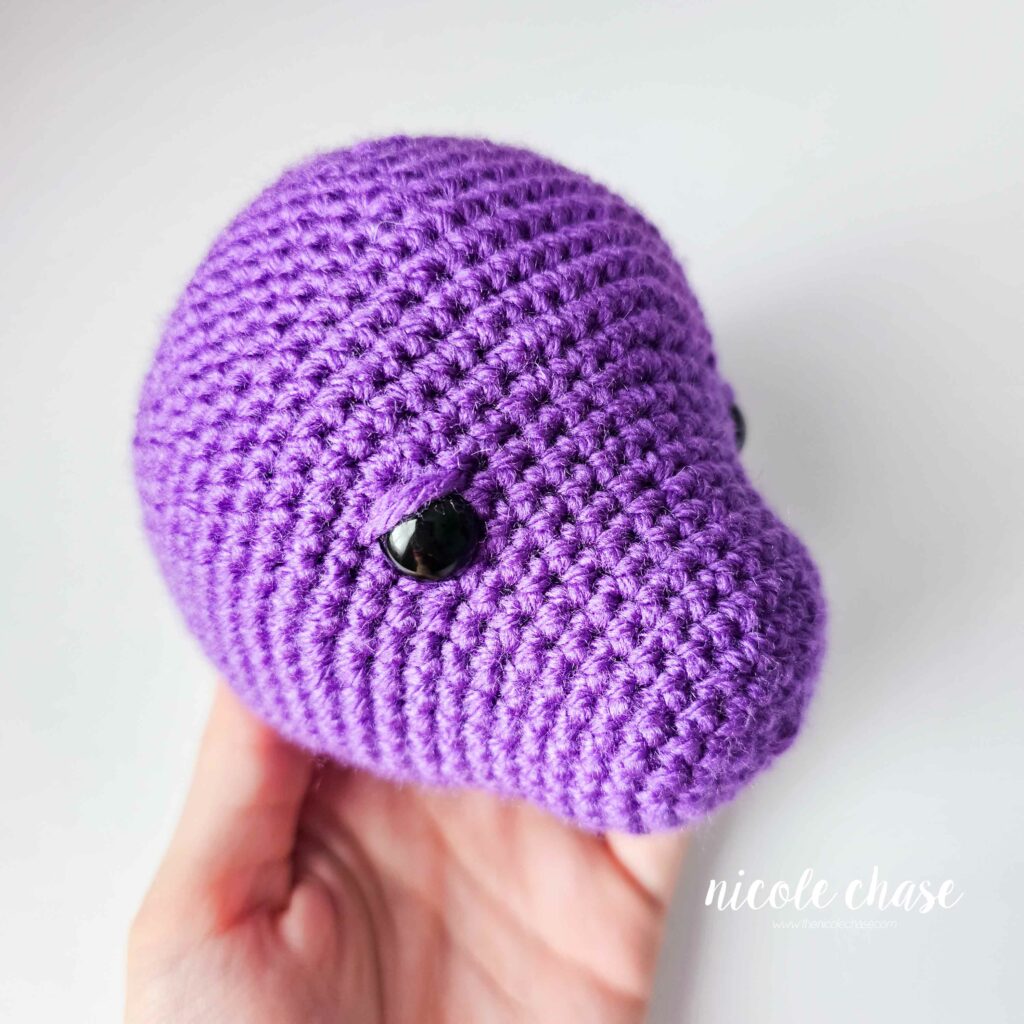
The key to a professional-looking amigurumi toy is ensuring the correct side of the fabric is facing outwards. When you work in a spiral, one side (the Right Side or RS) will look much cleaner, with flatter V-stitches, while the Wrong Side (WS) has a slightly bumpier texture.
- General Rule: The right side should always be facing out. If you are struggling to tell the difference, and for a full visual breakdown, read my full guide on identifying the right side vs. wrong side of amigurumi.
- Foundational Help: Since almost all amigurumi is worked in a continuous spiral, if you are new to the technique, make sure to master working in the round with this complete tutorial.
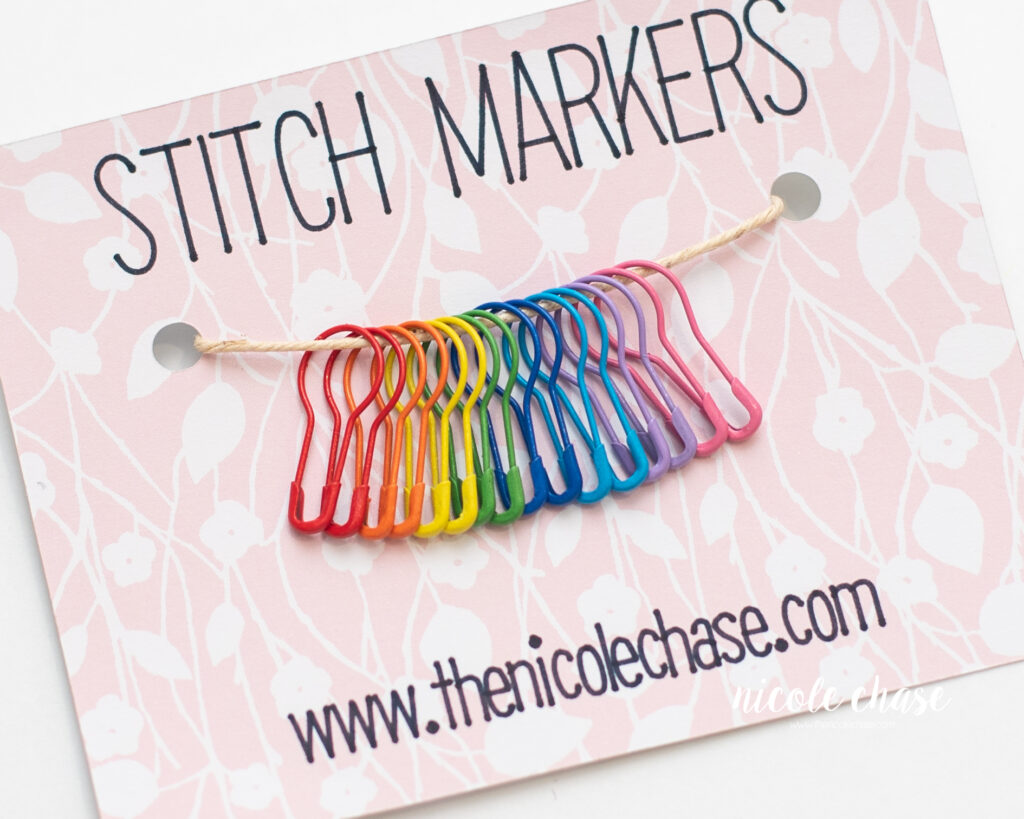
3. Use Stitch Markers
One of the most important amigurumi tips for beginners is to use stitch markers. Since amigurumi is worked in continuous rounds, you don’t join the end of each round. Without counting every single stitch, it is nearly impossible to keep track of where you are. This is where stitch markers become a true lifesaver: they let you know where you are so you can crochet while binge-watching your favoring Netflix show!
Stitch markers are easy to use. After you work the first stitch of a new round, simply loop your stitch marker through the top of that stitch. When you get back to the marker, remove it, work the first stitch of the next round, and insert the marker into that new stitch.
I prefer using locking stitch markers so they don’t slip out. I highly recommend these plastic stitch markers.
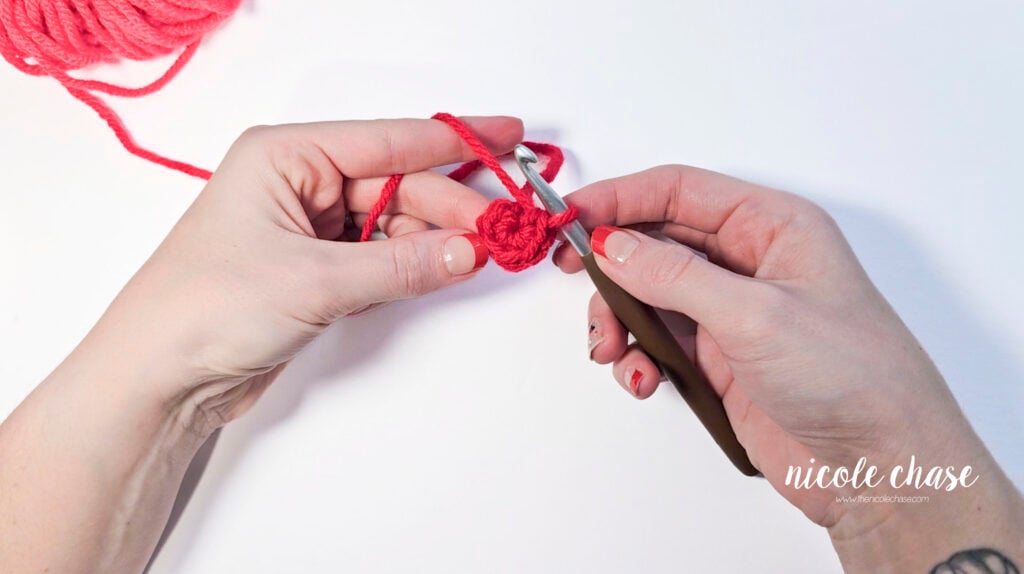
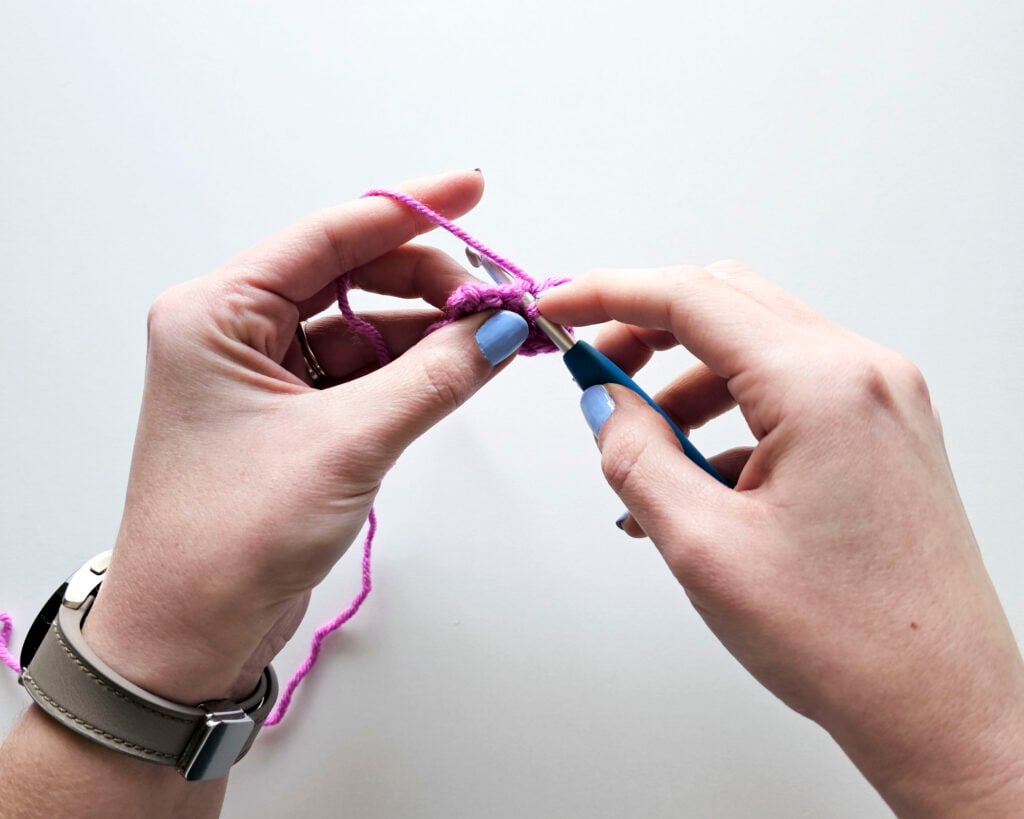
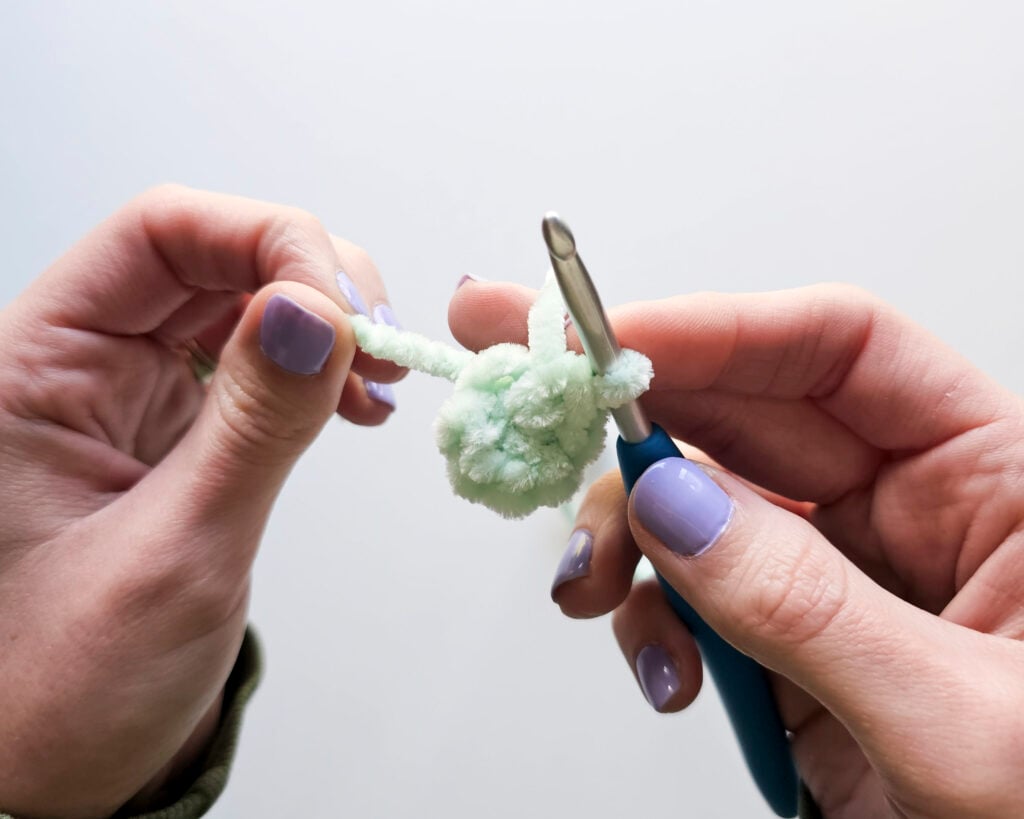
4. Use the Magic Ring (or Alternative)
Nearly all amigurumi patterns begin with the magic ring (sometimes called the magic circle). This technique allows you to start your project with a small circle of stitches that can be pulled tight, eliminating a hole that traditional chains can leave.
- Alternative: If you struggle with the magic ring, you aren’t alone. An alternative is to use the chain 2 method, which is a great magic ring alternative.
- For a step-by-step guide on how to start any project perfectly, follow my full tutorial on how to crochet the magic ring (plus alternative method).
5. Learn the Invisible Decrease
Learning the single crochet invisible decrease can be an absolute game-changer and is one of the best amigurumi tips. An invisible decrease creates a much smoother, less bulky stitch, which makes your finished projects look more polished and professional. Because of this, all of my amigurumi patterns recommend using the invisible decrease.
You may see increases and decreases written a few different ways. In my patterns, I use “2 SC” for a single crochet increase and “SC2tog” for a single crochet decreases. Other patterns may use “INC” and “DEC”.
Learning the single crochet invisible decrease can be an absolute game changer and one of the best amigurumi tips. All of my amigurumi patterns recommend using the invisible decrease.
How to do the Invisible Decrease (SC2tog)
- Insert your hook into the front loop of the first stitch.
- Insert your hook into the front loop of the second stitch.
- Yarn over and draw through the first two loops on your hook.
- Yarn over and draw through both loops on your hook.
If you want to learn more about the single crochet invisible decrease, check out the full post with photo and video tutorials.
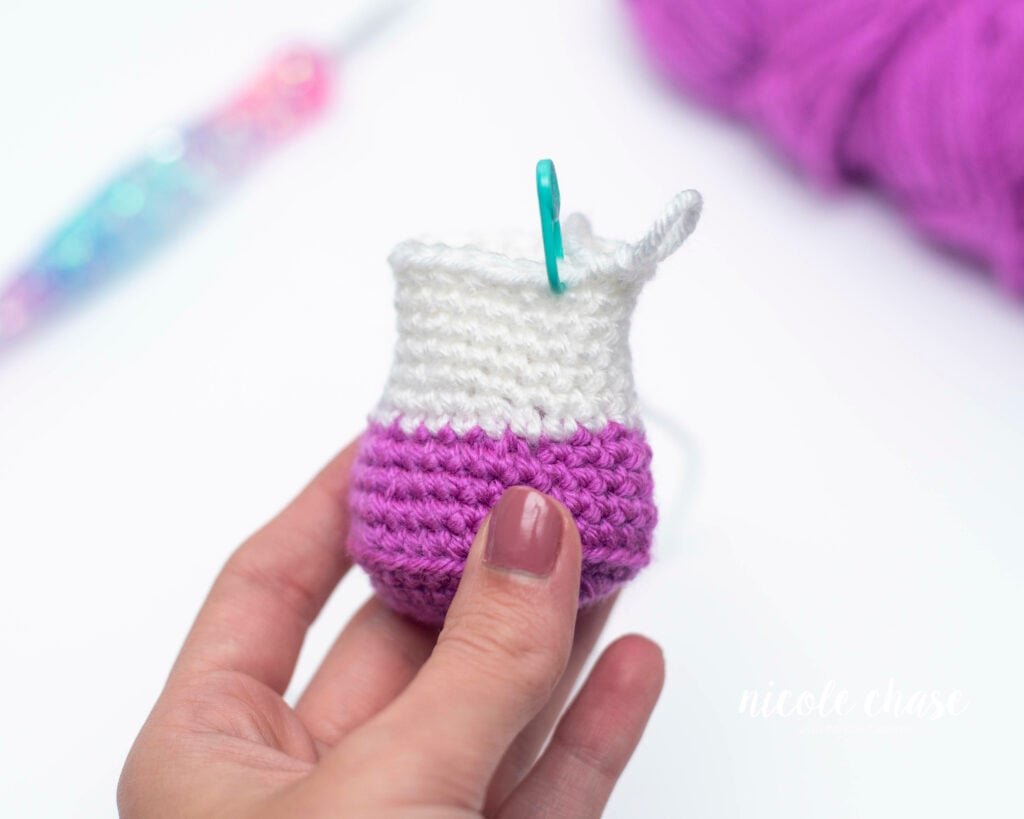
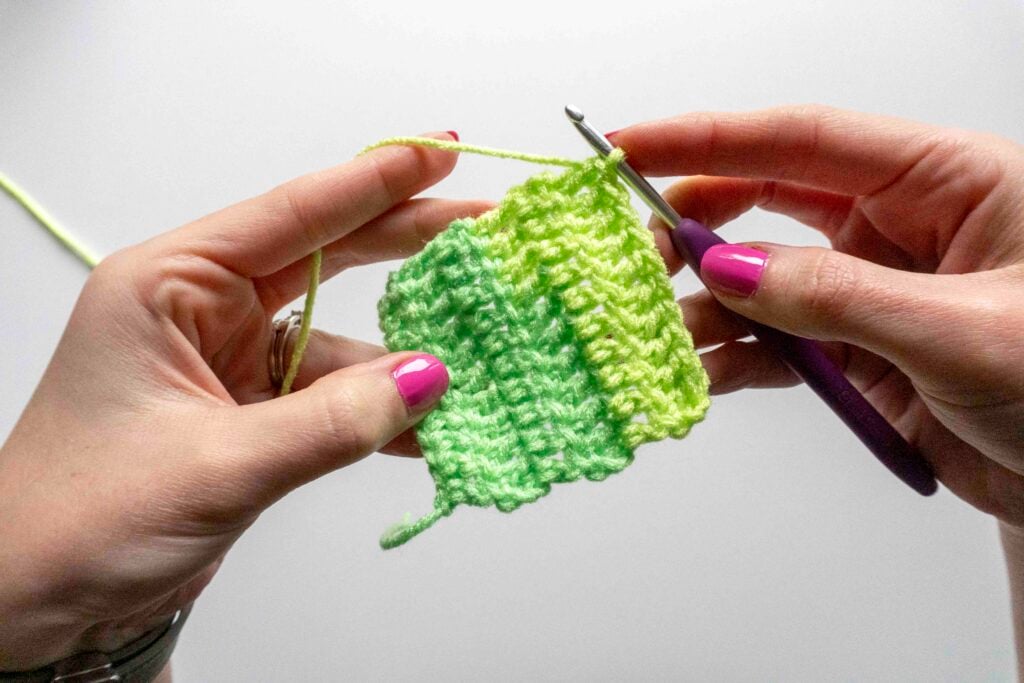
6. Learn Seamless Color Changes
Have you ever made a color change that left a noticeable “step” in your work? This next of my crochet tips for amigurumi is to learn a simple, seamless color change technique. This allows you to discreetly change from one color to the next, making the transition almost impossible to detect.
Check out the full post on the seamless color change to learn exactly how to do it!
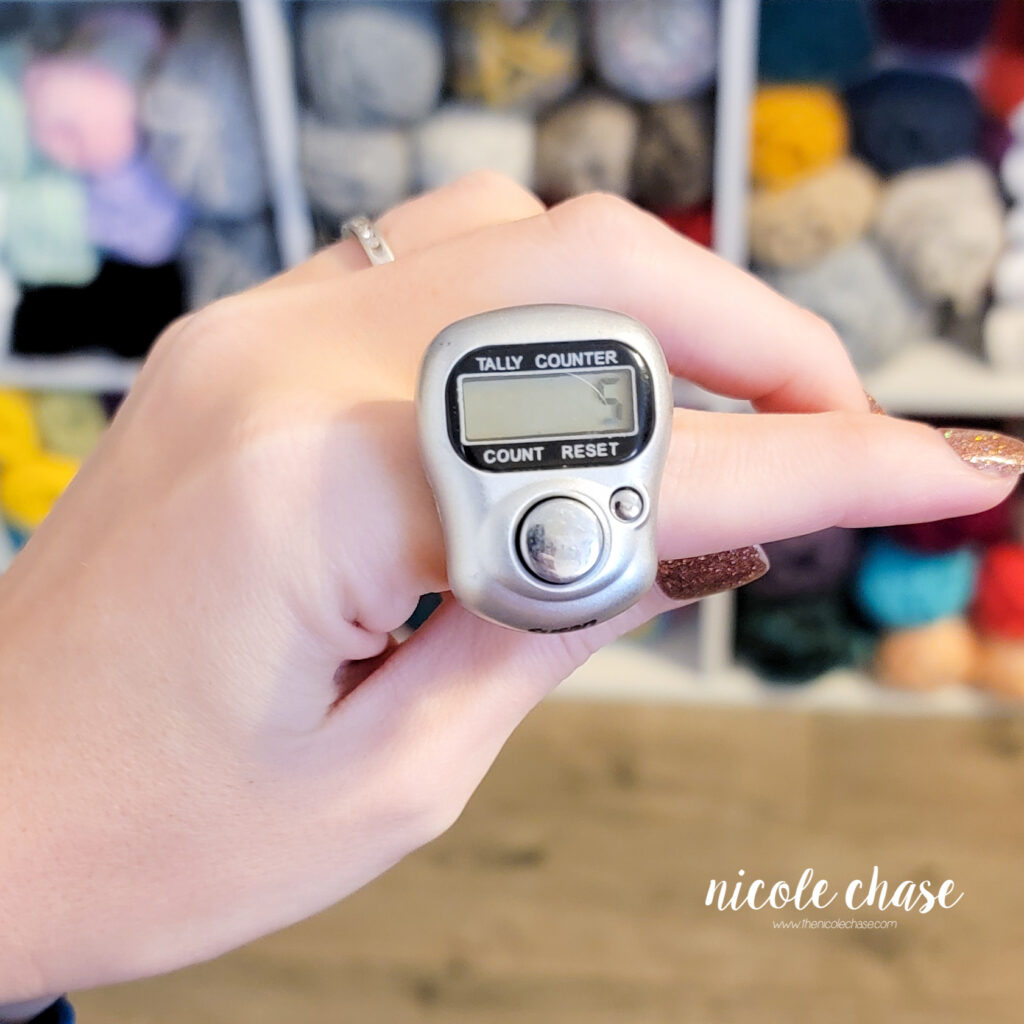
7. Use a Row Counter
While a row counter isn’t a necessity, it’s one of the most useful amigurumi tips you can get. When you’re working a lot of continuous rounds, your stitches can all start to blend together. Rather than constantly going back and counting your rounds, you can just click the button on your counter after each round to make sure you never lose your place. This handy tool isn’t just for amigurumi, you can use it for all sorts of crochet projects.
The row counter I use is amazing because it wraps around your finger like a ring, so you don’t have to worry about misplacing it every time you put it down. You can find a row counter just like the one I use here.
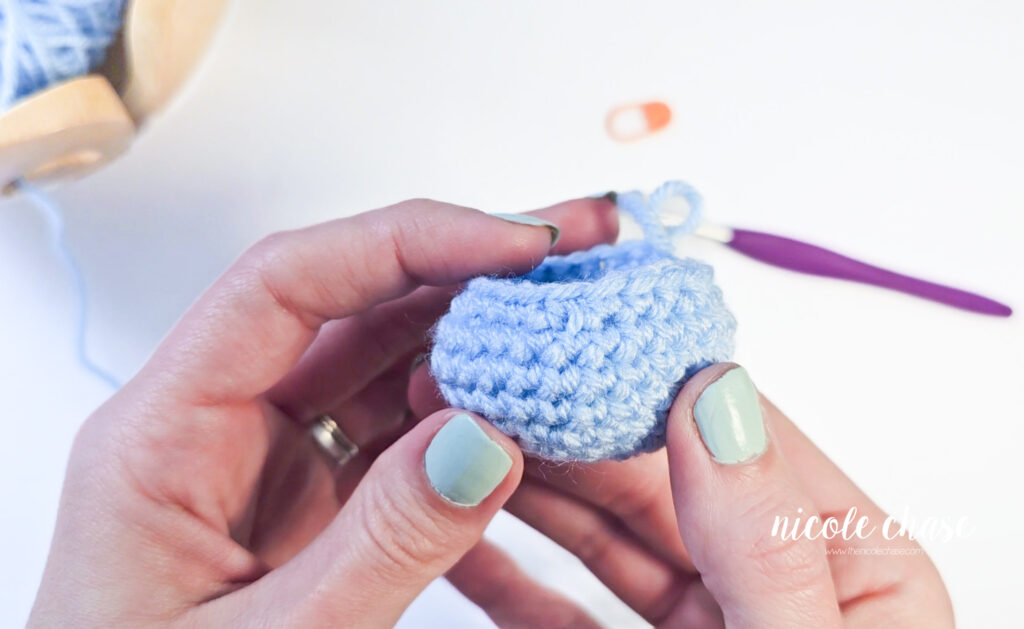
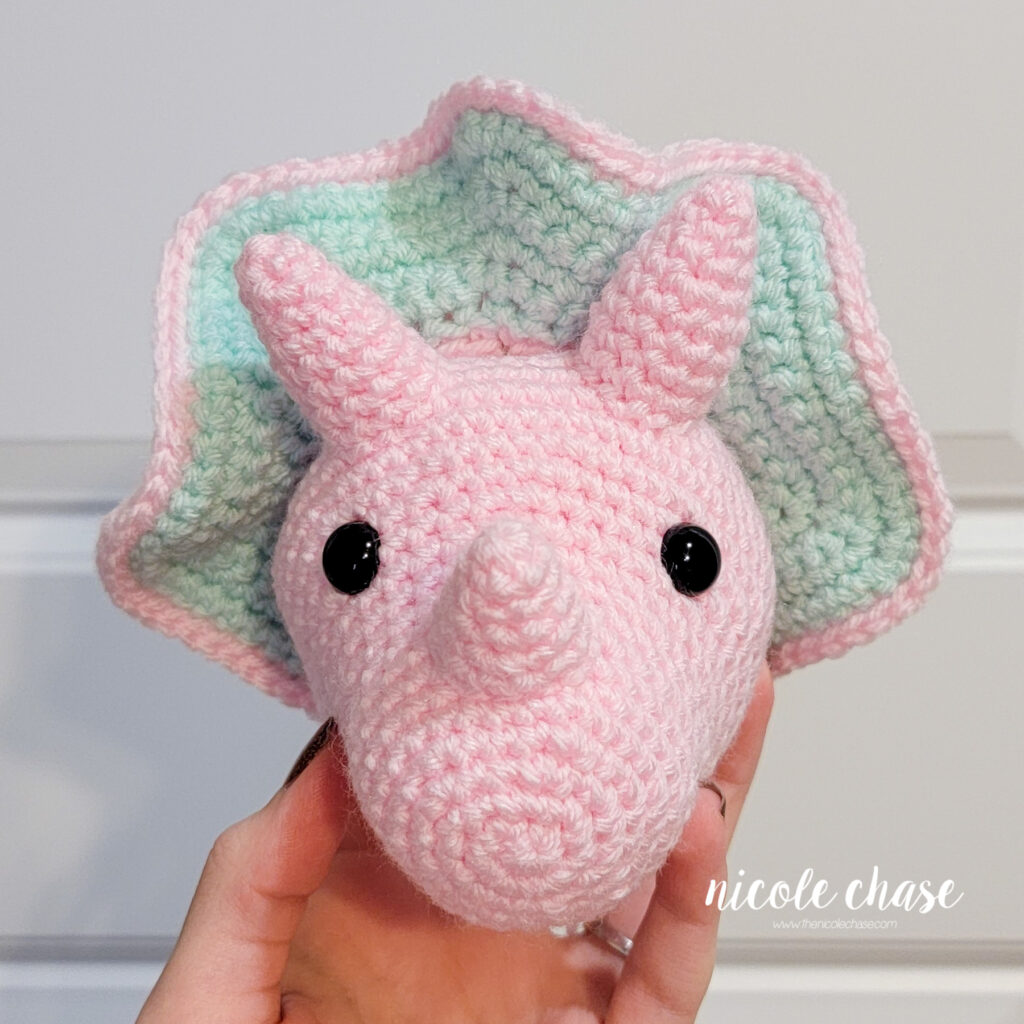
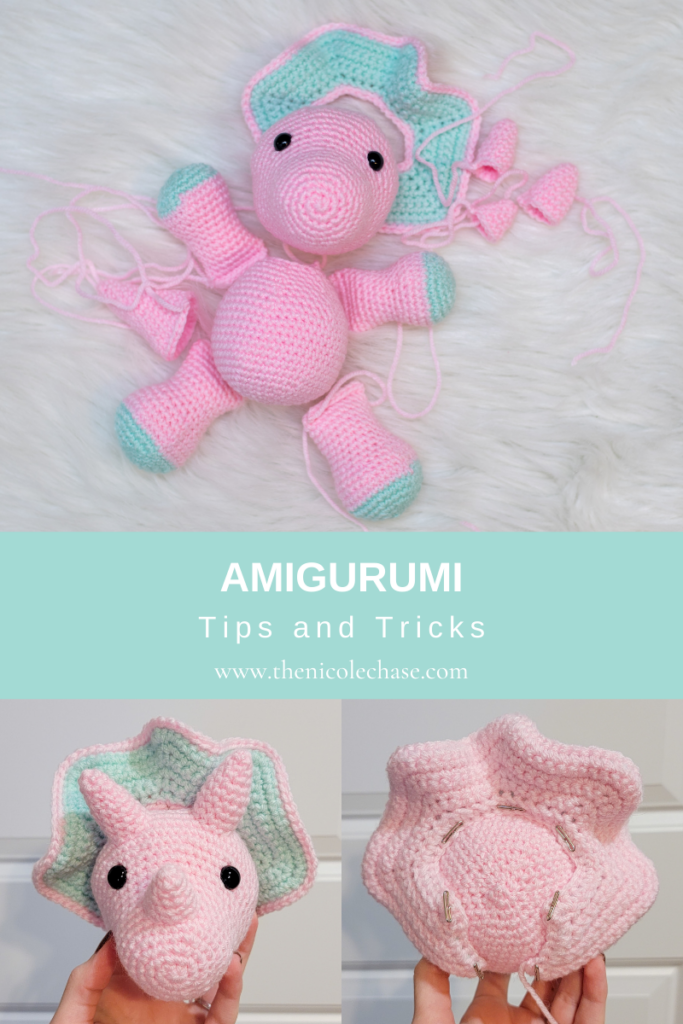
8. Don’t Overstuff Your Amigurumi
One of the most important amigurumi tips is to make sure you don’t overstuff your creations! While you don’t want a super floppy finished piece, overstuffing is a common mistake that can stretch your stitches and cause the stuffing to show through. Even if you’ve been careful with your hook size, too much poly-fil can ruin the look of your piece.
How to Stuff Your Projects Perfectly
The key is to insert only small bits of stuffing at a time. Pull your stuffing apart and insert a small, even amount. Think of it like fluffing a pillow. This gives you better control and prevents the yarn from stretching.
As you stuff, roll the piece in your hand to spread the stuffing evenly and push it to the sides. Your finished piece should be firm but not hard. Keep an eye on your stitches to ensure that you aren’t stretching them out. You can also smooth the outside to make sure there are no clumps or bumps.
And if you are struggling with the head of your amigurumi flopping around, be sure to check out my pos ton how to prevent a wobbly head!
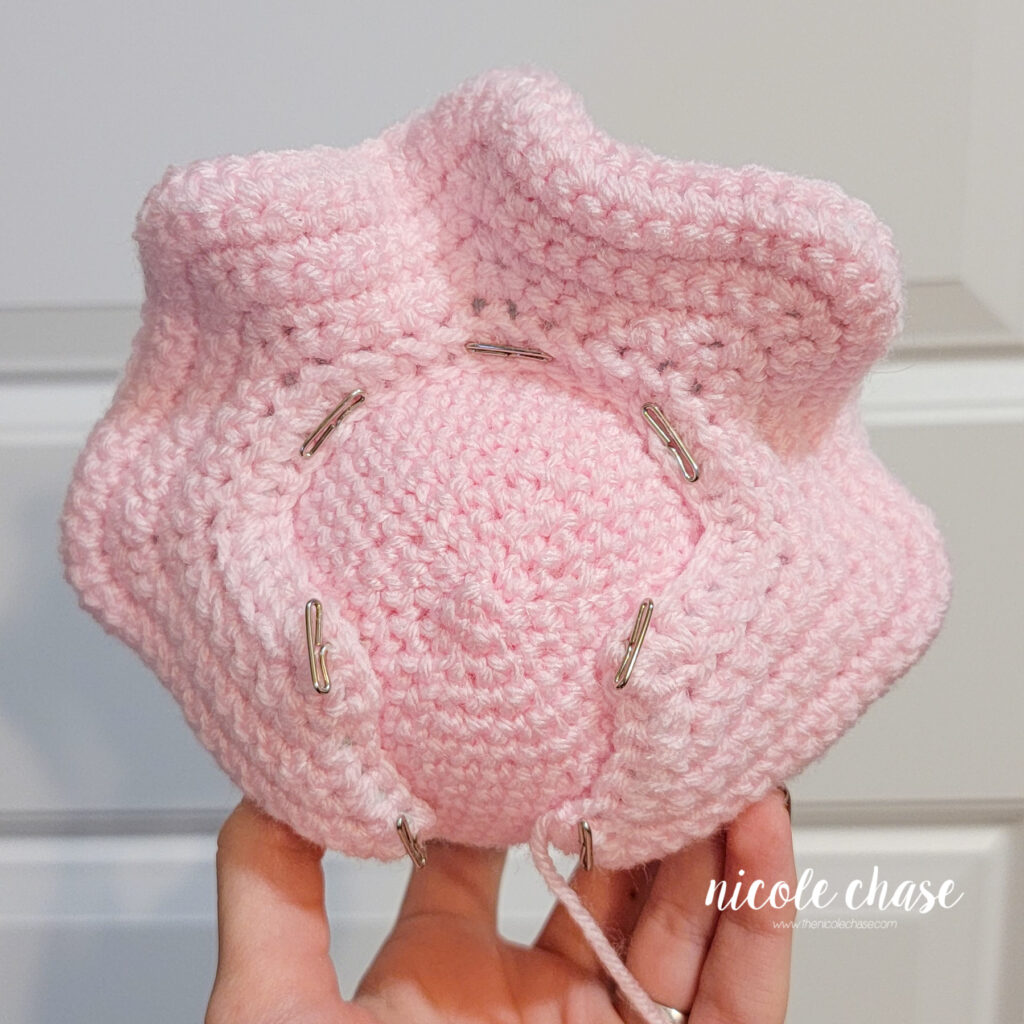
9. Use Pins for Assembly
One of the most important amigurumi tips I can share is to use pins for assembly! There’s nothing worse than sewing on a piece, only to realize it’s crooked. Pins nearly eliminate that from happening, making assembly less frustrating. You’ll just place your pieces where you want them to be, and then insert the pins to hold everything in place.
While any straight pin will do, my favorite type to use for amigurumi are T-pins. If you do any blocking, you likely already have these on hand. You can also use knitting needles, which are often decorated and called “amigurumi sewing sticks” to help with larger pieces or projects made from plush yarn. As you sew, just remove the pins as you go.
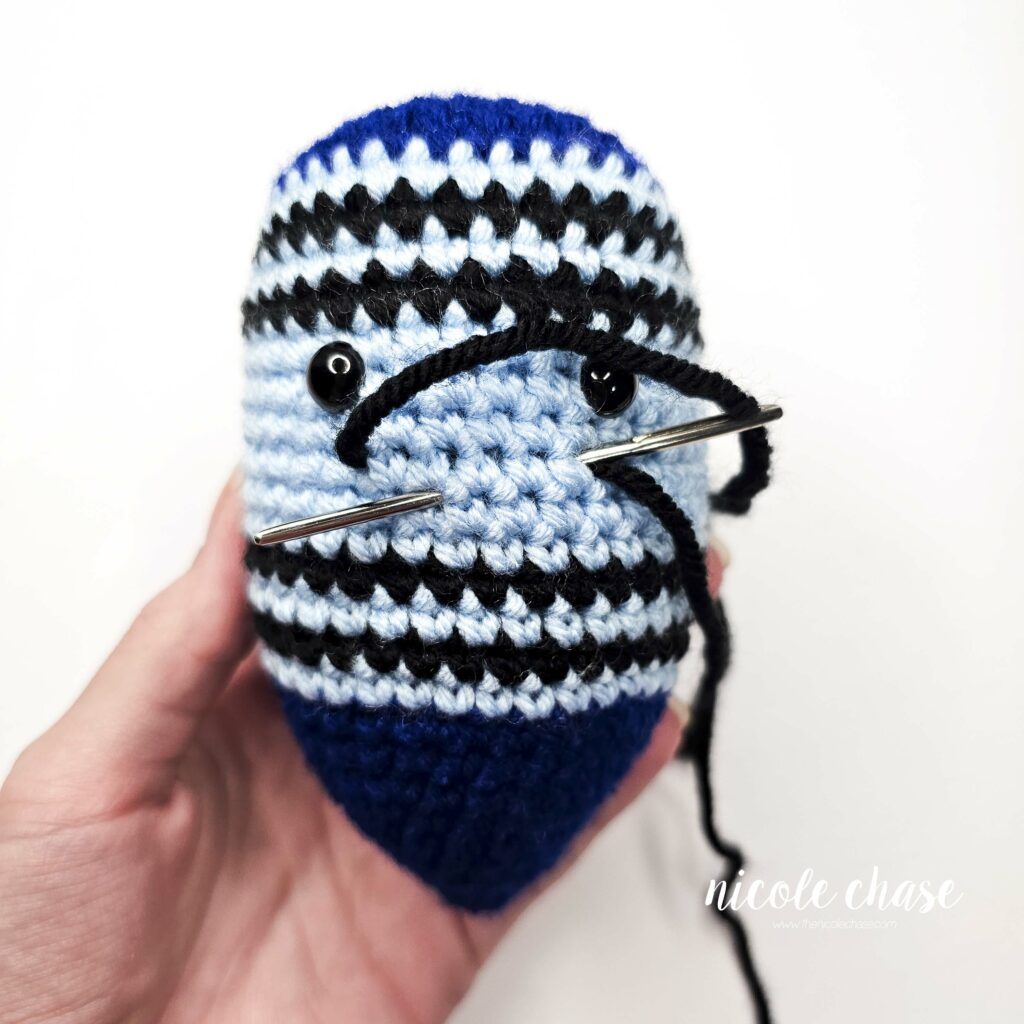
10. Get Confident with Embroidery
While plastic safety eyes, noses, and buttons can be super useful, sometimes they aren’t right for your project. If the toy is intended for infants or young children, these can be choking hazards. Embroidery is the safest way to add expression and detail to your amigurumi, and there are so many cute possibilities.
- If you are new to amigurumi embroidery, I have a complete guide on how to embroider amigurumi details right here on my blog!
Your Turn!
Have you found these amigurumi tips for beginners helpful? What are your favorite crochet tips that you would add to this list? Leave a comment below!

Amigurumi Tips for Beginners: FAQ
What kind of yarn is best for amigurumi?
The best yarn for amigurumi is typically a smooth, durable yarn that holds its shape well. Many crocheters use worsted-weight yarn, as it is widely available and easy to work with. Cotton yarn is a great option and provides excellent stitch definition. Plush yarn is also a very popular choice for creating soft, huggable projects.
My amigurumi stitches are too loose and the stuffing is showing. What should I do?
This is a very common issue! The best way to prevent your stuffing from showing is to use a smaller crochet hook. This makes your stitches tighter and more compact, which is key to creating a professional-looking finished piece.
How do I prevent my amigurumi from having a wobbly head?
The best way to prevent a wobbly head is to make sure you stuff the neck and head very firmly. You can also add a support structure inside the body and neck before you stuff and assemble the head for extra support and stability.
More Resources for Amigurumi Success
I hope that you’ve enjoyed this collection of crochet tips for amigurumi. To ensure you have everything you need to succeed with your next project, check out these other resources to help you master the fundamentals and discover your next favorite pattern.
- Materials Checklist: Everything you need to get started is listed here on my collection of essential amigurumi supplies.
- Master the Fundamentals: If you need a refresher on the basic stitches, look at my complete guide to basic crochet stitches.
- Discover New Projects: Browse my full collection of projects in my free amigurumi crochet patterns library.
- More Free Patterns: Find new ideas in my post on where to find free crochet patterns.


I hope you enjoyed this post! Be sure to leave me a comment below to let me know what you think.
Want to see more from me? Be sure to subscribe to my email newsletter so that you never miss a post!
Follow along with me on Instagram for daily updates and a behind the scenes look at my designs.
I’d love to see what you make with this tutorial! Don’t forget to share your finished work with me: on social media by tagging me @thenicolechase, in your Ravelry projects, or post over in my Facebook group!
Thanks for stopping by! Happy crafting!
Nicole
PATTERN COPYRIGHT © 2026 NICOLE CHASE. ALL RIGHTS RESERVED.
PATTERN MAY NOT BE ALTERED, COPIED, REDISTRIBUTED OR SOLD AS YOUR OWN PATTERN.
YOU MAY SELL THE FINISHED PRODUCT ON A SMALL SCALE. PATTERN/DESIGN CREDIT GIVEN TO WWW.THENICOLECHASE.COM IS APPRECIATED. PERMISSION TO SELL DOES NOT INCLUDE MASS PRODUCTION. LARGE SCALE PRODUCTION IS PROHIBITED.
PHOTOGRAPHY COPYRIGHT © 2026 NICOLE CHASE. ALL RIGHTS RESERVED.
PHOTOS MAY NOT BE ALTERED, COPIED, REDISTRIBUTED OR SOLD AS YOUR OWN.
This post may contain affiliate links. If you make a purchase through links on our site, we may earn a commission.
What is the best stich to use when sewing on arms and legs? how do you make it look good?
Hello! I use the whip stitch technique for the most part. I always use pins to hold the pieces in place before securing anything, and be sure to pull the yarn very tight as you sew. Hope that helps!
Why do you leave one stitch unworked on both sides of the finished folded arm, leg, ear? I am making Daniel the Dog.
Hello! The unworked stitch is to accommodate the fold. Without it, it can sometimes be difficult to get your hook through both stitches on the ends.
Thank you for those tips – they were very helpful Nicole!!!
I love to hear that, enjoy!
Switching to yarn unders rather than yarn overs was an absolute game changer for my amigurumi
Thanks for sharing!
Do you yarn under every time, instead of yarn over? I am just thinking about trying amigurumi. I am a terrible perfectionist and would appreciate any and all good tips. Thank you in advance.
Hello! I don’t, I yarn over every time. I’ve tried yarn under a few times and I’m not a big fan of it myself. The only real difference is the appearance of the stitches. While yarn under generally gives a tighter stitch/smaller project, as long as you have consistent tension and the proper hook size, you can still have tight stitches with yarn over. Hope that helps!
I would also highly recommend a curved tapestry needle for sewing pieces together.
Yess! A good sturdy one too! I have one that is a little too thin and it does not do the job. Haha.