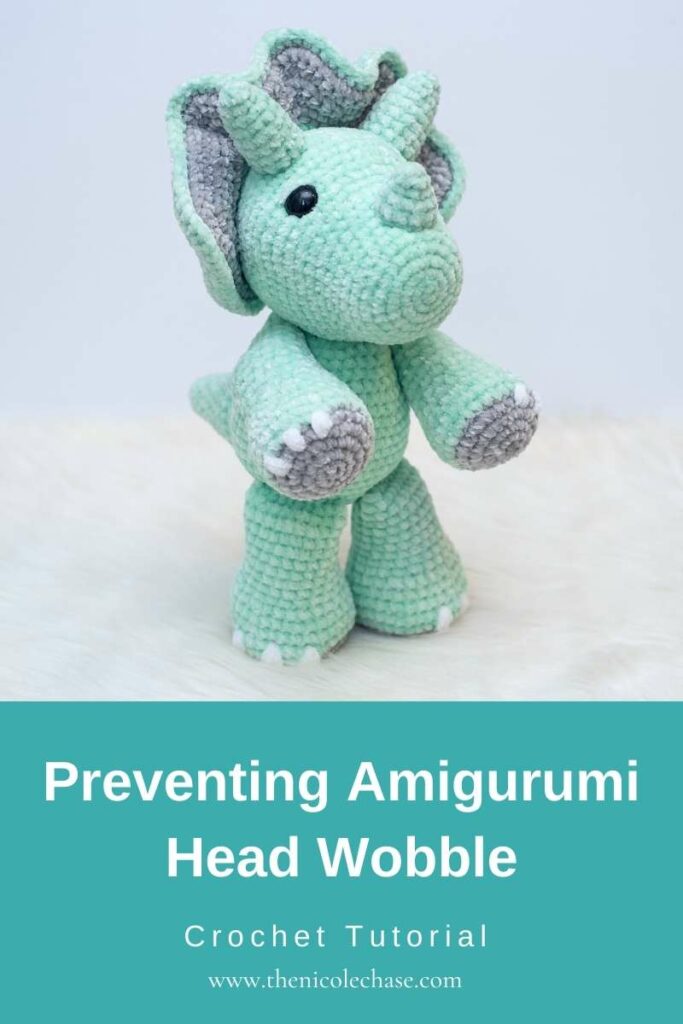
Preventing Amigurumi Head Wobble
This post may contain affiliate links. If you make a purchase through links on our site, we may earn a commission.
There is nothing more frustrating after finishing a fun amigurumi project, than having the head flop around, leaving your plushie looking droopy and sad. In this post I will show you my favorite tips on how to avoid a floppy head amigurumi.
This method doesn’t require any extra tools or supplies that you wouldn’t already have on hand when making amigurumi. They key to preventing the floppy head on your amigurumi is just stuffing and sewing!
I use these tips every time I’m attaching amigurumi heads. You can find more of my favorite amigurumi tips and my amigurumi crochet patterns for free right here on my blog!
Pin this tutorial for later.
Table of Contents
Stuffing Your Project
Stuffing has a big impact on the stability of your amigurumi’s head and neck, and is easily one of the most important steps when creating an amigurumi. It is really easy to over stuff or under stuff your project, both with their own detriments.
Over Stuffing
If you add too much stuffing, your stitches will stretch and the stuffing will show through the fabric of your work. It is important to use the proper hook size for your amigurumi projects, but that careful hook size choice won’t make a difference if you fill your piece with too much poly-fil stuffing.
Additionally, it is important that while you are stuffing your project, you pull the stuffing apart and insert one small piece of stuffing at a time. While it is tempting to use larger pieces, the stuffing directly from the bag is very dense. This can create unwanted lumps and bumps on your amigurumi project.
Under Stuffing
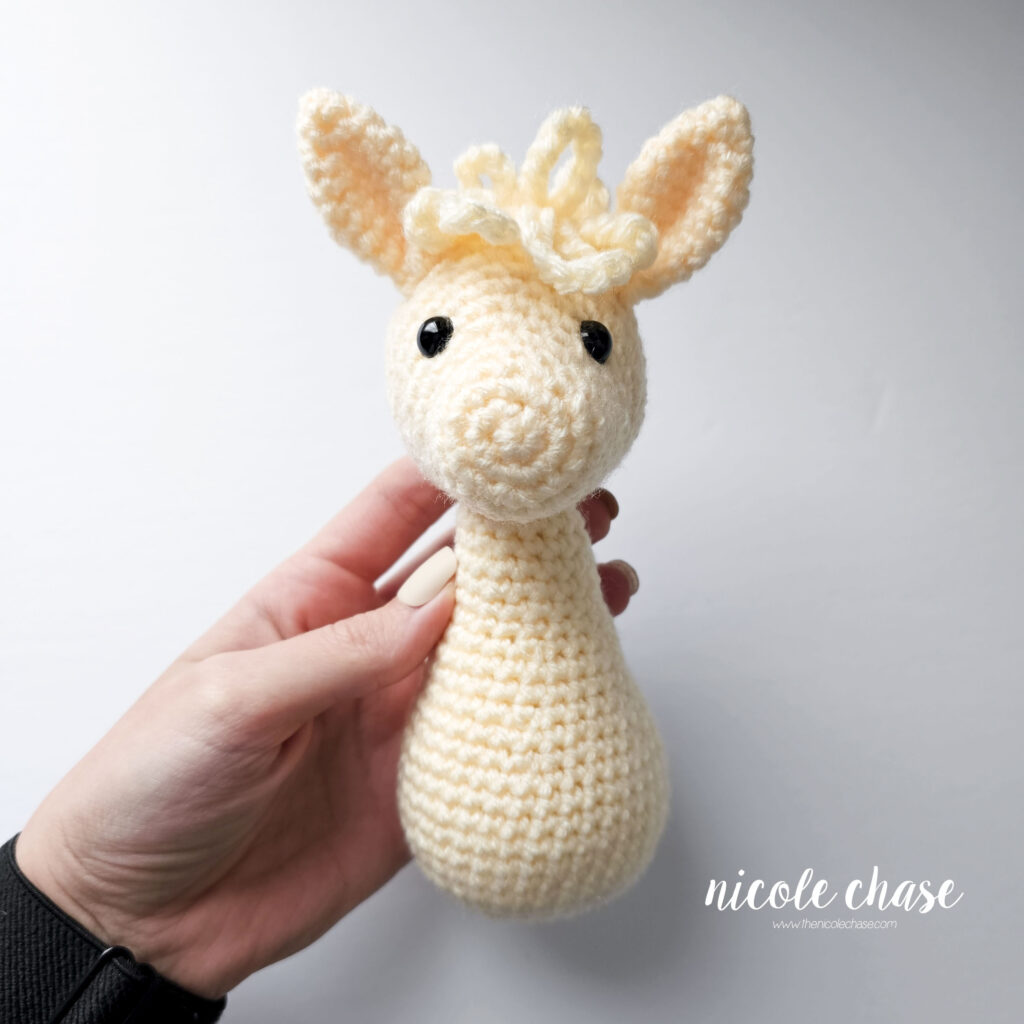
Under stuffing is often the primary cause of a floppy head in amigurumi. Generally speaking, the body or neck piece is typically not stuffed enough to support the weight of the head. The head just needs a bit of extra support and stabilization. This can be an easy fix and doesn’t require any extra tools or pieces. More on this in a bit!
Sewing and Assembly
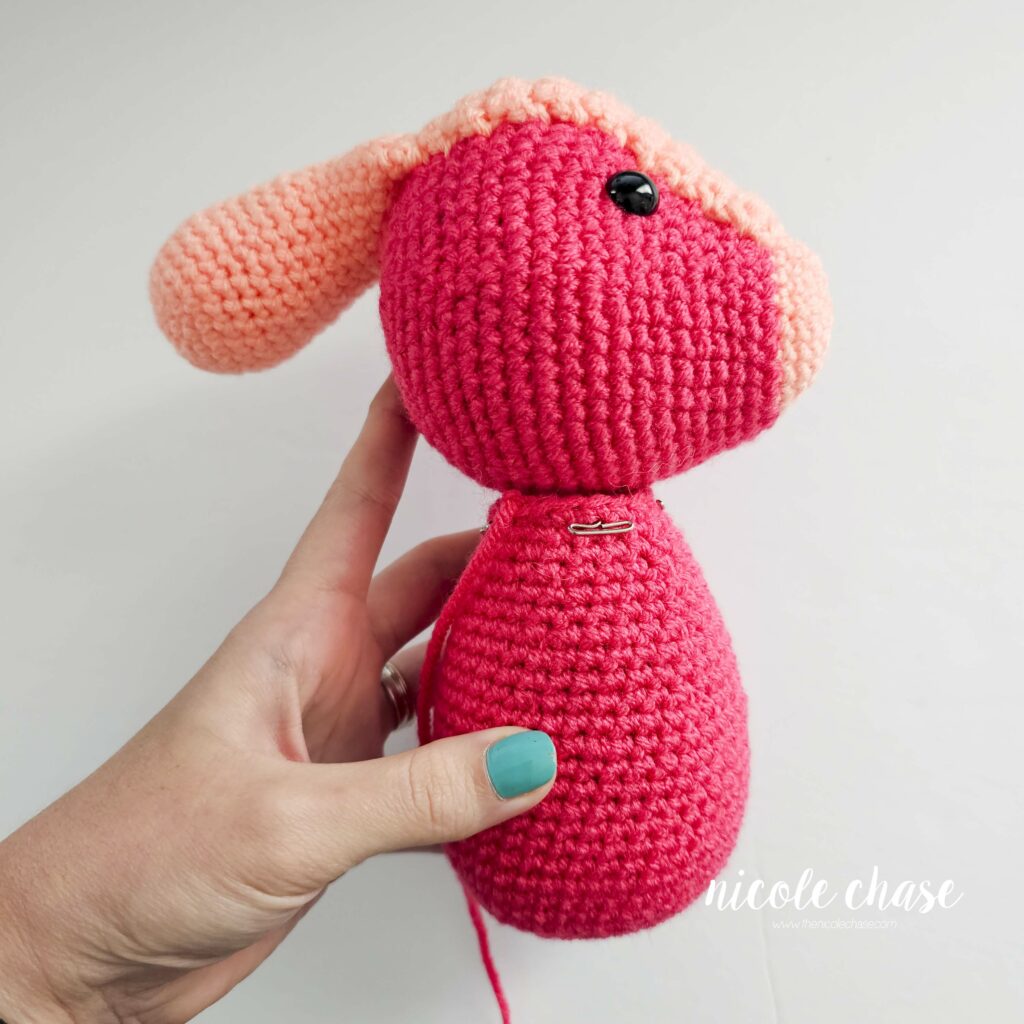
Sewing and assembly can often be looked at as the most difficult part of an amigurumi project. I’ve found that using pins to help hold your pieces in place while you sew helps tremendously. My preference is to use T-pins, but any sort of pins will work just fine!
Be sure that when you are pinning the head and body, the body piece is pinned as wide as it can be. The more narrow the neck is, the easier it will be for the head to over take the neck strength.
When assembling an amigurumi, it is important to pull your yarn very tightly so that the stitches are being sewn together snugly. If your pieces are sewn on loosely, this can lead the pieces to flop over. Sewing your pieces tightly, in combination with proper stuffing, is the best way to avoid a floppy head amigurumi.
How to Avoid a Floppy Head Amigurumi
Combining everything that we discussed above, the best way to prevent the wobbly head in your amigurumi project is to add extra stuffing to the neck area, in combination with tight sewing.
Of course be sure that you are pulling your strand tightly as you sew around. Just before you finish attaching the head and body together, add a bit of extra stuffing in the hole. I leave a hole about an inch wide to put some extra stuffing inside the neck before I finish sewing the pieces together. Be sure to add only small pieces of stuffing in at a time so that you don’t overfill and stretch your stitches.
This keeps the body or neck of your project firm, and removes any extra space that would be left that would allow the head to flop over. The key is to provide the head with extra support, and adding extra stuffing in the gap does just that.
Video Tutorial
This video is also available on YouTube. Watch this video: Preventing Amigurumi Head Wobble on YouTube.
If you’re looking for more amigurumi tips, be sure to check out 7 best amigurumi tips and tricks or my other crochet tip articles. You may also like my article on amigurumi invisible color changes.

More Crochet Tutorials


First published December 2022.
I hope you enjoyed this post! Be sure to leave me a comment below to let me know what you think.
Want to see more from me? Be sure to subscribe to my email newsletter so that you never miss a post!
Follow along with me on Instagram for daily updates and a behind the scenes look at my designs.
I’d love to see what you make with this tutorial! Don’t forget to share your finished work with me: on social media by tagging me @thenicolechase, in your Ravelry projects, or post over in my Facebook group!
Thanks for stopping by! Happy crafting!
Nicole
PATTERN COPYRIGHT © 2026 NICOLE CHASE. ALL RIGHTS RESERVED.
PATTERN MAY NOT BE ALTERED, COPIED, REDISTRIBUTED OR SOLD AS YOUR OWN PATTERN.
YOU MAY SELL THE FINISHED PRODUCT ON A SMALL SCALE. PATTERN/DESIGN CREDIT GIVEN TO WWW.THENICOLECHASE.COM IS APPRECIATED. PERMISSION TO SELL DOES NOT INCLUDE MASS PRODUCTION. LARGE SCALE PRODUCTION IS PROHIBITED.
PHOTOGRAPHY COPYRIGHT © 2026 NICOLE CHASE. ALL RIGHTS RESERVED.
PHOTOS MAY NOT BE ALTERED, COPIED, REDISTRIBUTED OR SOLD AS YOUR OWN.
This post may contain affiliate links. If you make a purchase through links on our site, we may earn a commission.
Thank you so much on the information to prevent head wobbling.my first doll wobbled all the time and I didn’t know how to fix it.
I’m so glad it was helpful!