Slip Stitch and Fasten Off Crochet Tutorial
This post may contain affiliate links. If you make a purchase through links on our site, we may earn a commission.
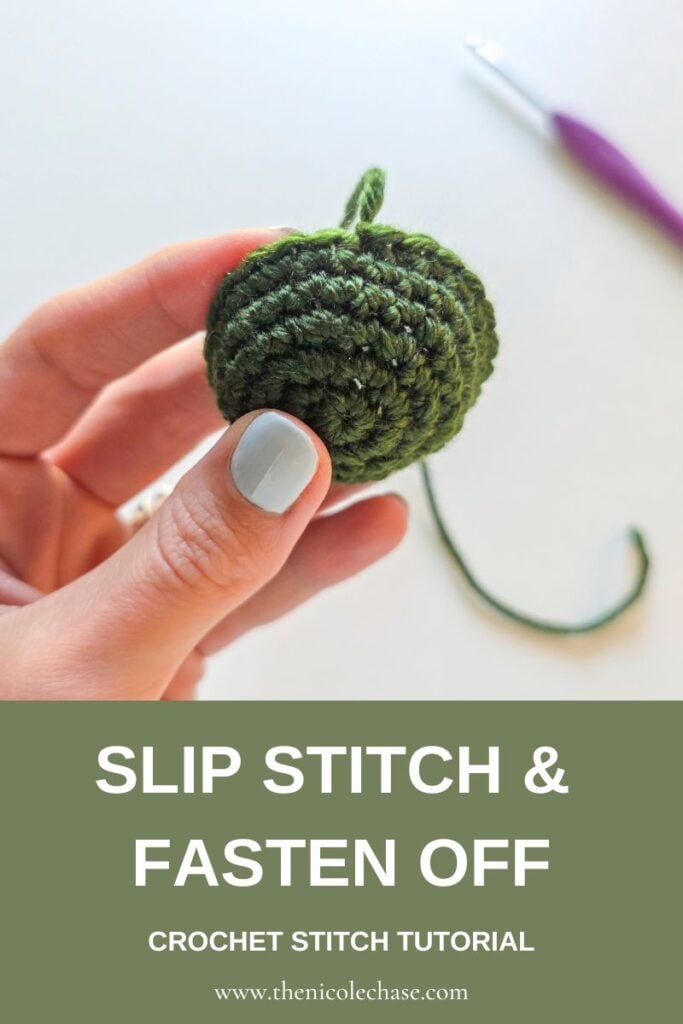
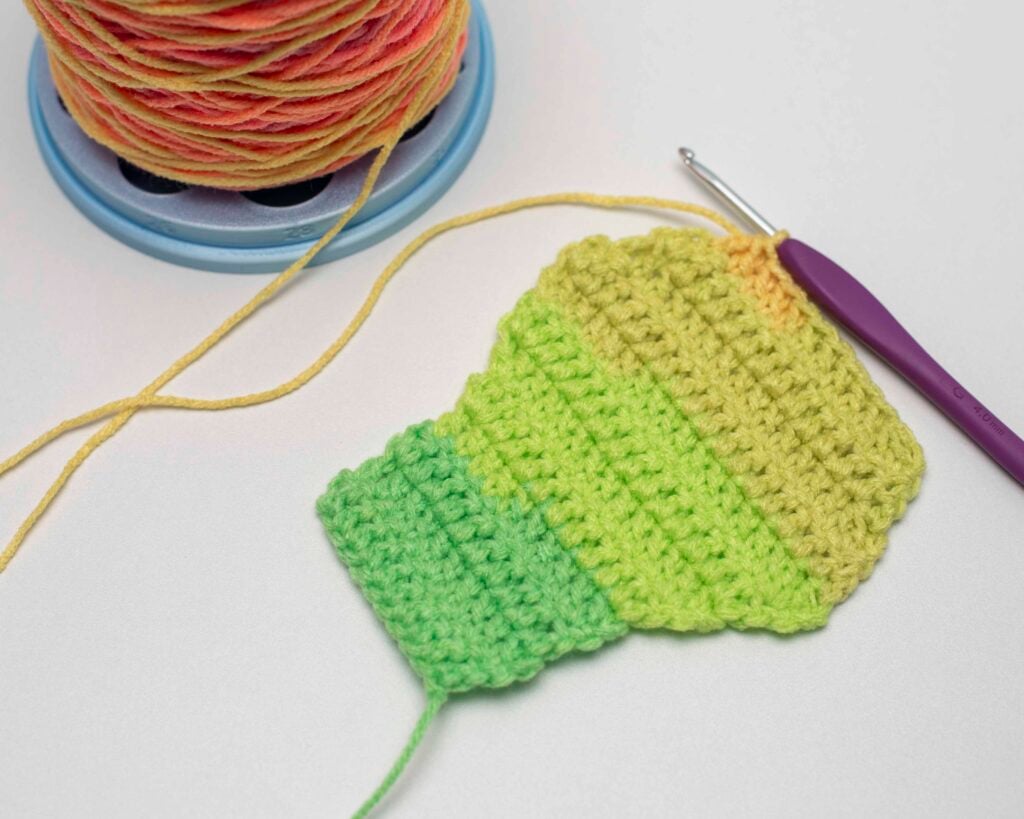
When you reach the end of a crochet project, finishing properly ensures your work looks polished and stays secure. Using a slip stitch (sl st) smooths out the final edge and fastening off locks your yarn in place so your hard work never unravels. In this tutorial, you will learn how to slip stitch and fasten off crochet work with clear written instructions and a step-by-step video guide.
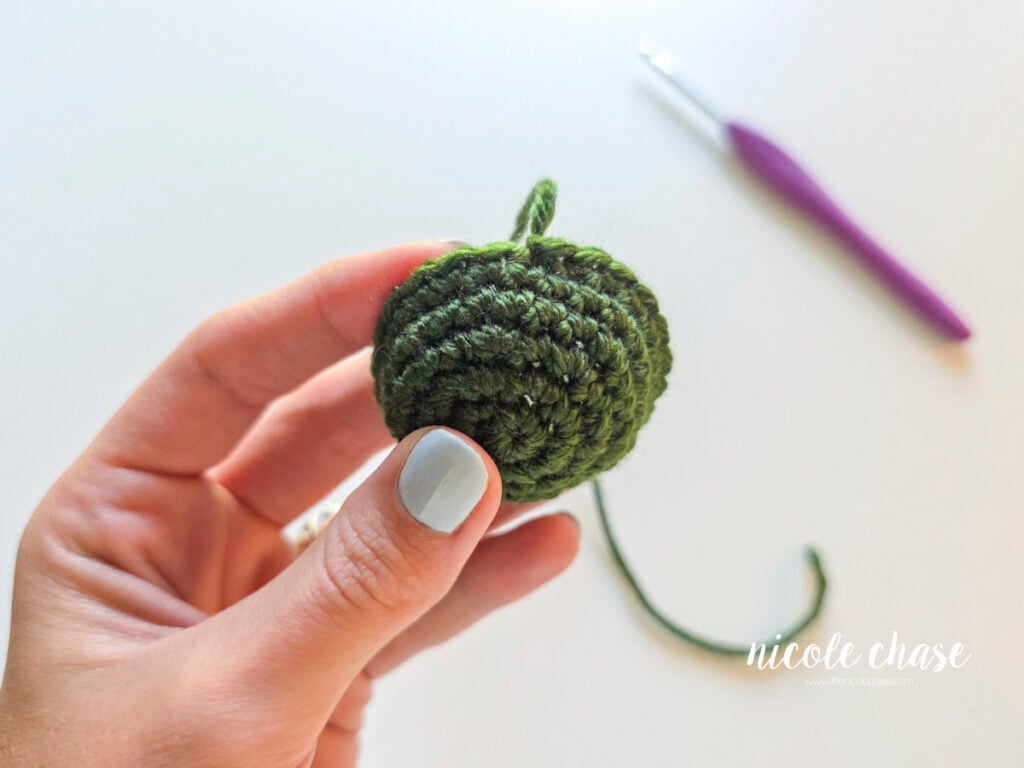
At A Glance: Slip Stitch & Fastening Off in Crochet
Learning how to slip stitch and fasten off gives your crochet projects a clean finish and prevents your work from unraveling. The slip stitch smooths out the transition at the end of a round or row, and fastening off locks your final stitch securely in place.
- Skill Level: Beginner-friendly.
- Relevant Abbreviations: Sl St, sl st, slst, FO.
- Best Used For: Amigurumi, plushies, blankets, garments, or any crochet projects worked in rounds or rows needing a finished edge.
- Tutorial Formats: Written step-by-step instructions, photo tutorial, troubleshooting tips, and a complete video walkthrough.
Table of Contents
What is a Slip Stitch in Crochet?
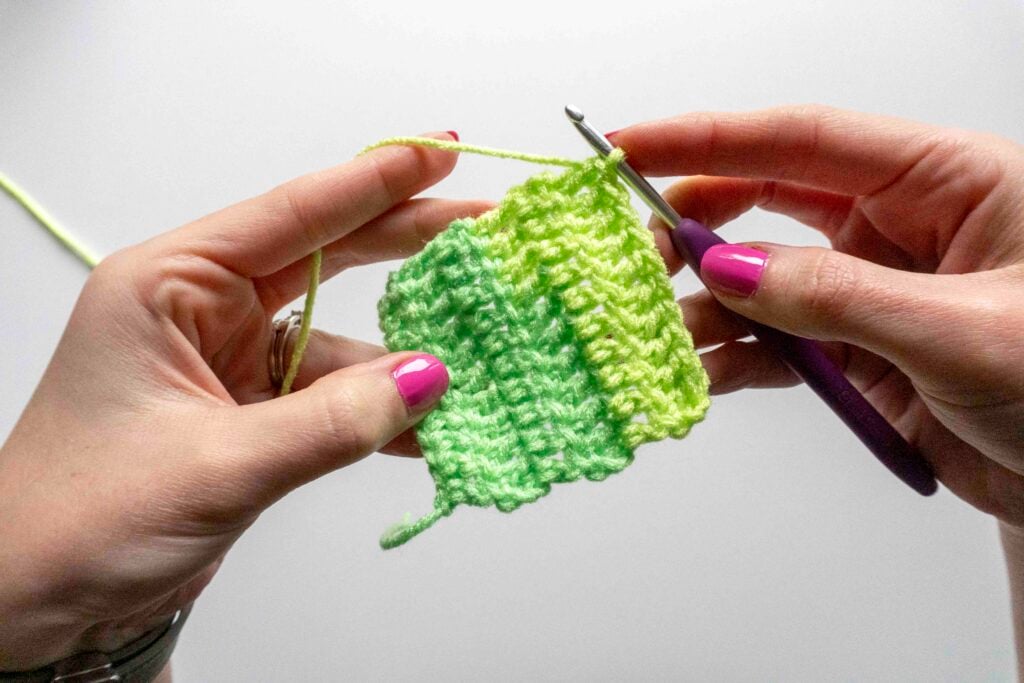
A slip stitch (abbreviated as sl st or slst in crochet patterns) is the shortest of all basic crochet stitches. Unlike single or double crochet, a slip stitch adds almost no height to your work.
In crochet patterns, slip stitches are most commonly used to:
- Smooth out edges: Step down the height of the final stitch at the end of a row or round before finishing off.
- Join rounds: Connect the last stitch to the first stitch in joined rounds (before making a chain to start the next row).
- Form chain rings: Join the ends of a foundation chain ring to begin projects worked in a larger round, such as granny squares.
- Add structure & surface details: Create a thicker strand along a chain, or join chain loops.
- Add finished edges: Create a clean decorative border around scarves, blankets, or hat brims.
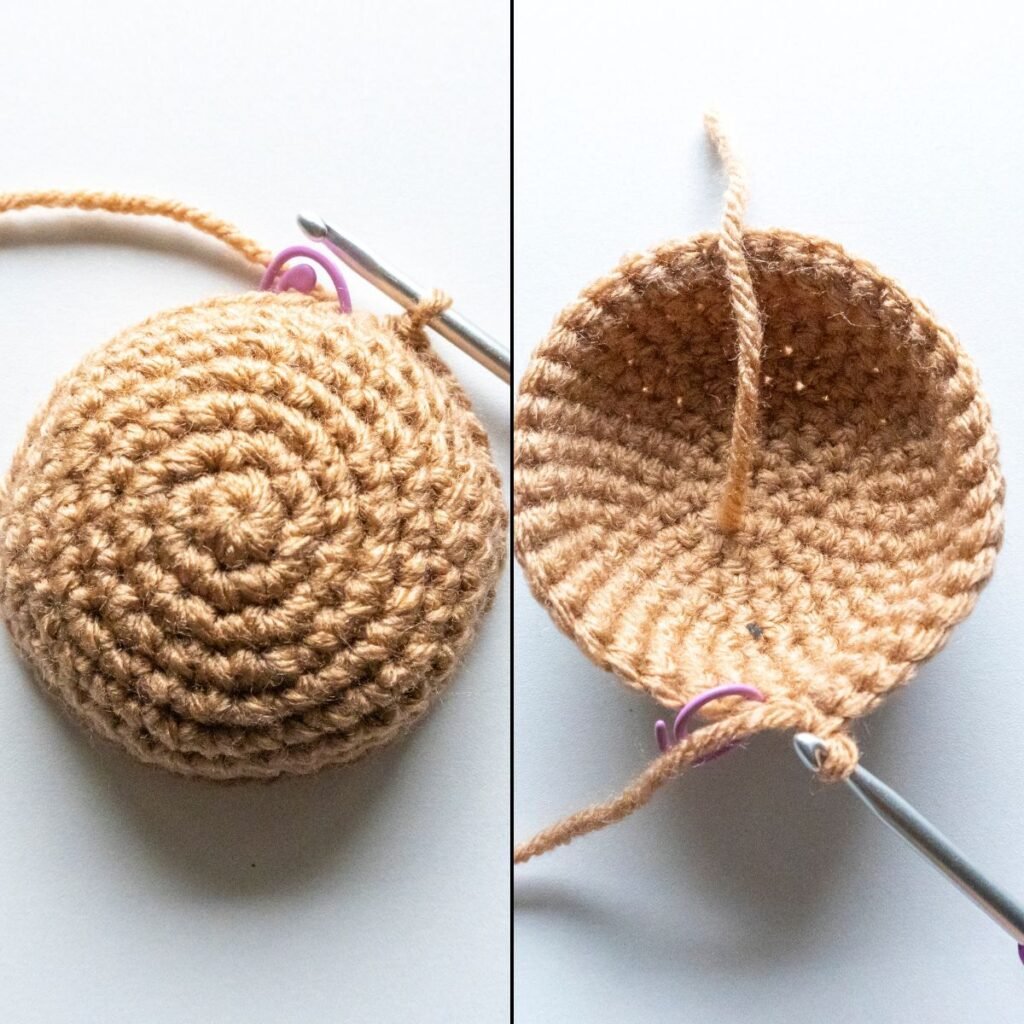
Pro Tip: In amigurumi, working a slip stitch before fastening off is ideal for open pieces that will be sewn flat onto a body because it smooths out that noticeable “step” or jog. For closed 3D pieces (such as a head that decreases all the way down to a tiny hole, or pieces that are crocheted closed), you typically skip the slip stitch and just fasten off directly, before moving on to closing the hole or simply leaving a long yarn tail for sewing.
What Does Fasten Off Mean in Crochet?
When a crochet pattern instructs you to fasten off (sometimes abbreviated as FO in patterns) it simply means securing your yarn so your stitches cannot unravel. Every single crochet project ends with fastening off; it is the final step that locks your last loop in place.
In written patterns, you will typically see it phrased as:
- “Cut yarn, leaving long strand for sewing. Fasten off.”
- “Fasten off and weave in ends.”
What to Do After Fastening Off
- For Amigurumi Plushies: If you are making individual parts (like arms, legs, or ears), you may need to leave a long yarn tail when fastening off so that you can later sew the pieces together.
- For Blankets, Hats, & Garments: If your project does not require assembly, use a yarn needle to weave the remaining yarn tail back and forth through the back of your stitches to hide it securely.
How to Make a Slip Stitch (sl st) in Crochet
Follow these simple step-by-step instructions to create a slip stitch:
Step 1: Insert your crochet hook under both loops of the next stitch.
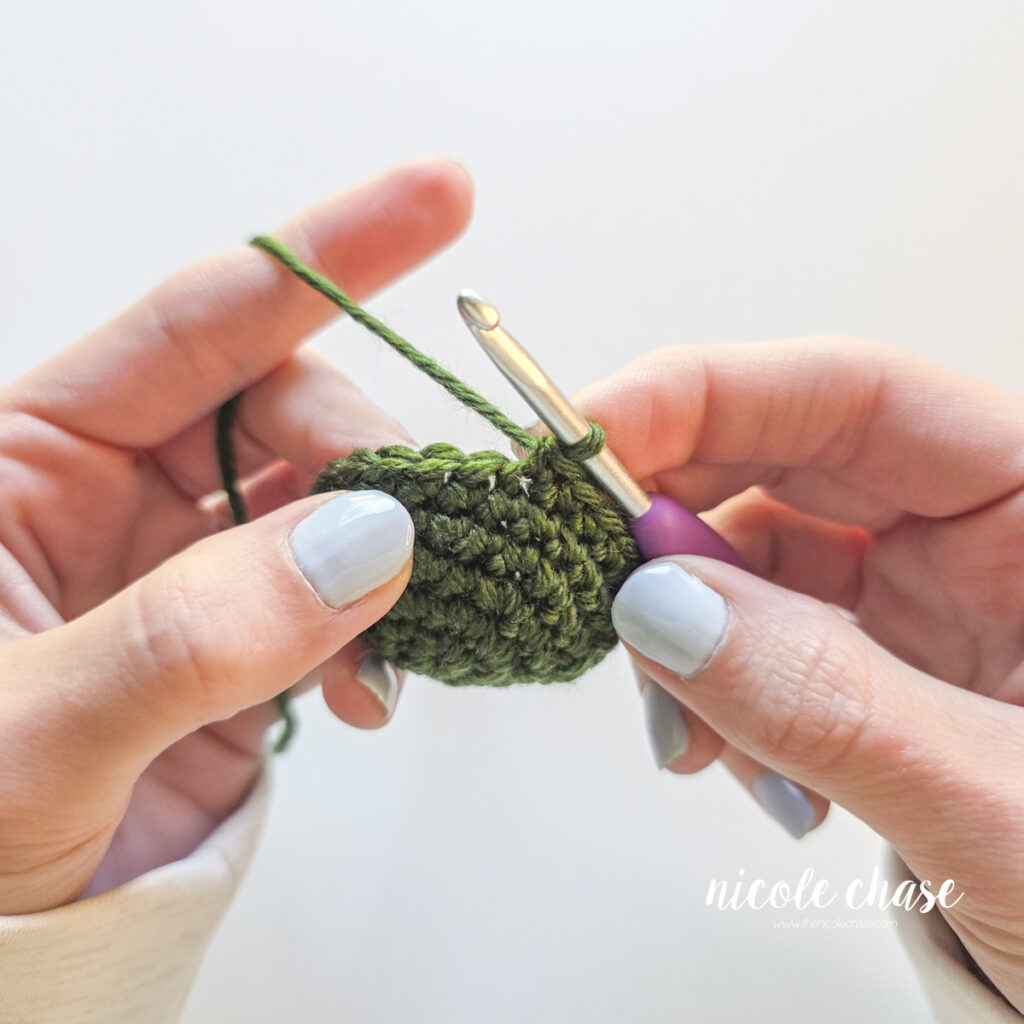
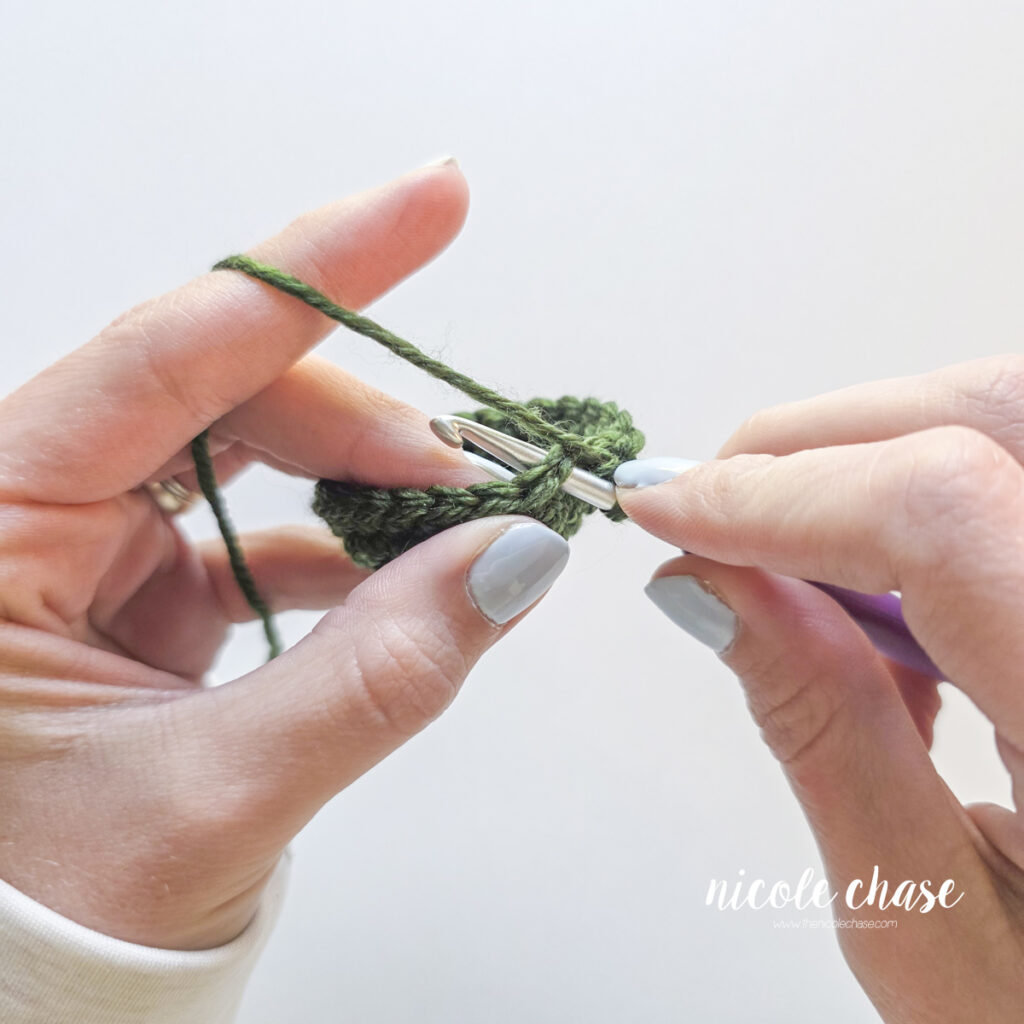
Step 2: Yarn over by grabbing the working yarn with your hook.
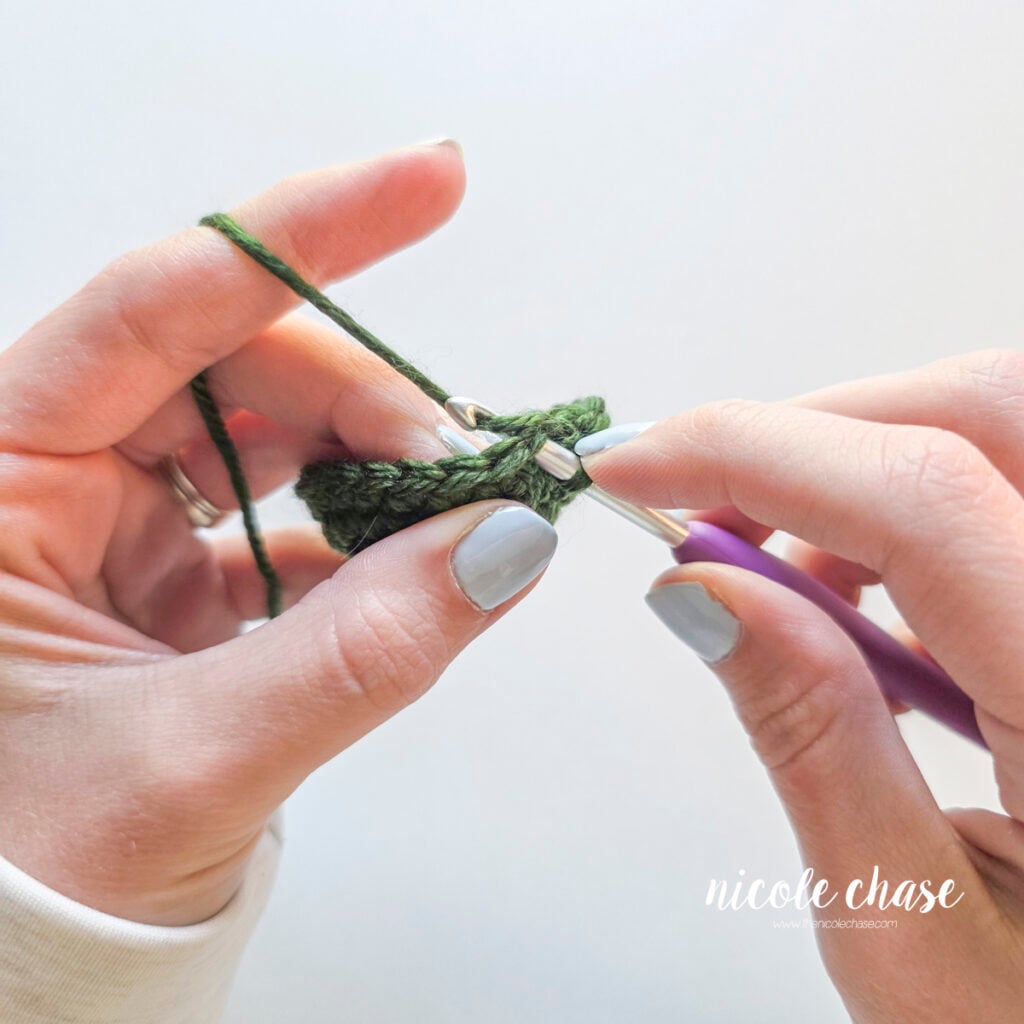
Step 3: Pull the loop of working yarn through the stitch. Continue pulling that same working yarn through the loop on your hook. This completes the slip stitch.
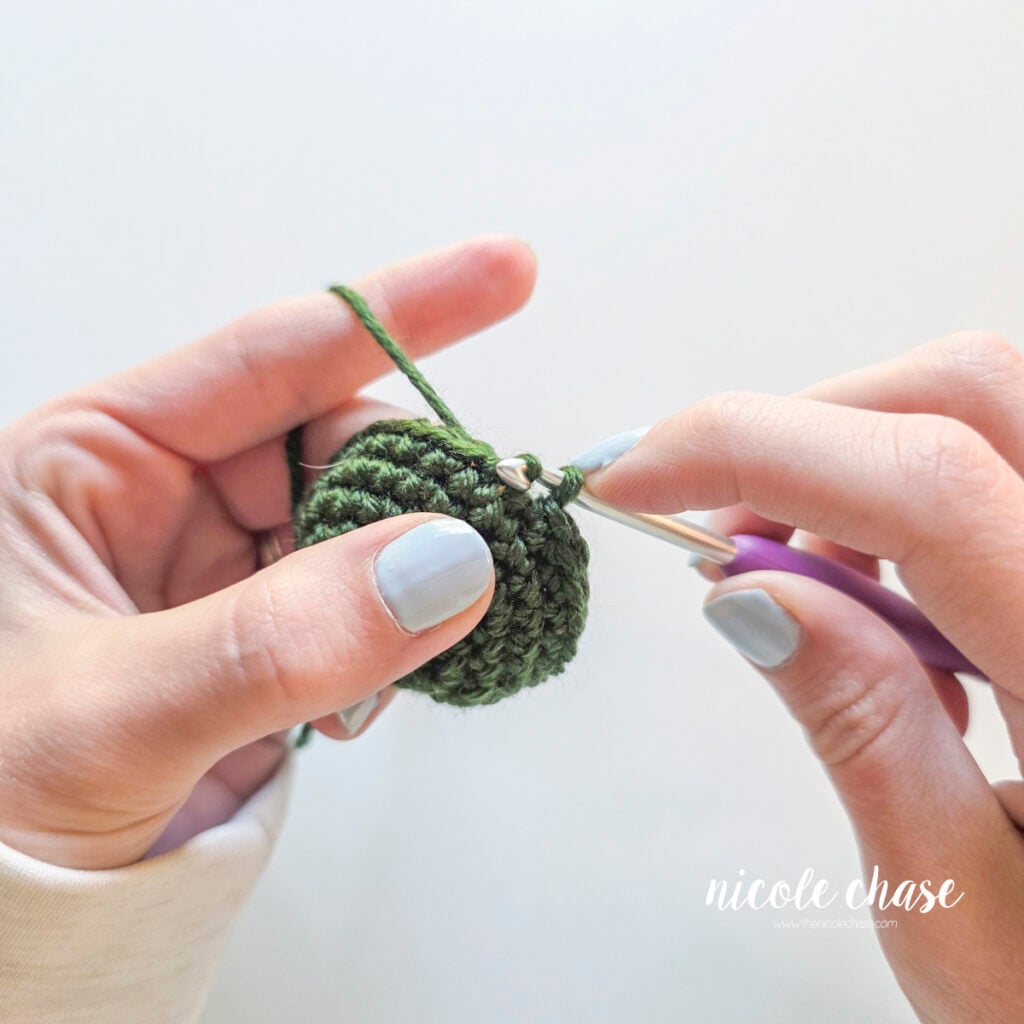
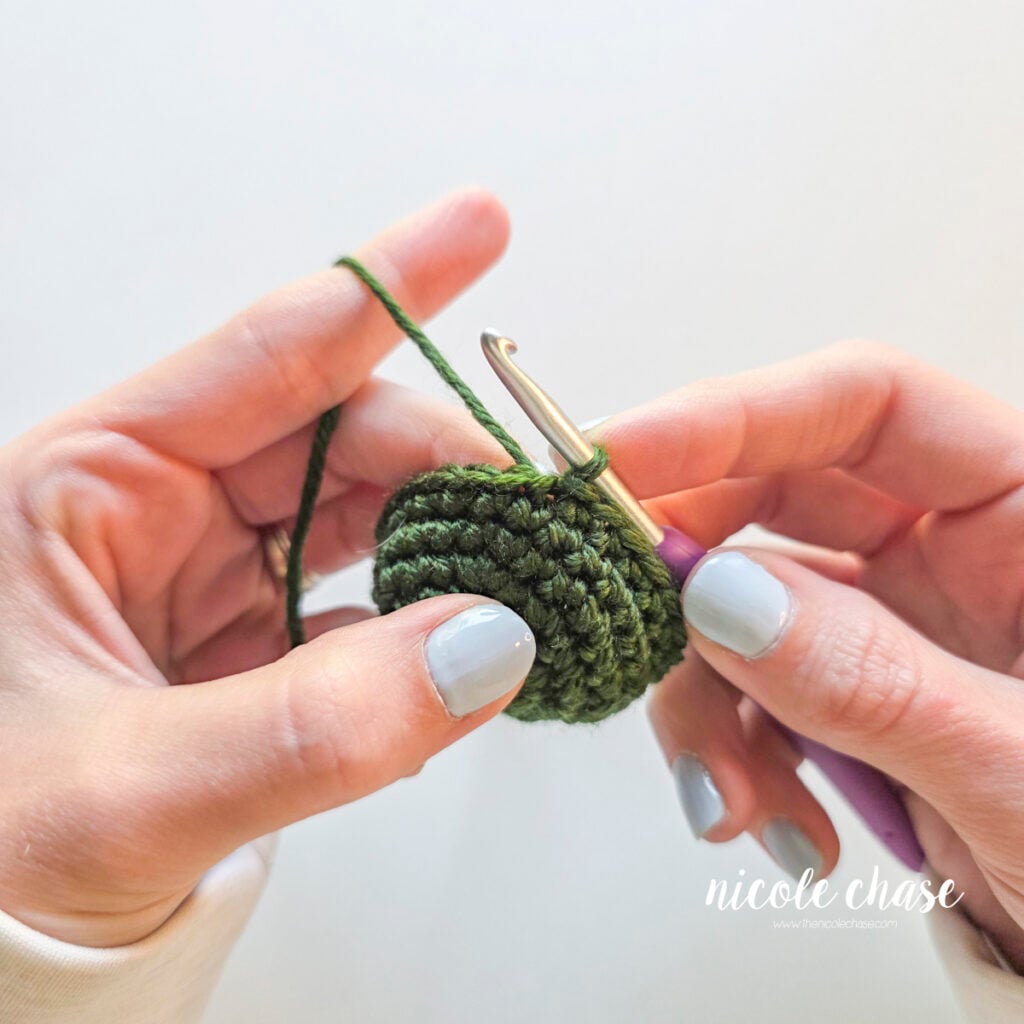
Quick Tip: Keep your tension relatively relaxed when making this final slip stitch at the end of your work. Pulling the slip stitch too tight can pucker the edge of your piece.
How to Fasten Off Crochet
Once you have completed your last stitch (or slip stitch), follow these steps for how to fasten off to secure your yarn at the end of your work.
Step 1: Cut your working yarn, leaving a tail (a few inches for weaving in, or a longer length if you need to sew the pieces together). Yarn over by grabbing the yarn tail with your hook.
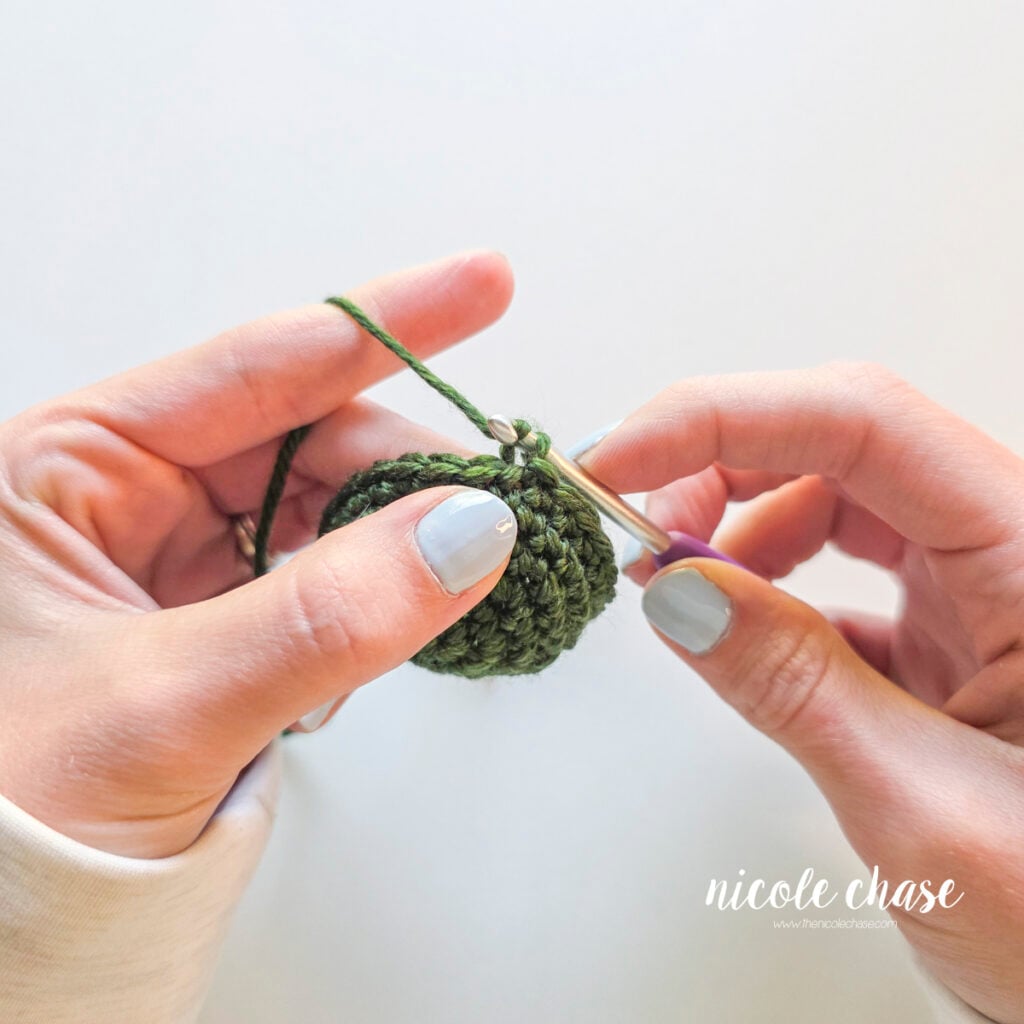
Step 2: Draw the yarn tail through the remaining loop on your hook until it frees the hook. Set your hook aside.
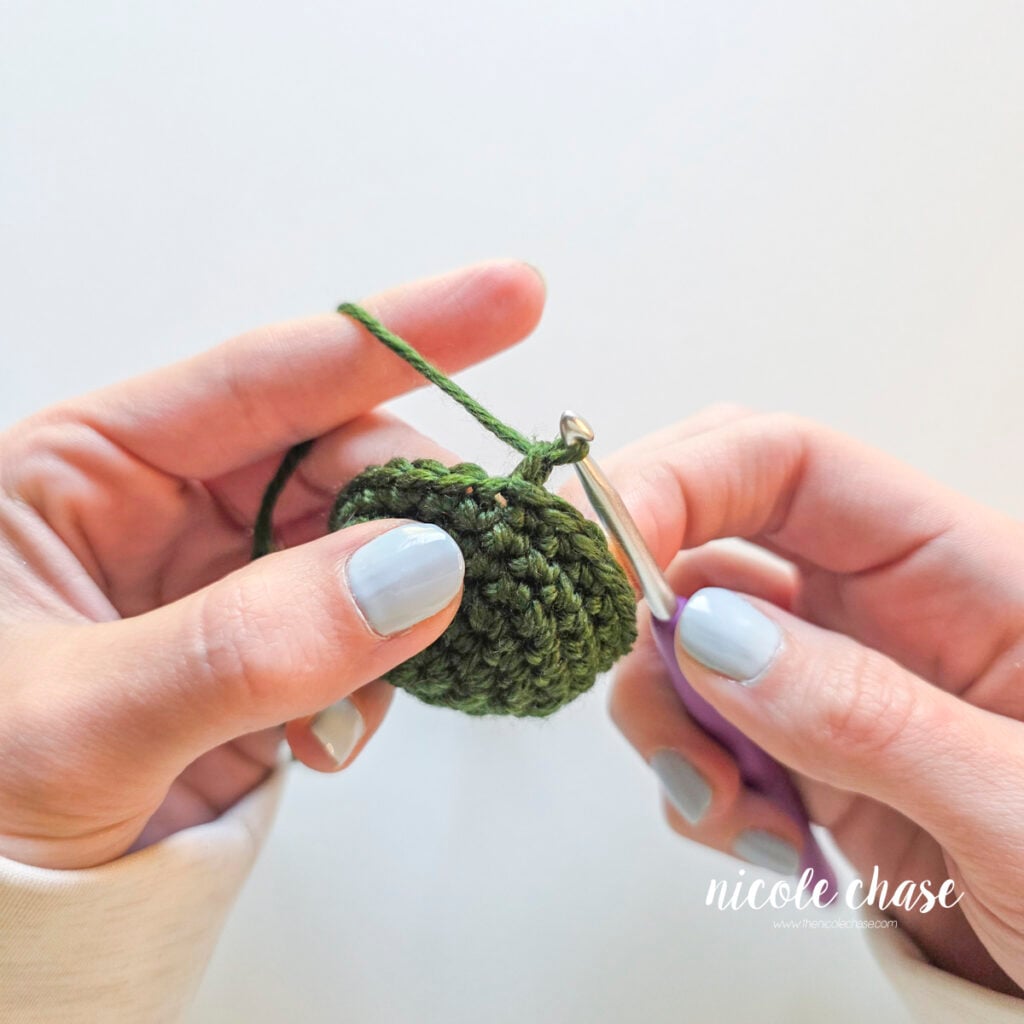
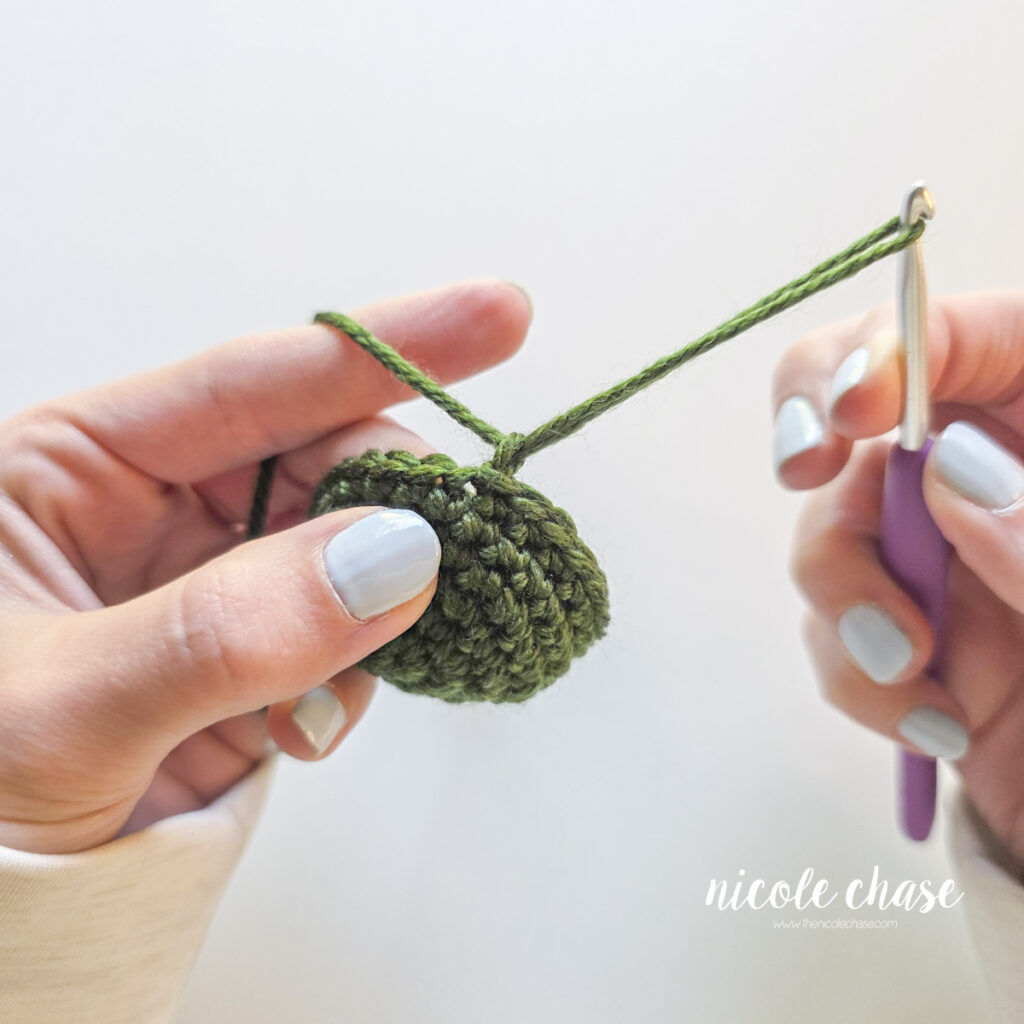
Step 3: Pull the yarn tail firmly to cinch the knot closed against your work.
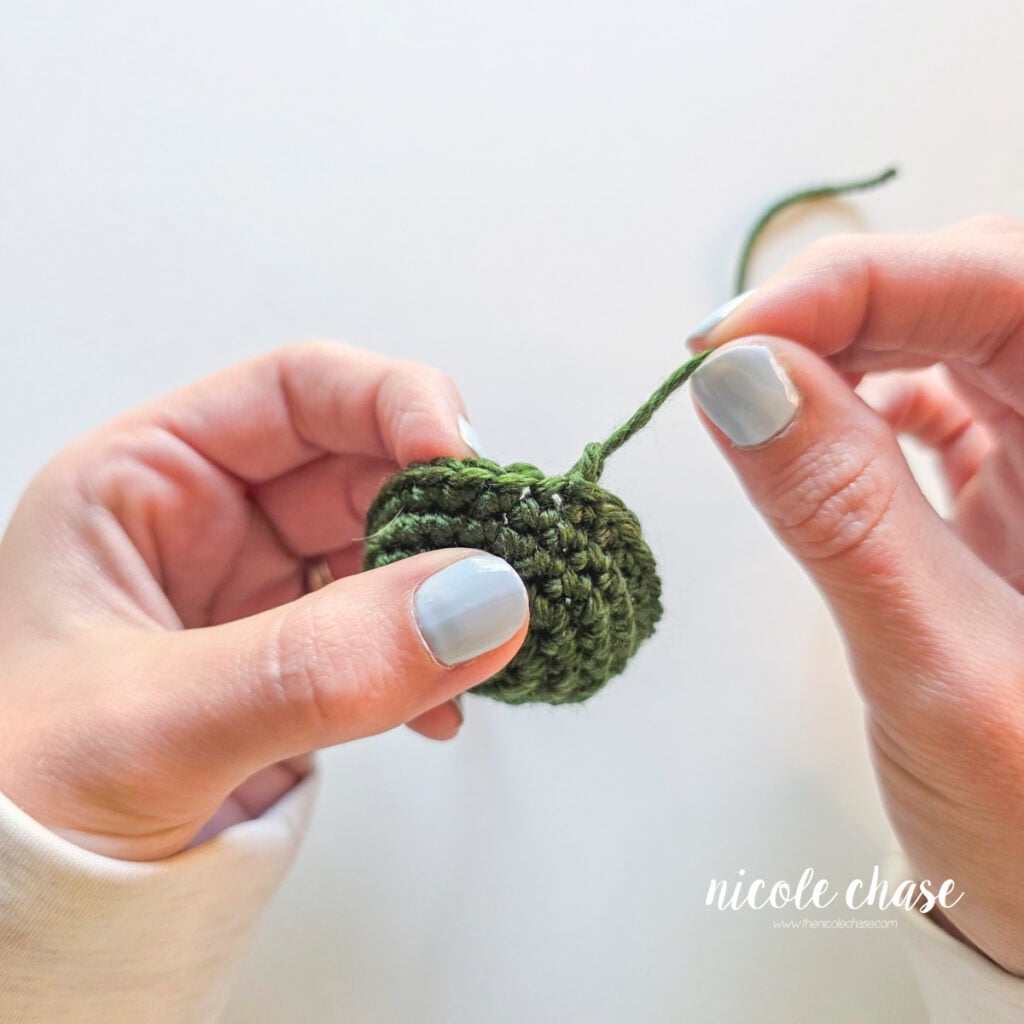
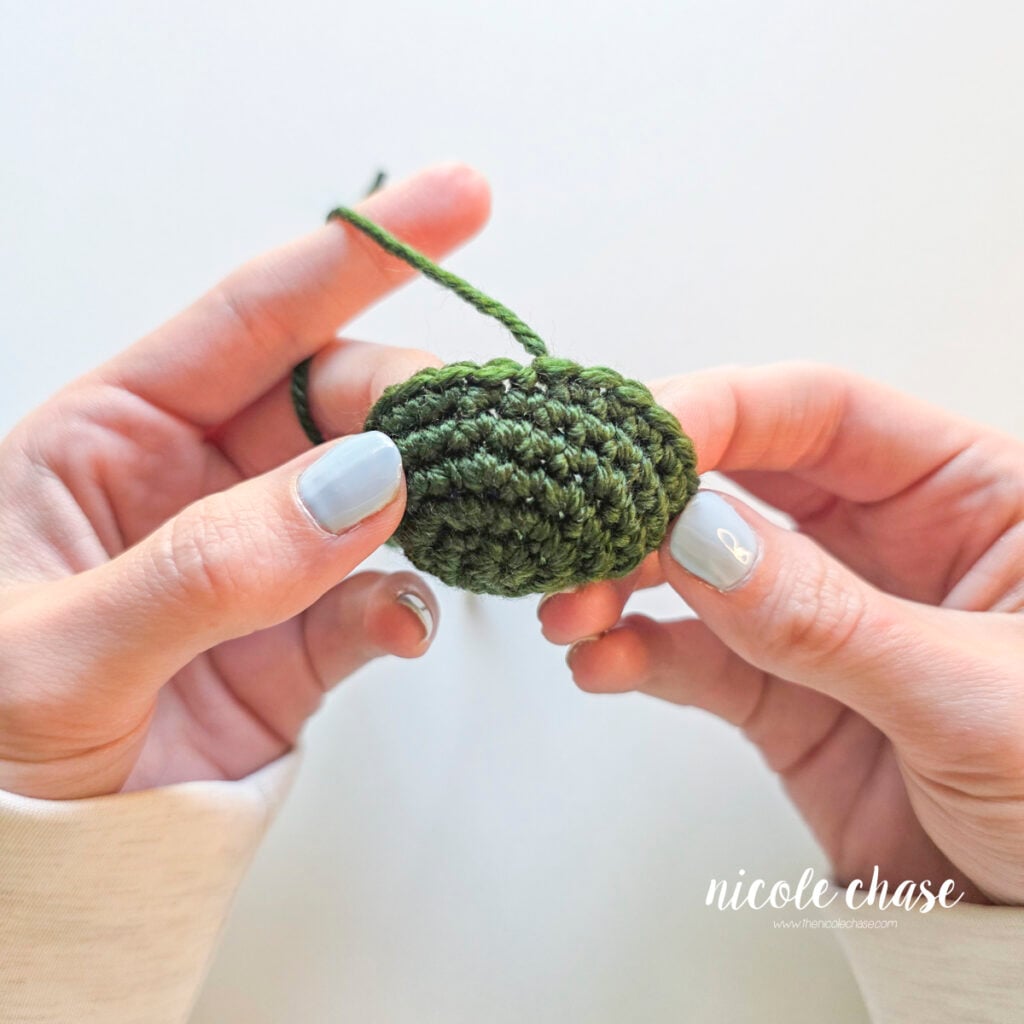
Now that you’ve completed both steps, your project is secure and ready for assembly or weaving in ends! If you prefer to watch these techniques demonstrated in video, check out the video tutorial below.
Video Tutorial: How to Slip Stitch and Fasten Off in Crochet
Watch the quick step-by-step video below to see the sl st crochet stitch and how to fasten off.
This video is also available on YouTube. Watch this video: Slip Stitch and Fasten Off Crochet Tutorial on YouTube.
Common Mistakes & Troubleshooting Tips
Even with simple finishing techniques, a few common mistakes can impact the look and security of your finished project:
- Pulling the Slip Stitch Too Tight: Working your final slip stitch too tightly can pucker the edge of your fabric. Keep your tension consistent with the rest of your stitches.
- Cutting the Yarn Tail Too Short: Leaving a short yarn tail makes it difficult to securely weave in your end or sew pieces together, which can lead to unraveling later. Always leave at least 4-6 inches for weaving in, or 12-18 inches for assembling amigurumi.
- Forgetting to Pull the Tail All the Way Through: Fastening off requires pulling the yarn tail completely through the working loop. If you only pull up a new loop without bringing the cut tail through, your project will unspool as soon as you pull on the working yarn!
- Over-Tightening the Fasten Off Knot: While you want the knot secure, yanking on the yarn tail too hard can distort the shape of your final stitch. Pull until snug and firm.

More Beginner Crochet Tutorials
Now that you mastered finishing off your work, build your skill set with these step-by-step guides:
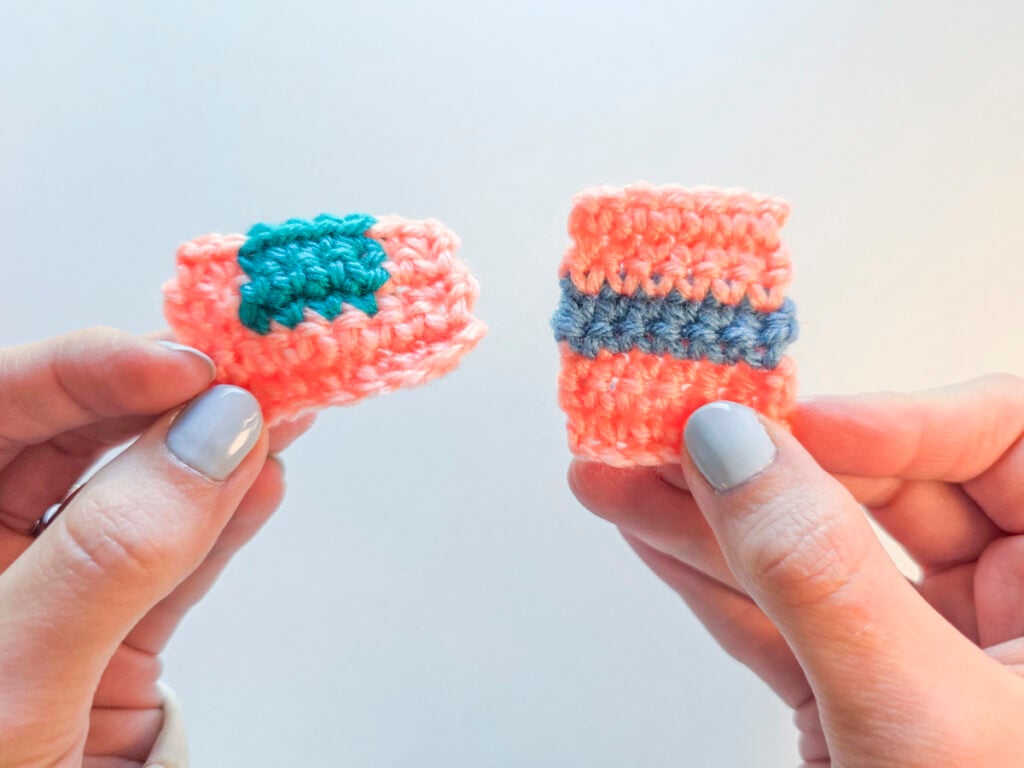
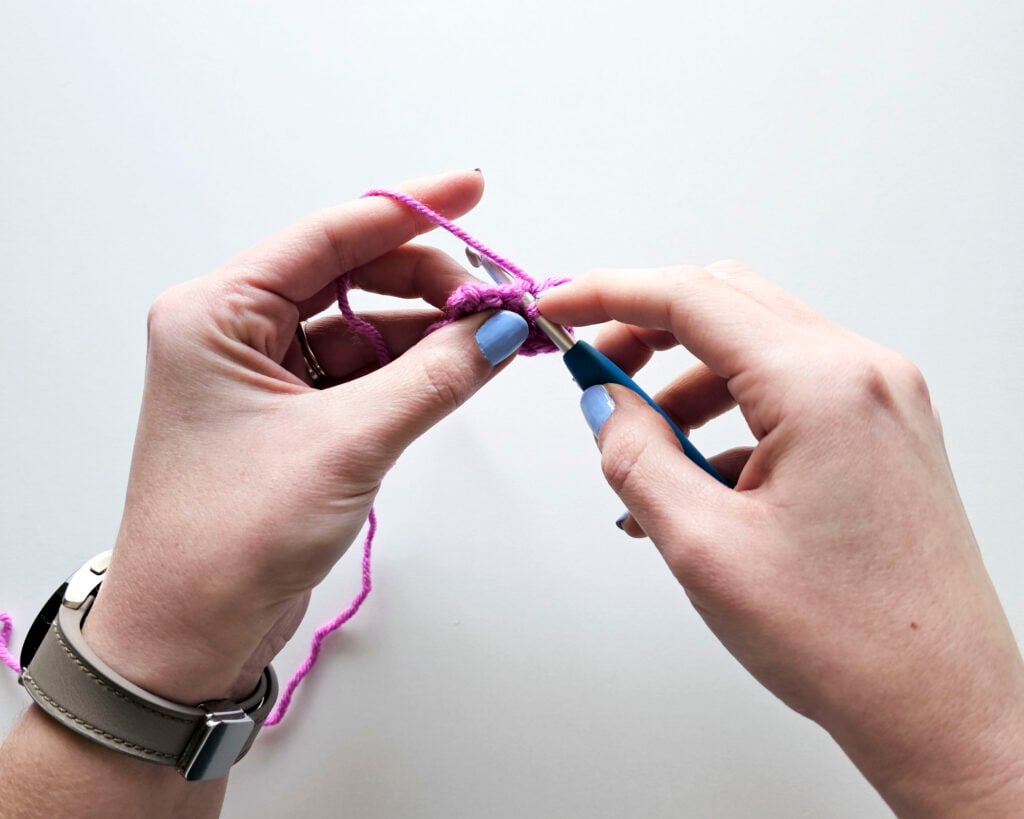
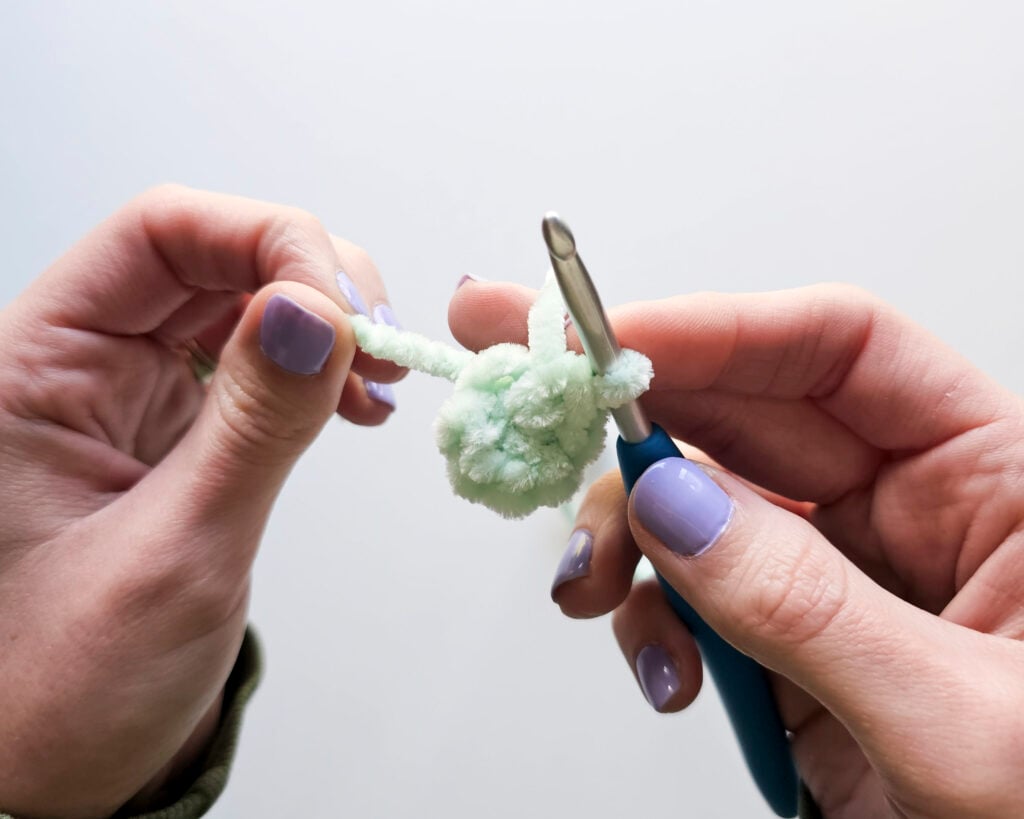
- How to Make a Crochet Magic Ring: Learn the essential technique for starting amigurumi and projects worked in continuous rounds seamlessly.
- How to Single Crochet (SC): Master the most common stitch used in amigurumi, plushies, and textured plushies.
- How to Double Crochet (DC): Learn how to work this taller basic stitch, perfect for blankets, scarves, and garments.
- Explore the Full Crochet Tutorial Library: Browse my complete collection of stitch guides, finishing techniques, and video walkthroughs.
Looking for your next project? You can find all of my original free crochet patterns right here on the blog, featuring dozens of beginner-friendly amigurumi animals, loveys, hats, and seasonal designs!
I hope you enjoyed this post! Be sure to leave me a comment below to let me know what you think.
Want to see more from me? Be sure to subscribe to my email newsletter so that you never miss a post!
Follow along with me on Instagram for daily updates and a behind the scenes look at my designs.
I’d love to see what you make with this tutorial! Don’t forget to share your finished work with me: on social media by tagging me @thenicolechase, in your Ravelry projects, or post over in my Facebook group!
Thanks for stopping by! Happy crafting!
Nicole
PATTERN COPYRIGHT © 2026 NICOLE CHASE. ALL RIGHTS RESERVED.
PATTERN MAY NOT BE ALTERED, COPIED, REDISTRIBUTED OR SOLD AS YOUR OWN PATTERN.
YOU MAY SELL THE FINISHED PRODUCT ON A SMALL SCALE. PATTERN/DESIGN CREDIT GIVEN TO WWW.THENICOLECHASE.COM IS APPRECIATED. PERMISSION TO SELL DOES NOT INCLUDE MASS PRODUCTION. LARGE SCALE PRODUCTION IS PROHIBITED.
PHOTOGRAPHY COPYRIGHT © 2026 NICOLE CHASE. ALL RIGHTS RESERVED.
PHOTOS MAY NOT BE ALTERED, COPIED, REDISTRIBUTED OR SOLD AS YOUR OWN.
This post may contain affiliate links. If you make a purchase through links on our site, we may earn a commission.