How to Hold a Crochet Hook and Yarn for Consistent Tension
This post may contain affiliate links. If you make a purchase through links on our site, we may earn a commission.
If you are just starting out, you’ve probably asked yourself: “How do you hold a crochet hook?” While there is more than one way, finding a comfortable grip is the first step to mastering how to hold a crochet hook and yarn.
The secret to beautiful stitches is learning how to hold the yarn while crocheting in a way that creates consistent crochet tension. If your yarn is held too tightly, your stitches will be difficult to work into; if it’s too loose, your project may look messy or have holes. I’ll be sharing my best tips for maintaining the perfect tension to ensure your finished work looks professional every time.
In this post, I’ll show you common ways to grip your hook and my favorite method for how to hold yarn for crochet.
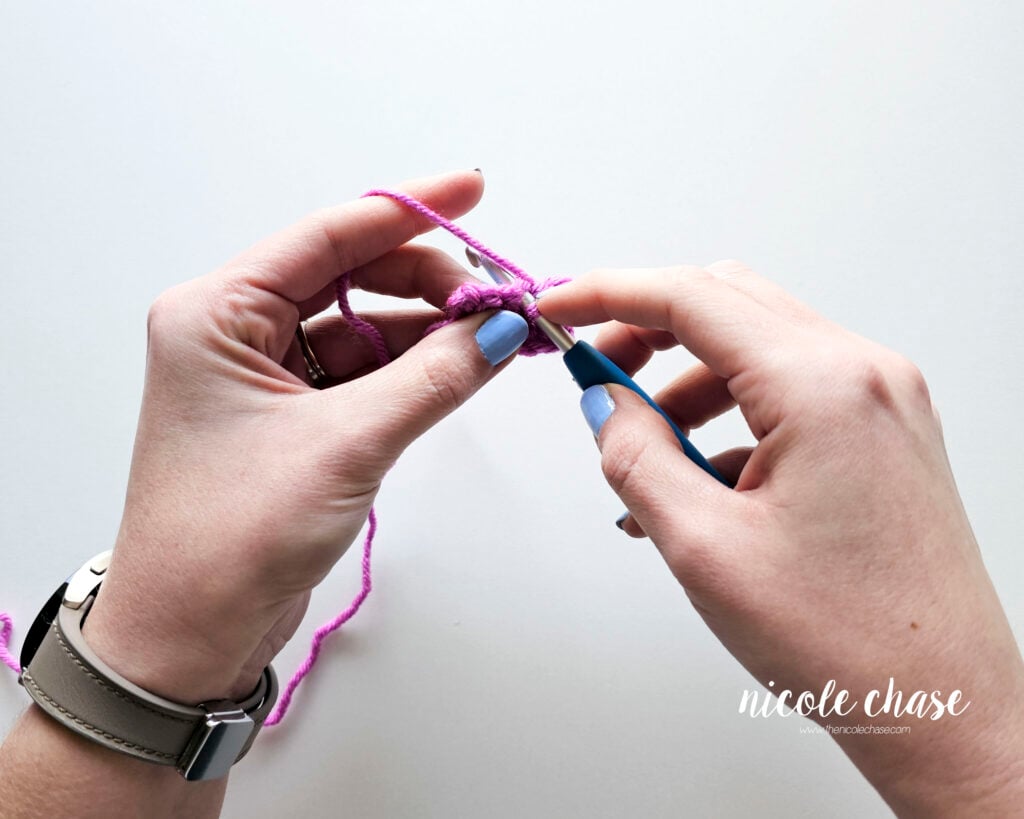
Table of Contents
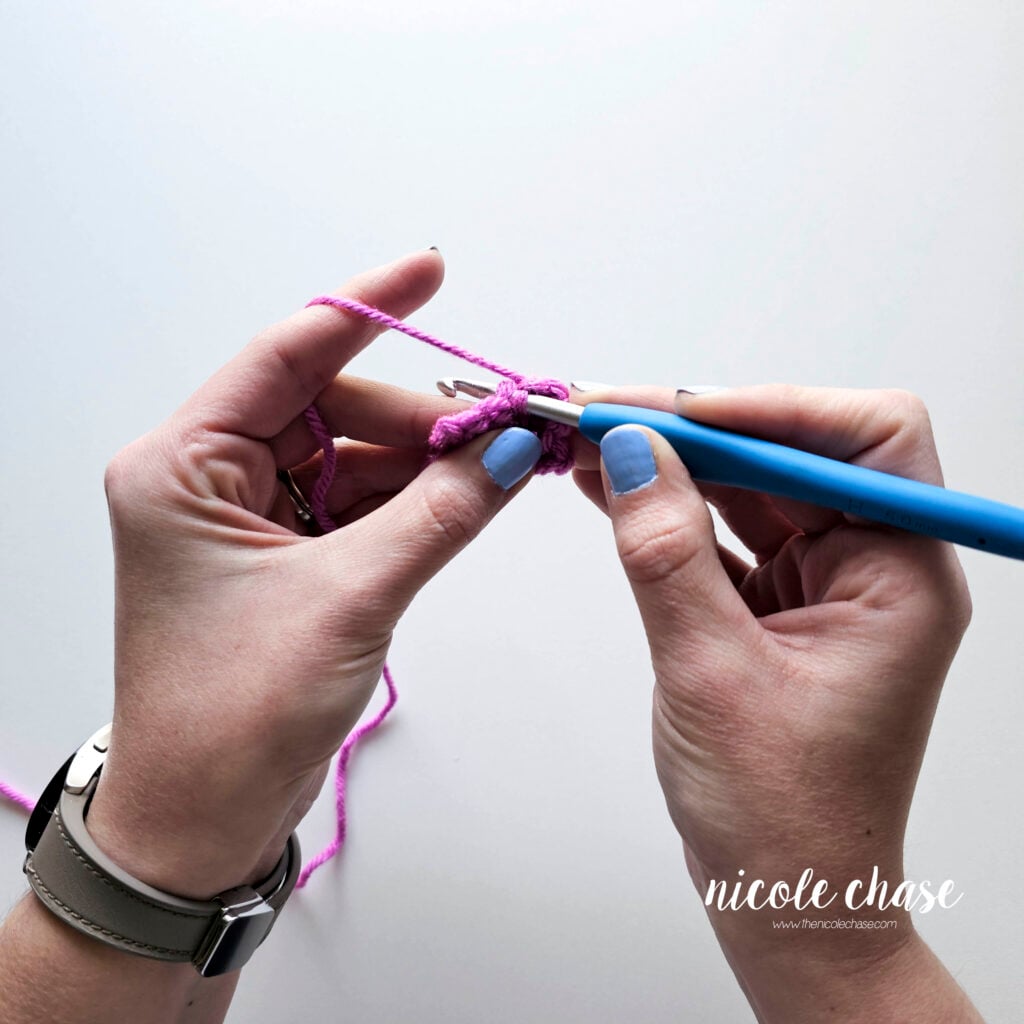
How to Hold a Crochet Hook
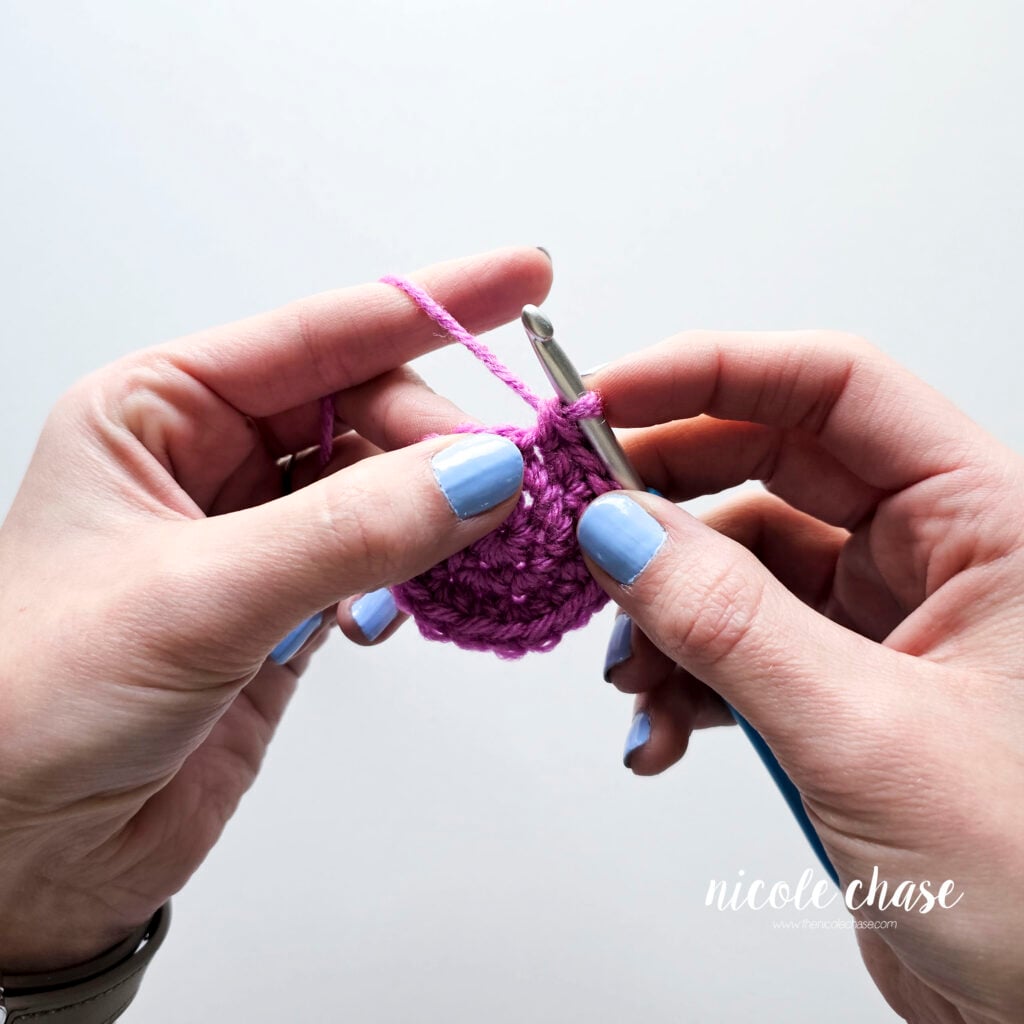
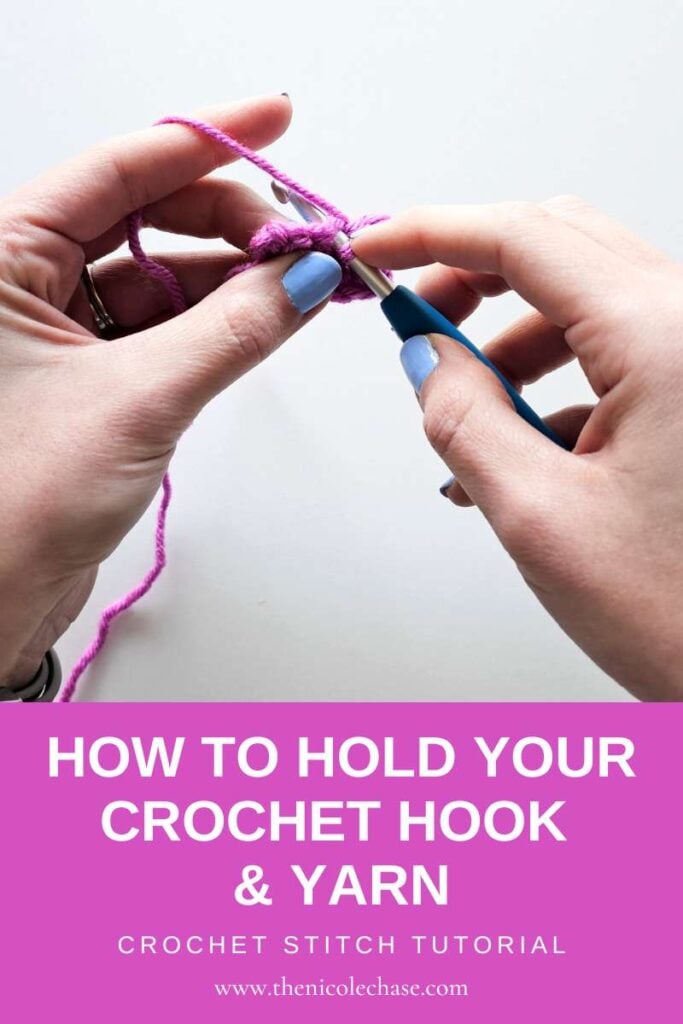
When it comes to how do you hold a crochet hook, there are two main styles that most crocheters use: the Knife Grip and the Pencil Grip.
The Knife Grip
The knife grip is my favorite and the method that I use. To hold your hook this way, you grasp the handle with your hand over the top, much like you would hold a dinner knife while cutting food.
Many crocheters (including myself!) find that this grip provides a bit more strength and control, which is especially helpful when working on amigurumi to keep those stitches nice and tight.

The Pencil Grip
Alternatively, some crocheters prefer the pencil grip. As the name suggests, you hold the crochet hook between the thumb and index finger, resting the handle on your hand just like a pencil or pen.
While I don’t personally use this grip, it is a very popular method. Neither way is right or wrong, it all comes down to what feels most natural in your hand.
Watch the Video: How to Hold Your Hook and Yarn
If you’re a visual learner, I’ve put together a detailed video tutorial to show you these grips in action. In this video, I’ll demonstrate both the knife and pencil grips, walk you through my exact finger-weaving method for holding yarn, and share my best tips for maintaining consistent tension as you work.
This video is also available on YouTube. Watch this video: How to Hold Your Crochet Hook & Yarn Tutorial on YouTube.
How to Hold Yarn for Crochet
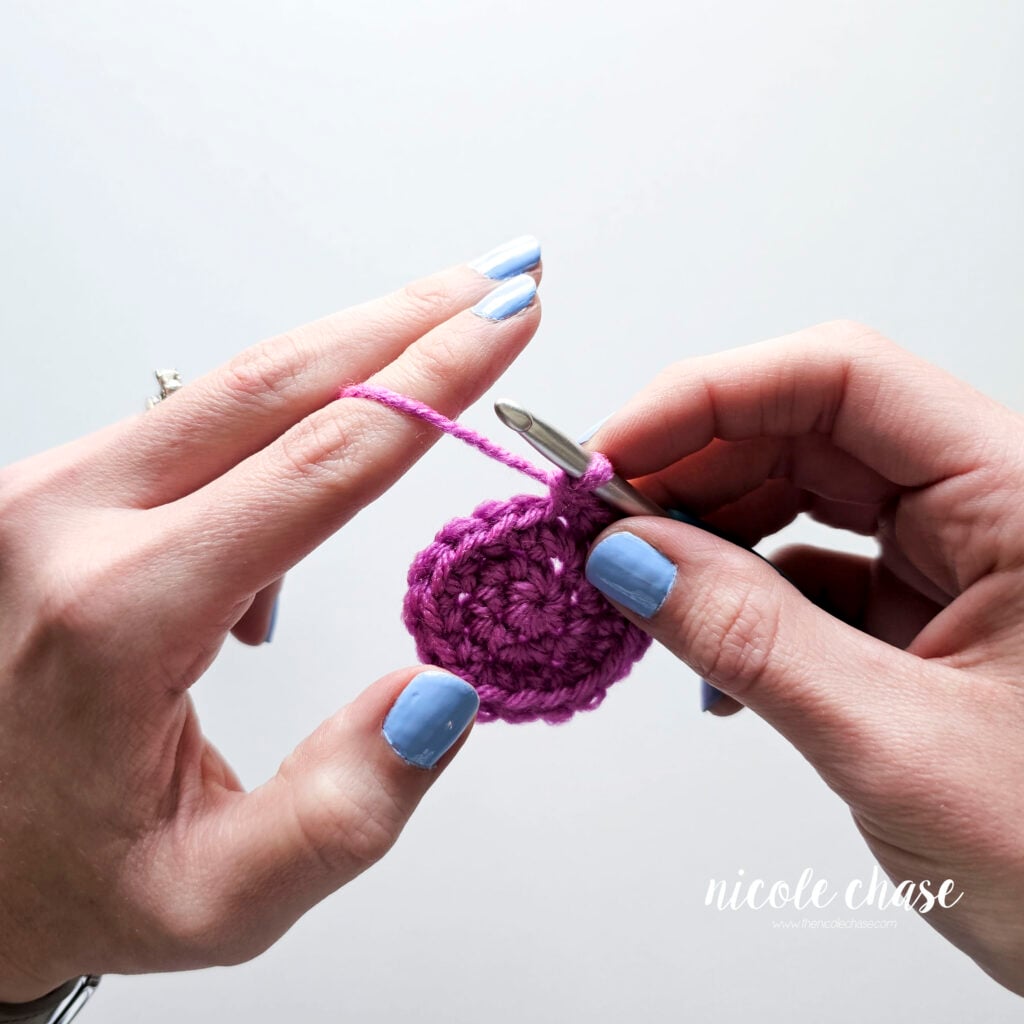
Learning how to hold yarn when you crochet can feel like the trickiest part of the process. Your non-dominant hand has the important job of feeding the yarn to the hook while keeping enough resistance to maintain consistent crochet tension.
Just like with the hook, there are different ways to hold crochet yarn. Most people find that weaving the yarn through their fingers provides the best control.
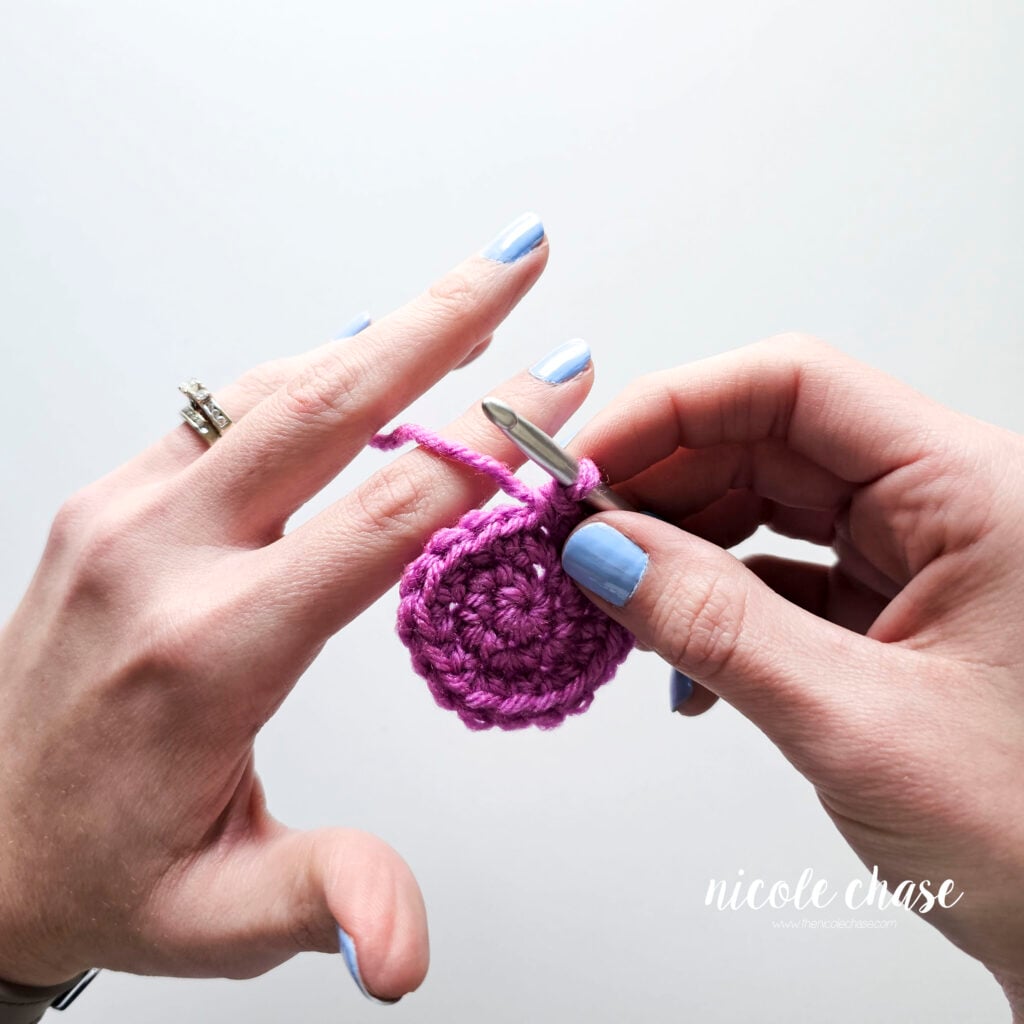
My Method for Consistent Tension
While there are many different ways to hold crochet yarn, I’ve found a specific “weave’ that works best for me. Here is my exact setup:
- The Anchor: I start by looping the yarn between my pinky and ring finger. This step doesn’t hold much tension for me, but it keeps the working yarn away from my project.
- The Guide: I then bring the yarn over my middle finger and pointer finger, which is where I control my tension. My pointer finger acts as the main guide for the yarn as it travels toward the hook.
- The Grip: While my upper fingers manage the yarn flow, I use my thumb and middle finger to securely hold the actual crochet piece that I’m working on.


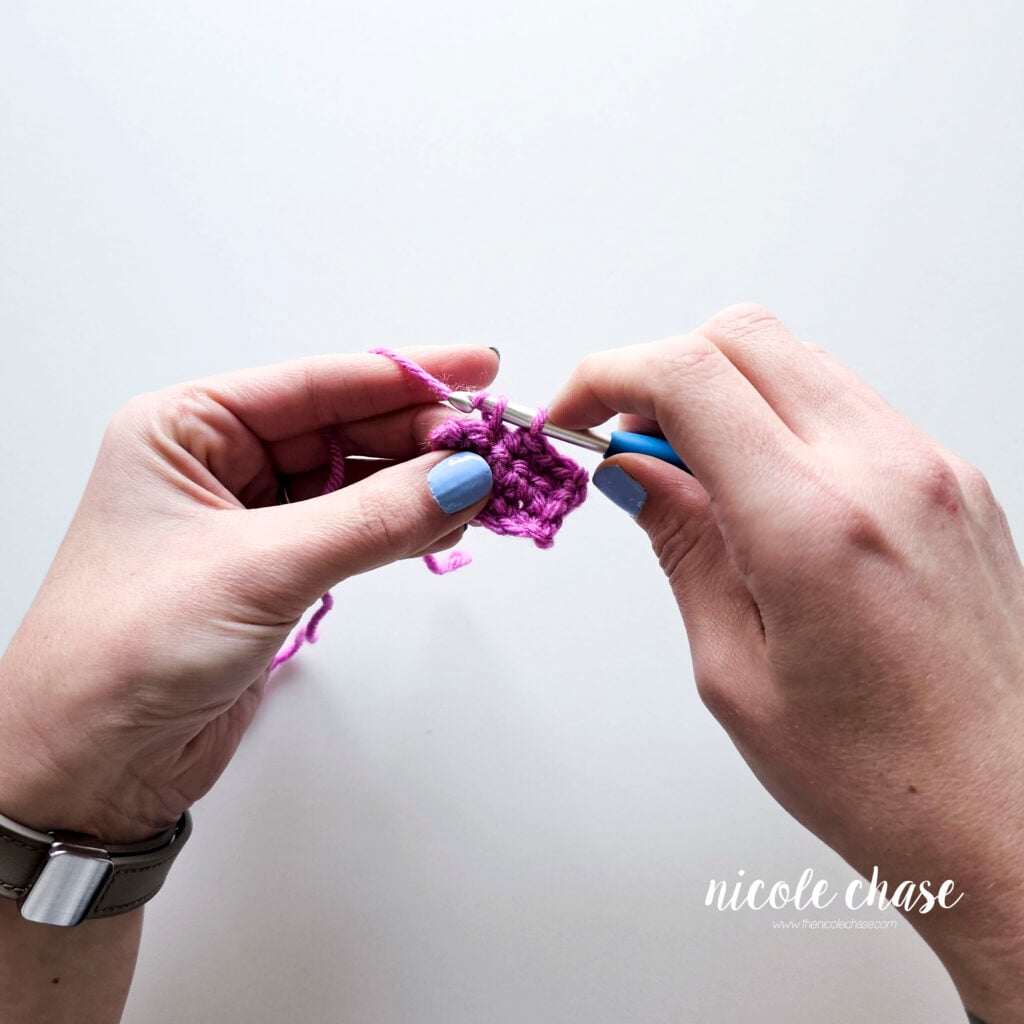
Let the Hook do the Work
One of the best tips I can give you for how to hold a crochet hook and yarn is to keep your tension hand relatively still.
My left hand (the one holding the yarn) doesn’t move very much. Instead, most of the movement comes from my right hand moving the hook around the yarn.
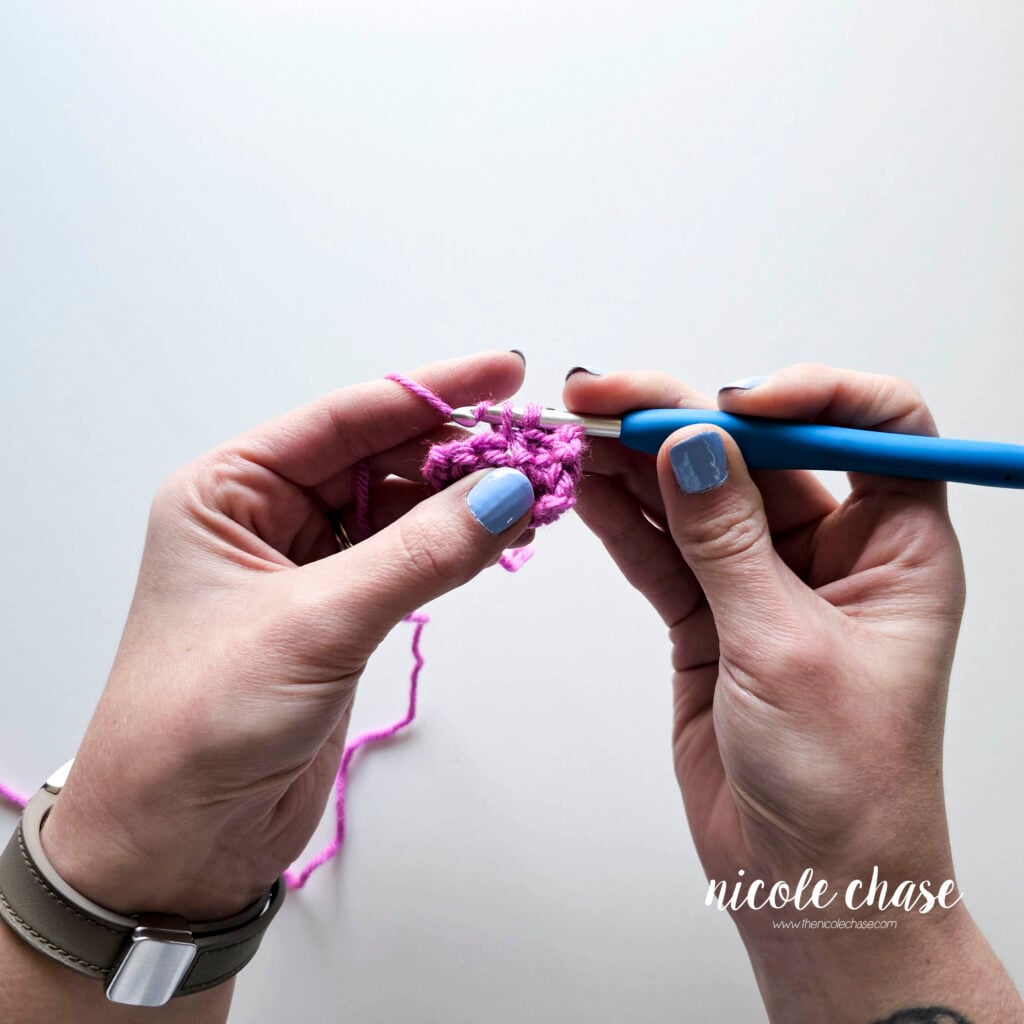
Tips for Mastering Crochet Tension
Even once you’ve figured out how to hold the yarn while crocheting, it takes a little practice to find your perfect tension (not too tight, not too loose). Here are a few tips to help you get there:
If Your Stitches are Too Tight
If you are struggling to get your hook into your stitches, you might be holding your yarn too tightly.
- Relax your hands: Tension starts in your shoulders! Take a deep breath and loosen your grip on the hook.
- Check your “weave”: If you are wrapping the yarn multiple times around your fingers, try removing one wrap to let the yarn flow more freely.
- Focus on the loop: Make sure you are pulling your loops up to the height of your hook’s shaft, not just the tip of the hook.
- Go up a hook size: If you haven’t mastered a tight enough tension just yet, try using a larger hook until your grip improves.
If Your Stitches are Too Loose
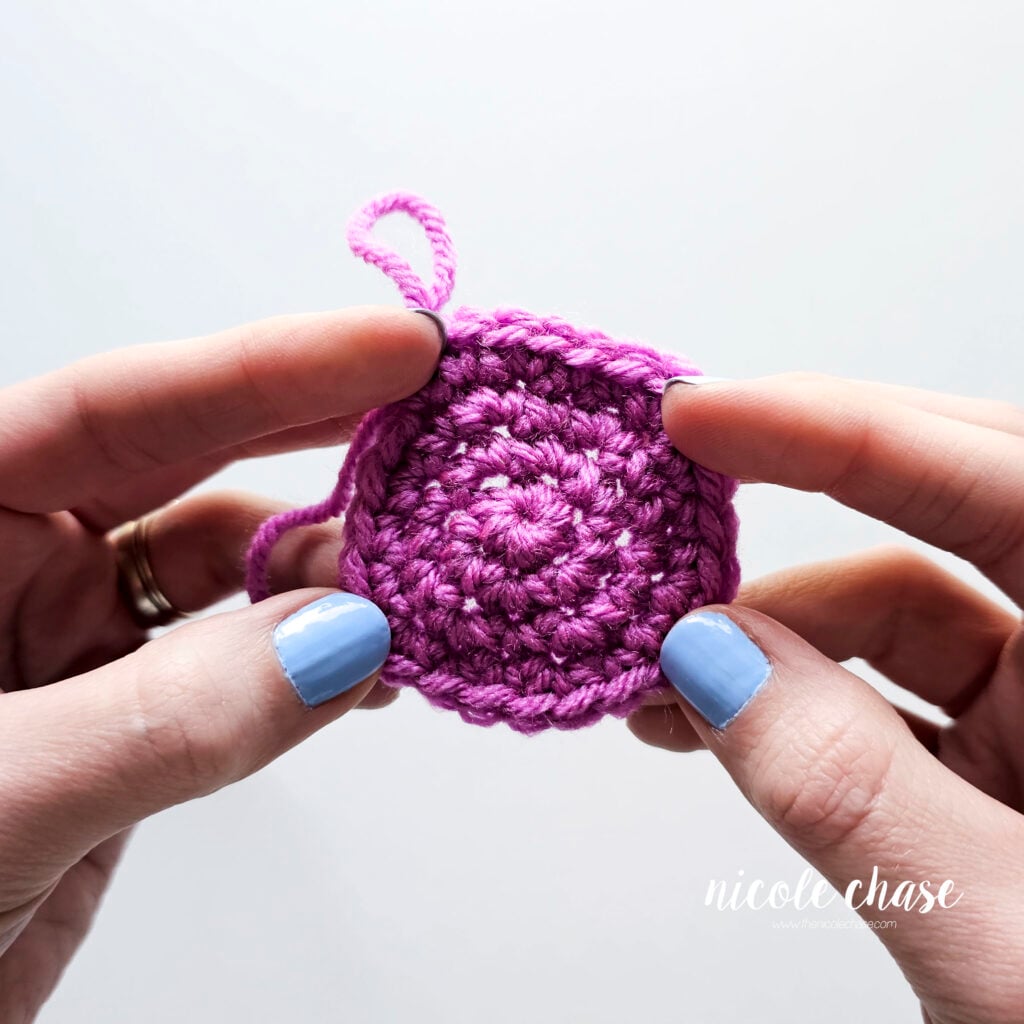
In amigurumi, loose tension is often the biggest culprit for stuffing showing through your work.
- Add an extra wrap: Try looping the yarn around your pinky once more for extra resistance.
- Consistent distance: Try to keep your hook hand and your tension hand at a consistent distance from each other as you work.
- Go down a hook size: Sometimes, if your natural tension is just very loose, using a smaller hook can help bridge the gap.
Take Breaks to Prevent Fatigue
Since I crochet full-time, I can’t stress this enough: listen to your hands. If your hands are starting to cramp, it’s usually a sign that your tension is too tight or that you are gripping your hook too hard. Take a break, stretch your fingers, and come back to it.
External Factors that Impact your Tension
Did you know that your crochet tension can change from day to day? Because tension is essentially a reflection of how relaxed or tense your body is, several external factors can sneakily impact your stitches.
Your Mood and Fatigue
If you are feeling stressed, rushed, or even just had a frustrating day, you might find that you are subconsciously gripping your hook tighter or pulling your yarn with more force. On the flip side, if you’re relaxed or tired, your stitches might come out more loosely.
The Day-to-Day Difference
Because of these factors, if you are working on a single project over several days, you might notice slight variations in your tension from one session to the next.
My Best Tip: If you are working on a project that requires perfect symmetry, like two of the same legs for an animal, try to crochet both pieces in the same sitting. This ensure that your mood and energy levels stay consistent.
Practice Makes Perfect
Finding the perfect way to hold your crochet hook and yarn is a journey. It might feel a bit awkward for the first few rows, or even the first few projects, but it will become second nature!
Remember, the “right” way is simply the way that allows you to enjoy your craft and results in consistent crochet tension you’re looking for. Don’t be afraid to experiment with different finger weaves or hook grips until you find your perfect fit.
With time, you’ll find that you no longer have to force your tension. Your hands will naturally settle into a rhythm, and you’ll be able to control your crochet tension more easily without even thinking about it. Before you know it, you’ll be able to maintain perfect even stitches while watching your favorite show or chatting with a friend!
Nicole’s Tip: Don’t judge your tension by your first few rows. Give yourself a few small projects just to let your hands get used to the movement. You’ll be amazed at how much more consistent your stitches look after a few projects!

Ready to Master Amigurumi?
If you’re ready to turn these basics into adorable, professional-looking crochet animals, check out my Amigurumi for Beginners course! I’ve designed this course to take the guesswork out of the process, walking you through every step from your first stitch to your finished plushie.
Learn How to Crochet Amigurumi!
Sign up for my free amigurumi for beginners course and learn everything you need to know to make your own crochet plush!
To see what is included, check out the course summary page!
More Crochet Tutorials for Beginners
If you found this tutorial helpful, you might also enjoy these other posts to help you build your crochet skills:
- Basic Stitches for Amigurumi: Now that you can hold your hook, learn the essential stitches you’ll use for almost every project.
- Choosing the Best Crochet Hook Size for Amigurumi: Learn why hook size matters and how to pick the right one for your yarn.
- How to Read a Yarn Label: Don’t let all those symbols confuse you! This post is a simple breakdown of everything on your yarn sleeve.
- Magic Ring Tutorial: The foundation for almost all amigurumi projects, the magic ring is essential.
I hope you enjoyed this post! Be sure to leave me a comment below to let me know what you think.
Want to see more from me? Be sure to subscribe to my email newsletter so that you never miss a post!
Follow along with me on Instagram for daily updates and a behind the scenes look at my designs.
I’d love to see what you make with this tutorial! Don’t forget to share your finished work with me: on social media by tagging me @thenicolechase, in your Ravelry projects, or post over in my Facebook group!
Thanks for stopping by! Happy crafting!
Nicole
PATTERN COPYRIGHT © 2026 NICOLE CHASE. ALL RIGHTS RESERVED.
PATTERN MAY NOT BE ALTERED, COPIED, REDISTRIBUTED OR SOLD AS YOUR OWN PATTERN.
YOU MAY SELL THE FINISHED PRODUCT ON A SMALL SCALE. PATTERN/DESIGN CREDIT GIVEN TO WWW.THENICOLECHASE.COM IS APPRECIATED. PERMISSION TO SELL DOES NOT INCLUDE MASS PRODUCTION. LARGE SCALE PRODUCTION IS PROHIBITED.
PHOTOGRAPHY COPYRIGHT © 2026 NICOLE CHASE. ALL RIGHTS RESERVED.
PHOTOS MAY NOT BE ALTERED, COPIED, REDISTRIBUTED OR SOLD AS YOUR OWN.
This post may contain affiliate links. If you make a purchase through links on our site, we may earn a commission.