
Tiny Candy Corn – Free Crochet Pattern
This post may contain affiliate links. If you make a purchase through links on our site, we may earn a commission.
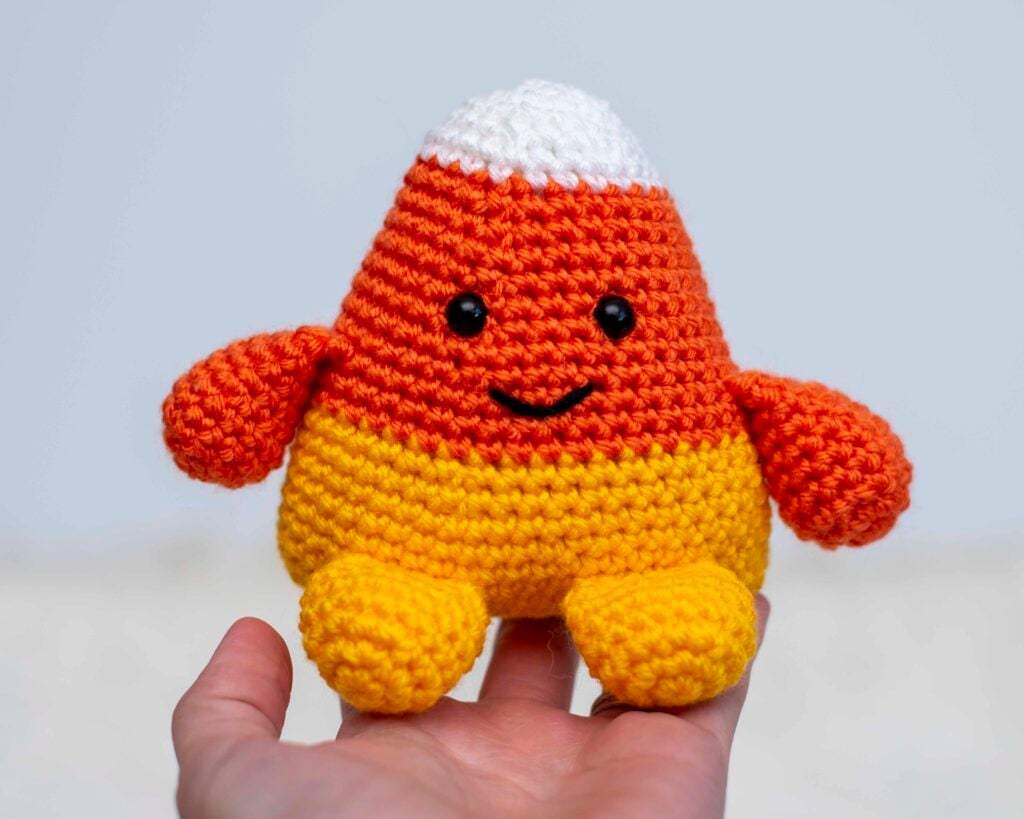
I originally designed this cute candy corn amigurumi to make myself a Halloween car charm to hang from my rearview mirror. It turned out to be such a quick, satisfying stash-buster that I couldn’t stop at just one!
Whether you want to whip up a Halloween garland, add a cute keychain, or decorate a tiered tray for fall, this free candy corn crochet pattern is a fast and easy amigurumi project!

At a Glance: Tiny Candy Corn Crochet Pattern
A quick-make, beginner friendly amigurumi candy corn featuring a classic three-color design. Designed for crafters looking for a fast project, this free crochet candy corn pattern is perfect for keychains, Halloween garlands, car hangers, or desk decor.
- Required Skills: Magic ring, single crochet (SC), increasing, and decreasing (SC2tog) with the invisible decrease method, and seamless color changes.
- Yarn: Medium worsted weight yarn in white, orange, and yellow, or any other yarn that you choose.
- Hook Size: 4.0mm (G) crochet hook for worsted weight yarn, or a hook size to match your preferred yarn.
- Finished Size: Approximately 2″ when made in a similar yarn to what is used here.
- Format & Resources: Free written pattern with tutorial photos and helpful amigurumi tips.
Table of Contents
I hope you enjoy this free crochet pattern available here on my blog! An ad-free, formatted PDF version of this crochet pattern is also available for purchase here:
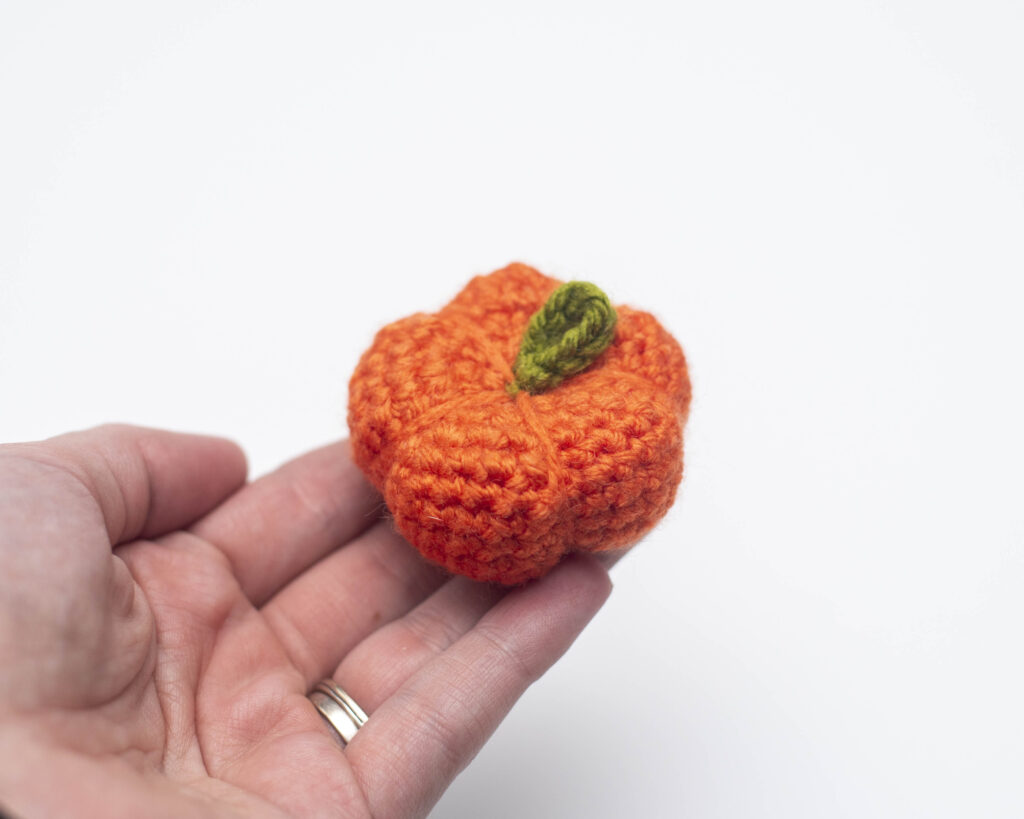
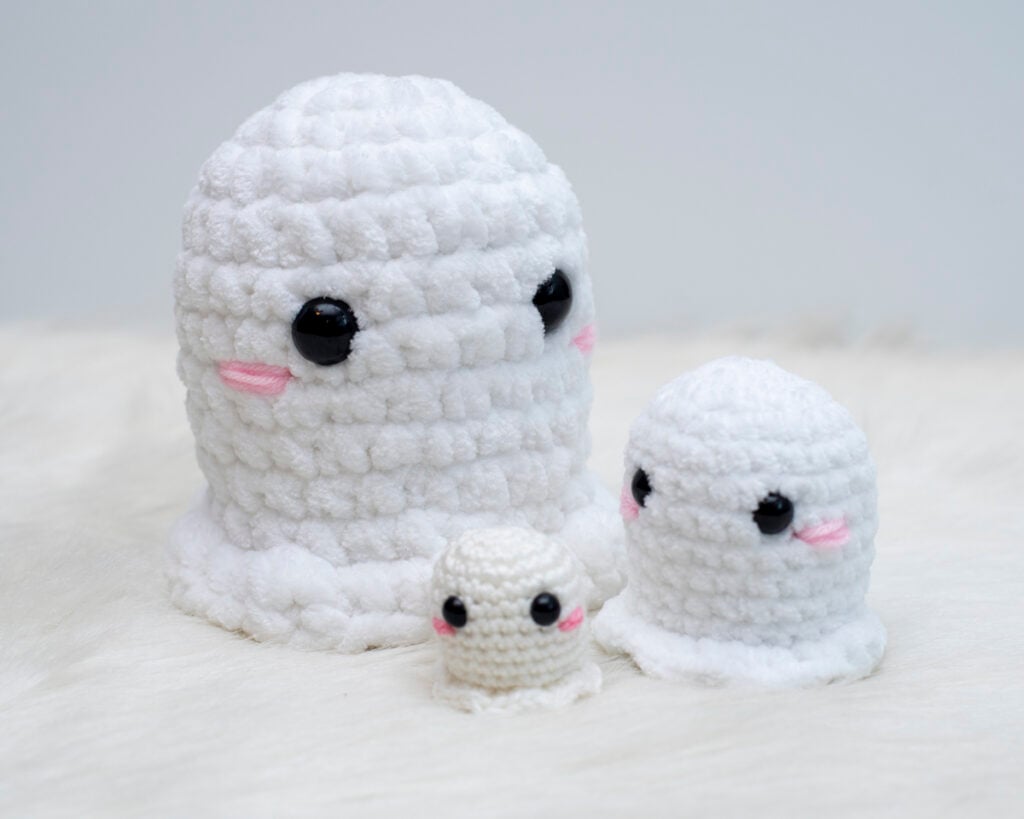
(PDF crochet pattern includes the patterns for a tiny ghost, pumpkin, and candy corn)
This free candy corn crochet pattern is a “beginner” level pattern. Minimal crochet experience is necessary. For even more detailed instructions on the stitches used here, take a look at my crochet stitch tutorials.
Pin this free candy corn crochet pattern on Pinterest.
Free Crochet Pattern for Tiny Candy Corn

Pattern Specifics
Measurements: Approximately 2”
Gauge: Not necessary for this pattern; see notes
Hook Size: 4.0mm (G) crochet hook
Other Tools: tapestry needle, stitch markers, scissors
Yarn Weight: Medium (4) Worsted Weight
Yarn Used: WeCrochet/Knit Picks Brava Worsted
Yardage: color A (white): 2 yds, color B (orange): 3 yds, color C (yellow): 4 yds
Other Materials: poly-fil stuffing
Stitch Abbreviations
st = stitch
sl st = slip stitch
ch = chain
SC = single crochet
SC2tog = single crochet 2 stitches together (invisible decrease is recommended)
Special Stitches
SC2tog (using invisible decrease method): Insert hook into front loop of the first stitch. Insert hook into front loop of second stitch. Yarn over. Draw through the first two loops on hook. Yarn over. Draw through both loops on hook.
Notes
- Checking your gauge is not required for this pattern. Use a hook that is smaller than the size recommended for your yarn weight. This will ensure that your stuffing will not show through the stitches.
- All pieces are worked in the round. Use a stitch marker to indicate the beginning of each round.
- Invisible decreases are recommended. Please see “Special Stitches”.
- Safety eyes and noses pose a choking risk for babies; therefore, if making this toy for a baby, I recommend using yarn, felt, or embroidered details.
- All pieces require full stuffing. Stuff as you work to ensure each piece is completely filled.
- All tutorial photos referenced in this document are available at the end of this pattern, or in sequential order in the full-color, formatted PDF that was included with your purchase.
Pattern
Using 4.0mm (G) crochet hook:
R1: Begin with 6 SC in a magic ring. (6 sts)
R2: *2 SC in next st, 1 SC in next st. Repeat from * around. (9 sts)
R3: 1 SC in each st around. (9 sts)
Using color B (shown as orange):
R4: *2 SC in next st, 1 SC in each of the next 2 sts. Repeat from * around. (12 sts)
R5: *2 SC in next st, 1 SC in each of the next 3 sts. Repeat from * around. (15 sts)
R6-7: 1 SC in each st around. (15 sts)
R8: *2 SC in next st, 1 SC in each of the next 4 sts. Repeat from * around. (18 sts)
Using color C (shown as yellow):
R9: 1 SC in each st around. (18 sts)
R10: *2 SC in next st, 1 SC in each of the next 5 sts. Repeat from * around. (21 sts)
R11: *SC2tog, 1 SC in each of the next 5 sts. Repeat from * around. (18 sts)
R12: 1 SC in each st around. (18 sts)
Leaving long strand for sewing, cut yarn and fasten off.
Fill with stuffing.

Fold each end together. Work the yarn back and forth between the two sides to close up the bottom of the candy corn.


I hope you enjoyed making this super cute candy corn amigurumi! I would love to see how yours turned out. If you share your completed project on social media, tag me @thenicolechase so I can see it! Happy crocheting!


Ad-Free PDF Pattern for Tiny Candy Corn
(PDF crochet pattern includes the patterns for a tiny ghost, pumpkin, and candy corn)
Tips & Tricks for Success
- Use Stitch Markers: Working in continuous rounds means it is easy to lose your spot. Place a stitch marker in the first stitch of each round so you never lose count when making this free candy corn amigurumi.
- Seamless Decreases: Use the invisible decrease method for your SC2tog stitches. Standard decreases can leave visible gaps, but the invisible decrease ensures your stitches remain smooth and your stuffing stays hidden inside.
- Invisible Color Changes: Switch yarn colors using the seamless/invisible color change method to create a clean transition between the white, orange, and yellow colors.
Pattern Variations & Creative Uses
- Crochet Candy Corn Keychain: Sew a metal keyring or lobster clasp directly to the top point of the finished crochet candy corn for a quick backpack charm or keychain.
- Scale Up with Plush Yarn: Try using a bulky plush yarn like Premier Parfait Chunky with a larger hook size. This turns the mini design into a plush, palm-sized candy corn without changing the stitch count!
- Festive Fall Garland: Whip up 5-10 candy corns and attach them to a long chain with a tapestry needle to create a festive Halloween garland for your mantle or doorway.
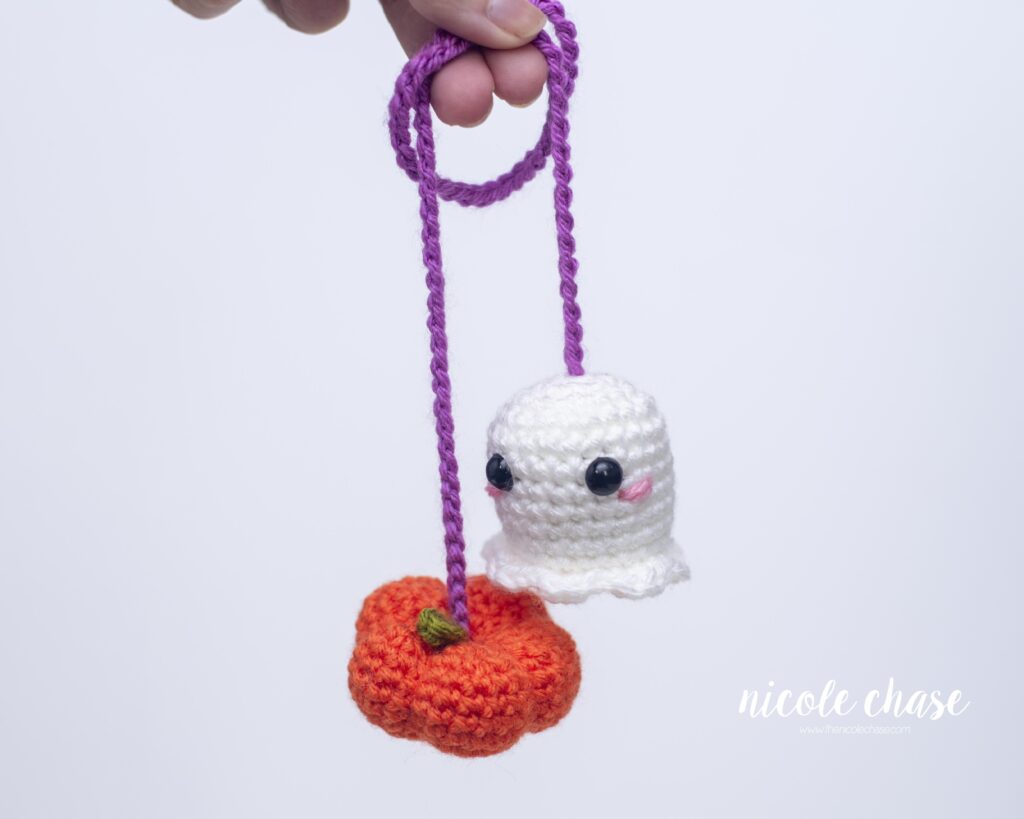
- Rearview Mirror Car Charm: Chain 90, then loop and attach your candy corn to one end. Pair it with the free tiny ghost crochet pattern or free tiny pumpkin amigurumi on the opposite end for a cute hanging car charm!
More Halloween Crochet Patterns
If you enjoyed making this mini candy corn crochet pattern, you will love these other quick and spooky projects:
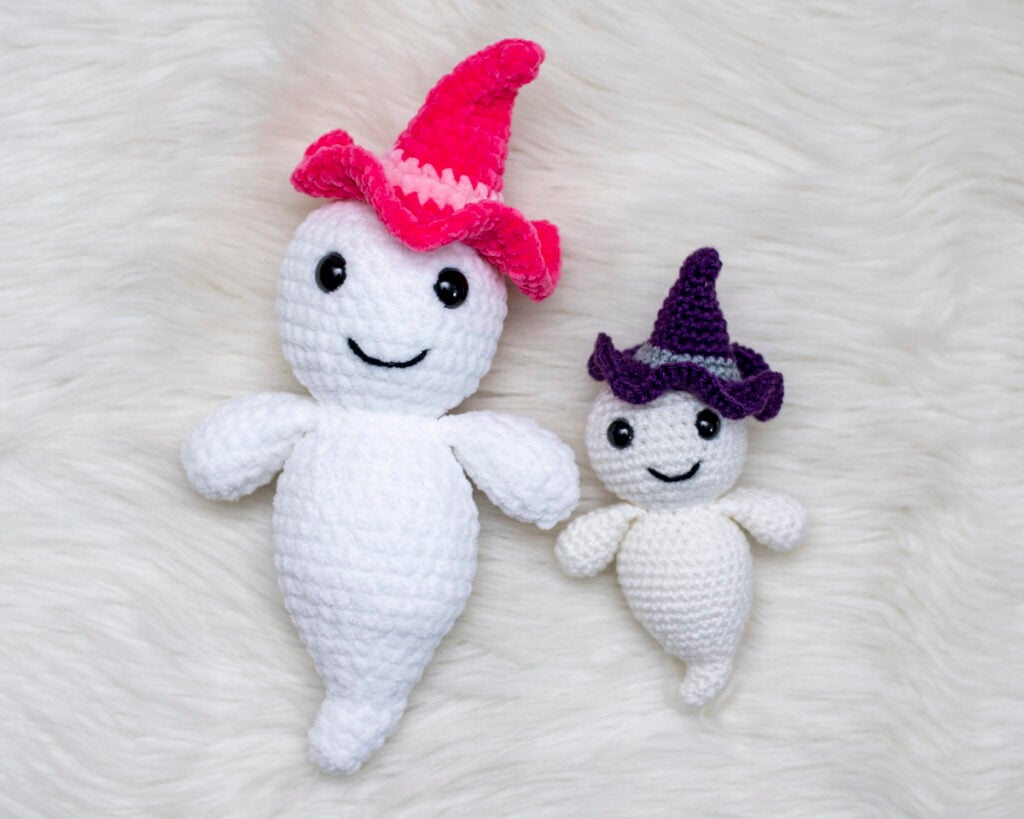
- Ghost Crochet Pattern: A sweet ghost plushie wearing an adorable witch hat.
- Bat Crochet Pattern: An easy amigurumi bat that makes a great craft fair filler.
- Plush Candy Corn Pal Pattern: A cute and friendly looking candy corn plush that is completely no-sew!
Explore my complete collection of free Halloween crochet patterns and free amigurumi patterns for more fast, beginner-friendly projects.

I hope you enjoyed this pattern! If you make it, leave me a comment below.
Want to see more from me? Be sure to subscribe to my email newsletter so that you never miss a pattern!
Follow along with me on Instagram for daily updates and a behind the scenes look at my designs.
I’d love to see what you make with this tutorial! Don’t forget to share your finished work with me: on social media by tagging me @thenicolechase, in your Ravelry projects, or post over in my Facebook group!
Thanks for stopping by! Happy crafting!
Nicole
PATTERN COPYRIGHT © 2026 NICOLE CHASE. ALL RIGHTS RESERVED.
PATTERN MAY NOT BE ALTERED, COPIED, REDISTRIBUTED OR SOLD AS YOUR OWN PATTERN.
YOU MAY SELL THE FINISHED PRODUCT ON A SMALL SCALE. PATTERN/DESIGN CREDIT GIVEN TO WWW.THENICOLECHASE.COM IS APPRECIATED. PERMISSION TO SELL DOES NOT INCLUDE MASS PRODUCTION. LARGE SCALE PRODUCTION IS PROHIBITED.
PHOTOGRAPHY COPYRIGHT © 2026 NICOLE CHASE. ALL RIGHTS RESERVED.
PHOTOS MAY NOT BE ALTERED, COPIED, REDISTRIBUTED OR SOLD AS YOUR OWN.
This post may contain affiliate links. If you make a purchase through links on our site, we may earn a commission.