How to Read a Crochet Pattern
This post may contain affiliate links. If you make a purchase through links on our site, we may earn a commission.
Crochet patterns can feel like a secret code when you’re first starting out. Between the abbreviations, brackets, and different construction styles, it’s easy to feel overwhelmed. In this guide, I’m breaking down how to read a crochet pattern so you can approach any project with confidence. We’ll cover everything from crochet abbreviations meaning to understanding the difference between rows and rounds, so you can focus on the joy of making!

Table of Contents
What is a Crochet Pattern?
A crochet pattern is a set of written instructions used to create a specific crochet project. Think of it as a roadmap or a recipe for your yarn! A complete pattern typically includes several key sections such as a materials list, specific crochet instructions, and assembly or finishing details.
Different Formats of Crochet Patterns
You can find crochet patterns in several different formats, depending on how you prefer to learn:
- Free Blog Patterns: Many designers (like me!) offer their work in an ad-supported format. These are free crochet patterns that you can view directly in your web browser. For example, all of the free crochet patterns here at thenicolechase.com are ad-supported, meaning you can follow the full instructions right in your browser at no cost.
- Premium PDF Downloads: For those who prefer to print their patterns or work offline, a lot of designers offer a paid PDF version. These are often printer-friendly and free of ads. You can find my PDF downloads in my Etsy shop or on Ravelry. These are great for makers who like to keep a digital library on their devices.
- Video Tutorials: Some patterns include a full crochet video tutorial on platforms like YouTube, which is perfect for beginners and visual learners. You can find full video tutorials for several of my patterns over on my YouTube channel.
- Crochet Charts: Common for blankets or garments, these use symbols to show the stitch placement visually.
Why You Should Learn How to Read a Crochet Pattern
While following along with a video is a fantastic way to start, learning how to follow a crochet pattern in written form is a game changer. Because video tutorials are quite time-consuming to produce, many designers only release written instructions. By learning this skill, you’ll unlock access to thousands of unique designs on platforms like Etsy, Ravelry, and independent blogs that don’t have a video equivalent. Plus, once you understand crochet abbreviations meaning, you’ll find that reading a pattern is often much faster than playing through a video to find your place!
Video Tutorial: How to Read a Crochet Pattern
Follow along with the video below as I walk you through exactly how to follow a crochet pattern. I’ll show you how to look at a pattern from start to finish, including where to find the materials list and how to decipher the crochet instructions.
This video is also available on YouTube. Watch this video: How to Read a Crochet Pattern on YouTube.
Standard Parts of a Crochet Pattern
While every designer has their own unique style, most crochet instructions follow a standard structure. Understanding these sections will help you prepare for your project before you ever pick up your hook.
Materials and Pattern Details
At the beginning of every pattern, you will find the blueprint of the project. This section is essentially a checklist to ensure you have everything you need before you start your first stich.
As you can see in the clipping below from one of my own patterns, I include specific details like:
- Measurements: How large the finished item will be (which can be helpful for choosing safety eyes!).
- Hook Size: The exact size used to achieve the intended look.
- Yarn Details: The yarn weight, yardage, and brand of yarn used. I often recommend Brava Worsted for its reliability in amigurumi.
- Notions: Extra tools like tapestry needles and stitch markers.

A Note on Gauge and Measurements
If you are learning how to read a crochet pattern for amigurumi, you might notice that gauge isn’t always listed. For example, in the image above it states that gauge is “not necessary for this pattern”.
Gauge is vital for wearable items like the Adaleigh Beanie and Marley Lace Top to ensure they fit correctly. However, in amigurumi, gauge is less critical because the item doesn’t need to fit a human body. As long as your stitches are tight enough that your stuffing doesn’t show through, your project will be a success!
Designer Tip: If you want a larger or smaller plushie, you can simply change your yarn weight and hook size to scale the project up or down.
Pattern Notes and Special Considerations
Before you pick up your hook, always read the “Notes” section. This is where a designer places the most important details to making the project look just like the sample photo.
In my patterns, I use this section to clarify the construction and ensure your success. As shown in the example below, notes often cover:
- Construction Style: If the piece is worked in continuous rounds or joined rounds.
- Tip: If the notes section doesn’t explicitly say “worked in the round”, look at the labels for each step! Usually Row means the project is worked flat, while Rnd or Rd indicates you are working in a circle. R is a universal abbreviation that can be used for both rows and rounds, so if you see “R1”, check the notes or review the pattern for more context!
- Technical Preferences: I often recommend the invisible decrease method here to ensure your amigurumi has a smooth, professional finish.
- Safety Warnings: For amigurumi, I always include a note about safety eyes and provide alternatives for project intended for babies or small children.
- Assembly Tips: Notes on where to add stuffing or which pieces to leave “unstuffed” for better movement.

Designer Tip: If a pattern tells you to “use a stitch marker to indicate the beginning of each round”, don’t skip it! This is the best way to avoid getting lost when following crochet pattern instructions.
The Role of Photo Tutorials and Finishing Instructions
Beyond the text, many patterns may include visual aids. Photo tutorials are often included for complex processes like embroidery, specific limb placement, or special stitches. While the row-by-row instructions tell you how to make the individual parts, the assembly section acts as the guide for putting them together. We’ll dive deeper into how to execute these finishing touches at the end of this post!
While the materials, notes, and photos provide the foundation, the heart of any pattern lies in the stitch abbreviations and the line-by-line instructions. Since these are the most technical parts of the process, let’s dive into how to “translate” the shorthand and read those instructions step-by-step.
Decoding Crochet Abbreviations and Stitches
Perhaps the most important part of learning how to read a crochet pattern is understanding the stitch details. Since crochet instructions are written using abbreviations to save space, this section acts as your “translator”.
Common Crochet Abbreviations
In this section, a designer lists every stitch that is used in the project. If you are wondering what certain abbreviations are throughout the pattern, this is where you’ll find the answer!
As you can see in my pattern clipping below, I list the standard abbreviations like st (stitch), ch (chain), and SC (single crochet). Familiarizing yourself with these crochet abbreviations meanings before you start will make the pattern much easier to follow.

Special Stitches and Instructions
Sometimes a project requires a stitch that is a bit more complex or needs to be done in a specific way to achieve a certain look. This is often labeled as “Special Stitches”.
For example, in my amigurumi patterns, I always recommend using the invisible decrease method to prevent gaps in your work. Because this is a specific technique, I include a detailed step-by-step description right in the pattern so you don’t have to leave the page to look it up.

Common Crochet Abbreviations You Might See
While my specialty, amigurumi patterns, focus heavily on single crochet, you will encounter other terms as you expand your skills. Here are some standard abbreviations used across the industry:
- Ch: Chain
- MR: Magic Ring / MC: Magic Circle
- SC: Single Crochet
- SC2tog: Single Crochet 2 Stitches Together (decrease)
- HDC: Half Double Crochet
- HDC2tog: Half Double Crochet 2 Stitches Together (decrease)
- DC: Double Crochet
- DC2tog: Double Crochet 2 Stitches Together (decrease)
- TR: Treble (or Triple) Crochet
- YO: Yarn Over
- BLO: Back Loop Only
- FLO: Front Loop Only
- Inc: Increase (Working two stitches into one)
- Dec: Decrease (Joining two stitches together)
- F/O: Fasten off
How to Read Crochet Pattern Instructions
Now that you recognize the different sections of a pattern, it’s time to dive into the actual step-by-step crochet instructions. This is where you’ll spend the most time, following the line-by-line roadmap to create your project.
Before you pick up your hook, remember: always review your pattern details and notes first! These sections often contain information that is vital for the success of your project. Once you’ve done that, you’re ready to tackle the technical “shorthand” you’ll see in almost every project, from beginner-friendly crochet patterns to the more complex.
Rows vs. Rounds
Every line of instructions is either a row or a round.
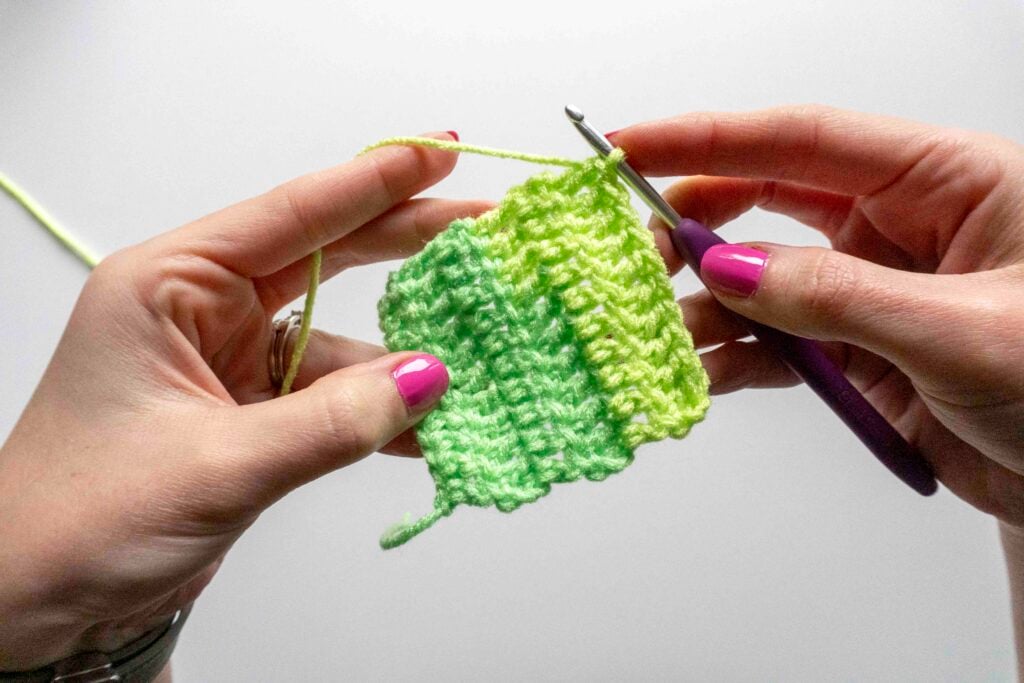
- Rows: Used for flat projects (like a scarf) where you turn your work at the end of each line.
- Rounds: Used for amigurumi and hats where you work in a circle.
Designer Tip: As we mentioned in the Notes section, the instruction abbreviations like R1, Rnd 1, Rd 1, and Row 1, can help you identify if you are working in rows or rounds if it isn’t indicating in the beginning of the pattern.
Understanding the Stitch Count
At the end of almost every line of the pattern instructions, you’ll see a number that tells you how many stitches you should have once that row or round is complete. This is known as the stitch count.
While many designers (like me!) place the stitch count in parentheses at the end of the line, like (6) or (12 sts), keep in mind that every designer has their own style. Depending on the pattern, you might see the stitch count:
- In parentheses: (12) or (12 sts)
- In brackets: [12] or [12 sts]
- After a colon or dash: :12 or :12 sts, – 12 or – 12 sts
- Written out: 12 stitches total.
Why it matters: As you increase or decrease, your stitch count changes. If the pattern says you should have (18) stitches at the end of R3, and you only have 17, you’ll know immediately that you missed a stitch. Checking this after every round is a great way to ensure your project is the intended shape!
Understanding Asterisks, Brackets, and Parentheses
Most crochet directions use symbols to condense repeating sequences. If a pattern wrote out every single stitch, it would be hundreds of pages long! It is important to note that asterisks, brackets, and parentheses often mean the same thing. The symbol used depends on the designer’s personal style.
To show you what I mean, look at these three different ways that a designer might write the exact same set of instructions:
- Using Asterisks: *2 SC in next st, 1 SC in next st. Repeat from * around. (18 sts)
- Using Parentheses: (2 SC, 1 SC) 6 times. 18 sts.
- Using Brackets: [2 SC, 1 SC] around. (18)
The Translation: No matter which symbols you see, the action is the same: you will work 2 single crochets into the first stitch (an increase), then 1 single crochet into the next, and repeat that 2-1-2-1 pattern all the way around your crochet rounds. When the round is finished, you will have a count of 18 stitches.
How to Read Repeating Rows/Rounds
When you see a range of numbers like R7-14, it’s a huge time-saver! This could be written in different ways but will mean the same thing:
- Example A: R7-14: 1 SC in each st around. (36 sts)
- Example B: R7: 1 SC in each st around. (36 sts) Repeat R7 for R8-R14.
The Translation: This tells you that every round from R7-R14 (7, 8, 9, 10, 11, 12, 13, and 14) uses the exact same instructions.
Designer Tip: This is usually where the “growth” of an amigurumi stops and you are just adding height or length. It’s the perfect time to put on a podcast or your favorite show and crochet away!
Your “Before You Hook” Checklist
Even experienced makers can get tripped up by jumping straight to R1. To ensure your project turns out perfectly, do a quick sweep of these three areas:
- Materials List: Do you have the right yarn weight and hook size? If not, do you need to meet a gauge first? Using a different yarn weight can drastically change your final piece.
- Pattern Notes: Does the designer specify anything necessary for this pattern such as continuous rounds?
- Stitch Abbreviations: Are there any “special stitches” that you should know about?
Once you’ve checked these off, you’re read to follow the line-by-line instructions with confidence!
Let’s Practice: Reading a Crochet Pattern Step-by-Step
Theory is great, but seeing a pattern in action is the best way to learn. Below is an example of what the instructions look like in one of my patterns. Let’s break down exactly what these lines are telling you to do.

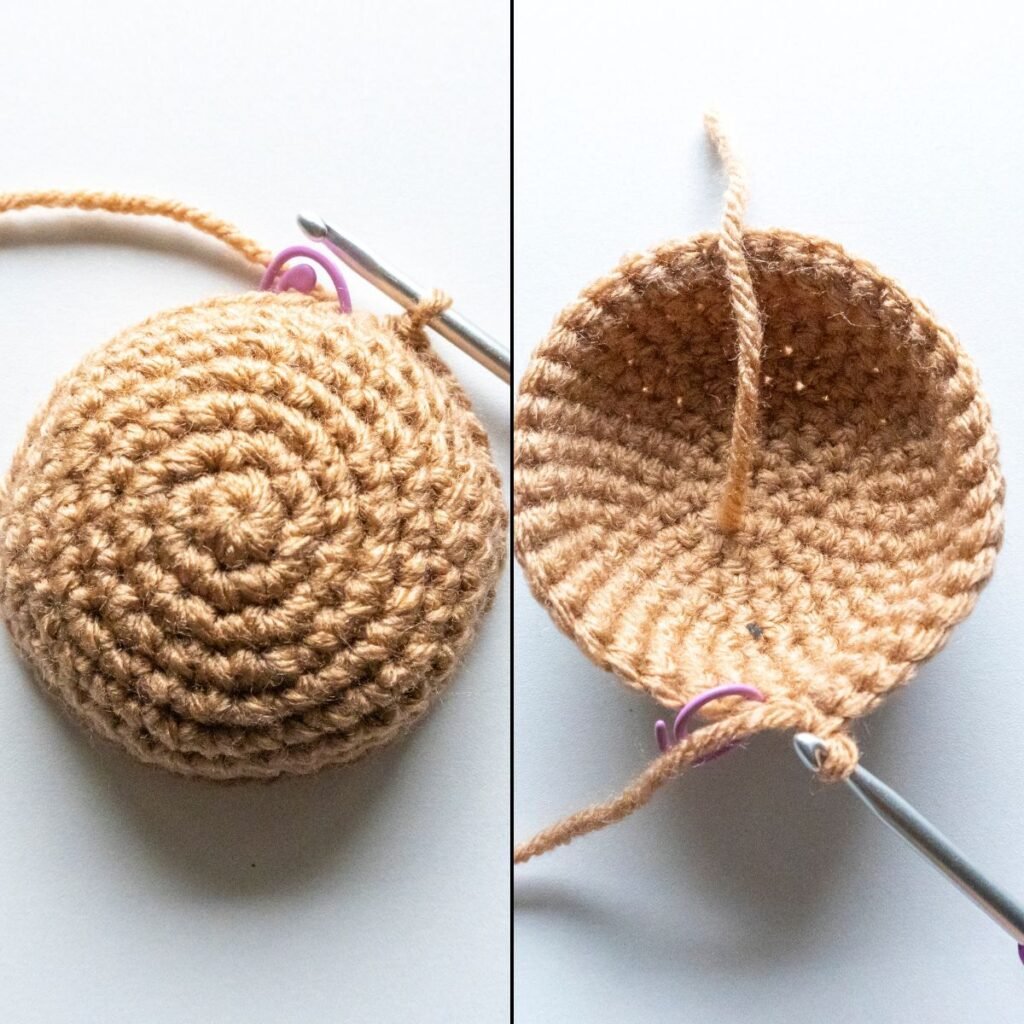
First you’ll see that we are using a 4.0mm (G) crochet hook, and we’ll be starting with the body piece using your first color (cream).
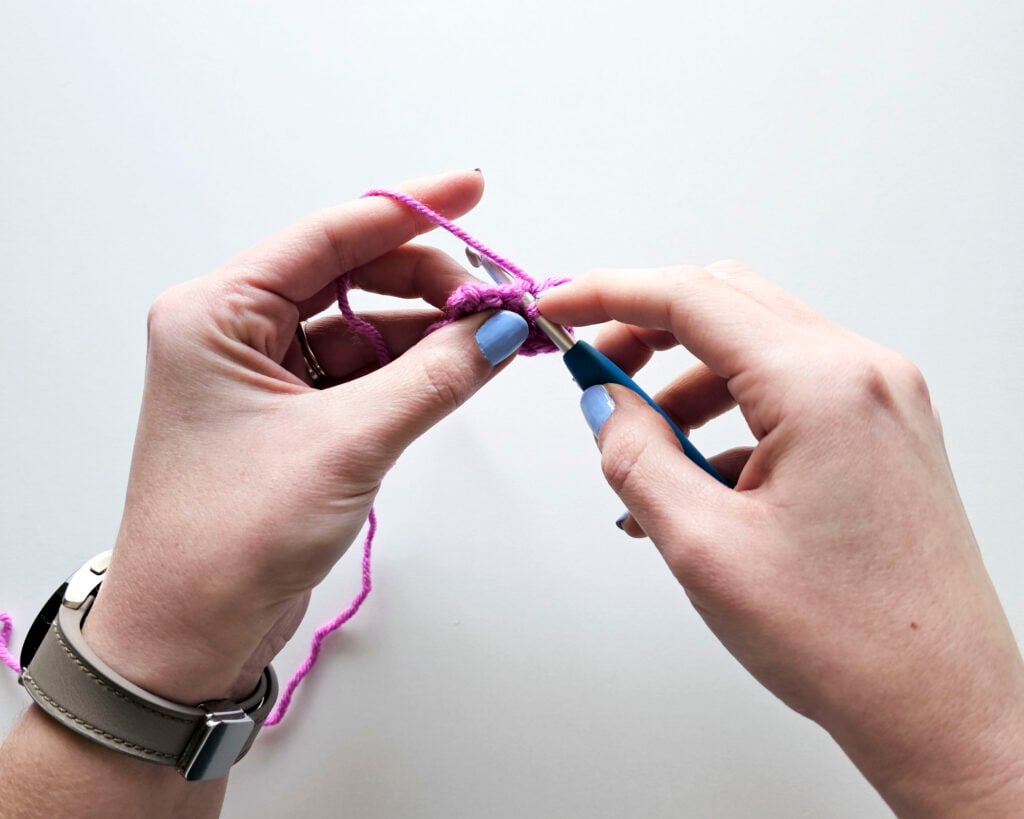
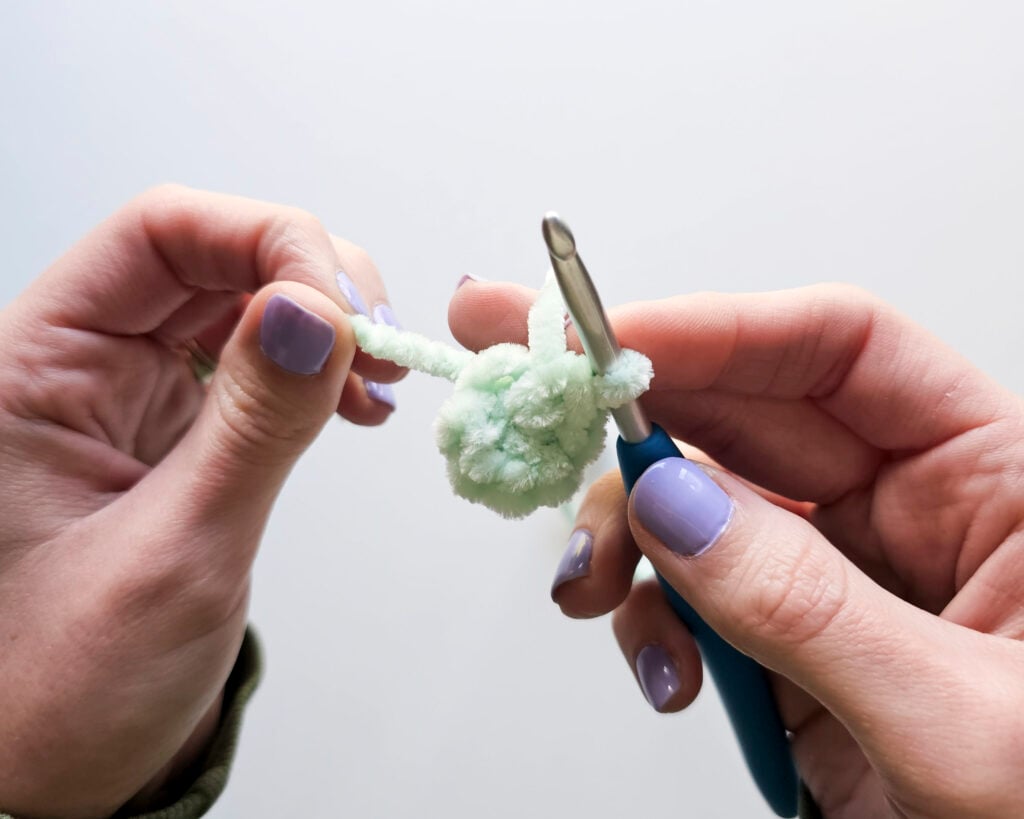
R1: Begin with 6 SC in a magic ring. (6 sts)
- Translation: Create a magic ring and work 6 single crochet stitches into it. At the end, you should have a total of 6 sts.
R2: 2 SC in each st around. (12 sts)
- Transaltion: This is an increasing round. You will work two single crochet stitches into every stitch from the previous round. This doubles your count to 12.
R3: *2 SC in next st, 1 SC in next st. Repeat from * around. (18 sts)
- Translation: Here is our first repeat! You’ll do an increase (2 SC) in the first stitch, then one SC in the next. Keep repeating that 2-1 sequence all the way around until you reach your stitch marker. This brings your stitch count to 18.
R4: *2 SC in next st, 1 SC in each of the next 2 sts. Repeat from * around. (24 sts)
- Translation: Another repeat, but with a different sequence: one increase followed by two individual SC stitches. Your stitch count will now be up to 24 sts.
The next couple of rounds follow that same model, so let’s skip ahead a bit.
R7-14: 1 SC in each st around. (36 sts)
- Translation: For every round from 7 through 14, you simply work 1 SC in every stitch. This is where your piece will get its height!
R15: *SC2tog, 1 SC in each of the next 4 sts. Repeat from * around. (30 sts)
- Translation: Now we are decreasing to make the shape smaller. For this pattern, the notes indicate the use of the invisible decrease method, so you’ll SC2tog (with that invisible decrease method), then work 4 single crochet stitches. Repeat that sequence until you finish the round with 30 sts.
Finishing Your Project
Fastening Off and Leaving a Tail
When you reach the end of your instructions, you will usually see the term “Fasten off” or “F/O”.
Designer Tip: Especially for amigurumi, always check the next line of instructions before you snip your yarn! Often, a designer will ask you to “leave a long tail for sewing”. This saves you from having to join new yarn later when you are ready to attach the head or limbs.
Assembly and Finishing Touches
The very last section of a crochet pattern is typically the assembly and finishing instructions. For things like hats, this might be attaching a pom pom or button. For blankets, this may be weaving in ends and sewing squares together. For amigurumi, this might include how to sew the limbs to the body and add any embroidery details for the face.
If you find assembly intimidating, don’t worry! Some designers (including me!) include detailed photo tutorials to go along with the assembly instructions.

Final Tips for Success
Learning how to read a crochet pattern is a skill that improves with every project. If you get stuck:
- Read the row aloud: Sometimes hearing the abbreviations will help you translate them.
- Mark your place: Use a physical highlighter, digital annotation tool on your PDF, or write the completed rows/rounds in a notebook to keep track.
- Don’t be afraid to reach out: Most designers are happy to help if you have a question about a specific part of their pattern!


Ready to Learn Amigurumi Crochet?
Now that you’ve mastered the “language” of crochet patterns, you might be feeling ready to dive into your first project! If the idea of starting your first amigurumi on your own feels a bit overwhelming, I’m here to help you move from reading to making with confidence.
I’ve designed a free Amigurumi for Beginners course that takes all the guesswork out of the process. I’ll walk you through every step, from that first magic ring to the final assembly of your finished plush!
Learn How to Crochet Amigurumi!
Sign up for my free amigurumi for beginners course and learn everything you need to know to make your own crochet plush!
To see what is included, check out the course summary page!
More Crochet Tutorials for Beginners
If you’re just starting your crochet journey, check out these other helpful guides to help you build a solid foundation:
- How to Hold a Crochet Hook and Yarn: Find the grip that works best for you and learn how to maintain tension.
- How to Read a Yarn Label: Don’t get overwhelmed in the yarn aisle! Learn exactly what all those symbols and numbers mean.
- Where to Find Free Crochet Patterns: A curated list of the best resources for finding high-quality, free designs to practice your new skills.
- Amigurumi Tips and Tricks: All the best secrets and tips to professional-looking amigurumi projects!
Be sure to check out my free crochet pattern library full of beginner-friendly amigurumi projects and more waiting for you.


I hope you enjoyed this post! Be sure to leave me a comment below to let me know what you think.
Want to see more from me? Be sure to subscribe to my email newsletter so that you never miss a post!
Follow along with me on Instagram for daily updates and a behind the scenes look at my designs.
I’d love to see what you make with this tutorial! Don’t forget to share your finished work with me: on social media by tagging me @thenicolechase, in your Ravelry projects, or post over in my Facebook group!
Thanks for stopping by! Happy crafting!
Nicole
PATTERN COPYRIGHT © 2026 NICOLE CHASE. ALL RIGHTS RESERVED.
PATTERN MAY NOT BE ALTERED, COPIED, REDISTRIBUTED OR SOLD AS YOUR OWN PATTERN.
YOU MAY SELL THE FINISHED PRODUCT ON A SMALL SCALE. PATTERN/DESIGN CREDIT GIVEN TO WWW.THENICOLECHASE.COM IS APPRECIATED. PERMISSION TO SELL DOES NOT INCLUDE MASS PRODUCTION. LARGE SCALE PRODUCTION IS PROHIBITED.
PHOTOGRAPHY COPYRIGHT © 2026 NICOLE CHASE. ALL RIGHTS RESERVED.
PHOTOS MAY NOT BE ALTERED, COPIED, REDISTRIBUTED OR SOLD AS YOUR OWN.
This post may contain affiliate links. If you make a purchase through links on our site, we may earn a commission.