Half Double Crochet Stitch Tutorial
This post may contain affiliate links. If you make a purchase through links on our site, we may earn a commission.
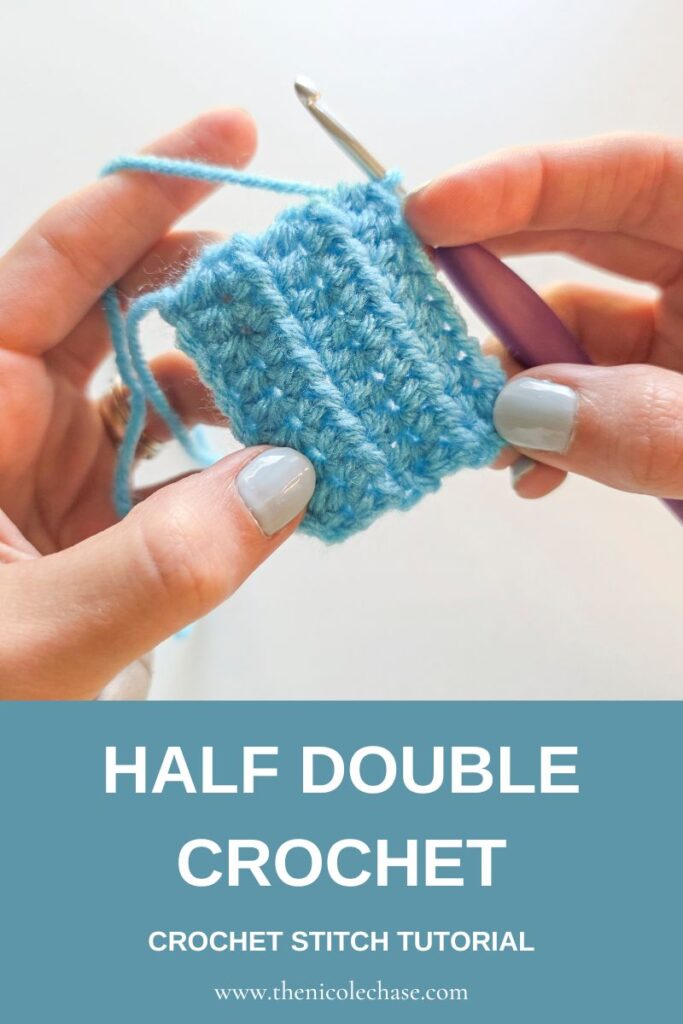
Learning how to do the half double crochet stitch (HDC) is one of the best moves you can make as a beginner. It sits right between the single and double crochet, working up quickly while creating a warm fabric without large gaps.
In this beginner-friendly tutorial, I will show you how to master the HDC crochet stitch step-by-step. We will cover exact hook placement, stitch counts, and more. Follow along with the photo tutorial below, or watch the full video walkthrough.
At a Glance: Learning the Half Double Crochet Stitch
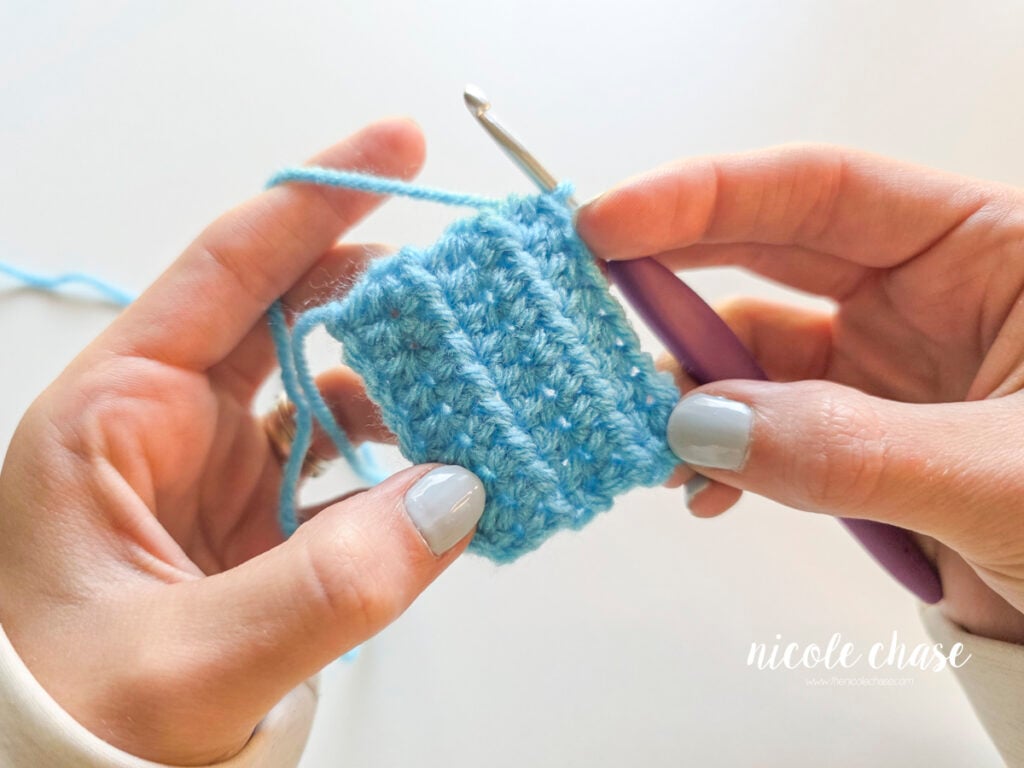
Mastering the half double crochet stitch (HDC) is a crucial milestone for every crocheter. Taller than a single crochet, but shorter than a double crochet, the HDC offers a flexible texture with beautiful drape and solid coverage without large gaps.
- Skill Level: Beginner-friendly.
- Relevant Abbreviations: HDC, hdc.
- Best Used For: Blankets, wearables, hats, scarves, and textured amigurumi details.
- Tutorial Formats: On-page written instructions, step-by-step photos, troubleshooting tips, and a full video tutorial.
Table of Contents
About the Half Double Crochet Stitch
What is HDC?
The half double crochet stitch, abbreviated as HDC or hdc, is one of the most fundamental crochet stitches. It is unique because it combines the quick height of a double crochet with the tight, solid structure of a single crochet.
In terms of height, the HDC sits right between the single crochet (SC) and double crochet (DC). Because it requires an extra yarn over before inserting your hook, it creates a unique third loop on the back of the stitch. This gives HDC fabric a soft texture, while remaining tight enough that it doesn’t leave large holes.
Before You Start
You don’t need any special tools beyond your basic yarn and hook; however, you will need to know two foundational techniques before you begin: how to make a crochet slip knot, and how to crochet a chain stitch.
While both of these basics are shown briefly in the video tutorial below, if you are brand new to crochet and need a slower breakdown, I recommend checking out the full how to make a slip knot and chain tutorial first.
How to Half Double Crochet
Let’s learn how to half double crochet! In this photo tutorial, I’m using worsted weight yarn and a 4.0mm (G) crochet hook.
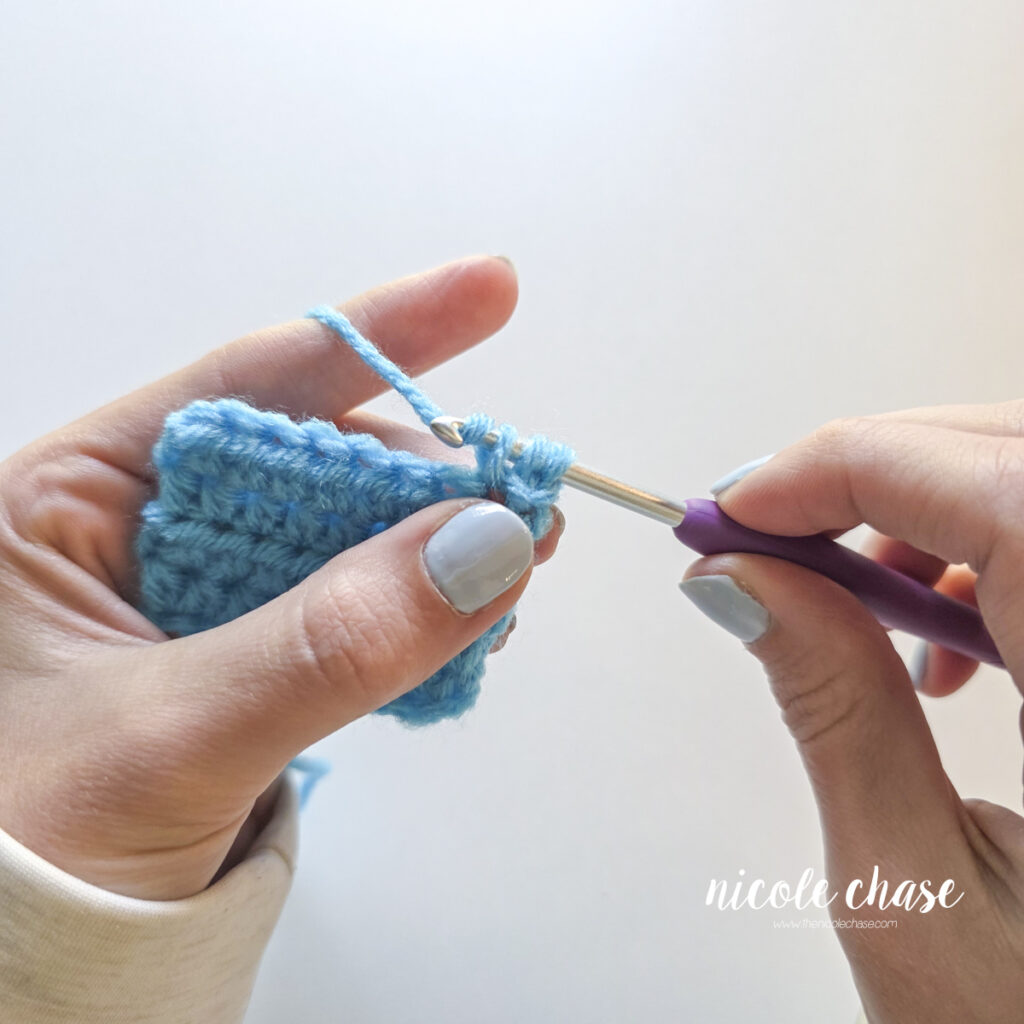
Step 1: First you will yarn over and insert your hook into the designated stitch.
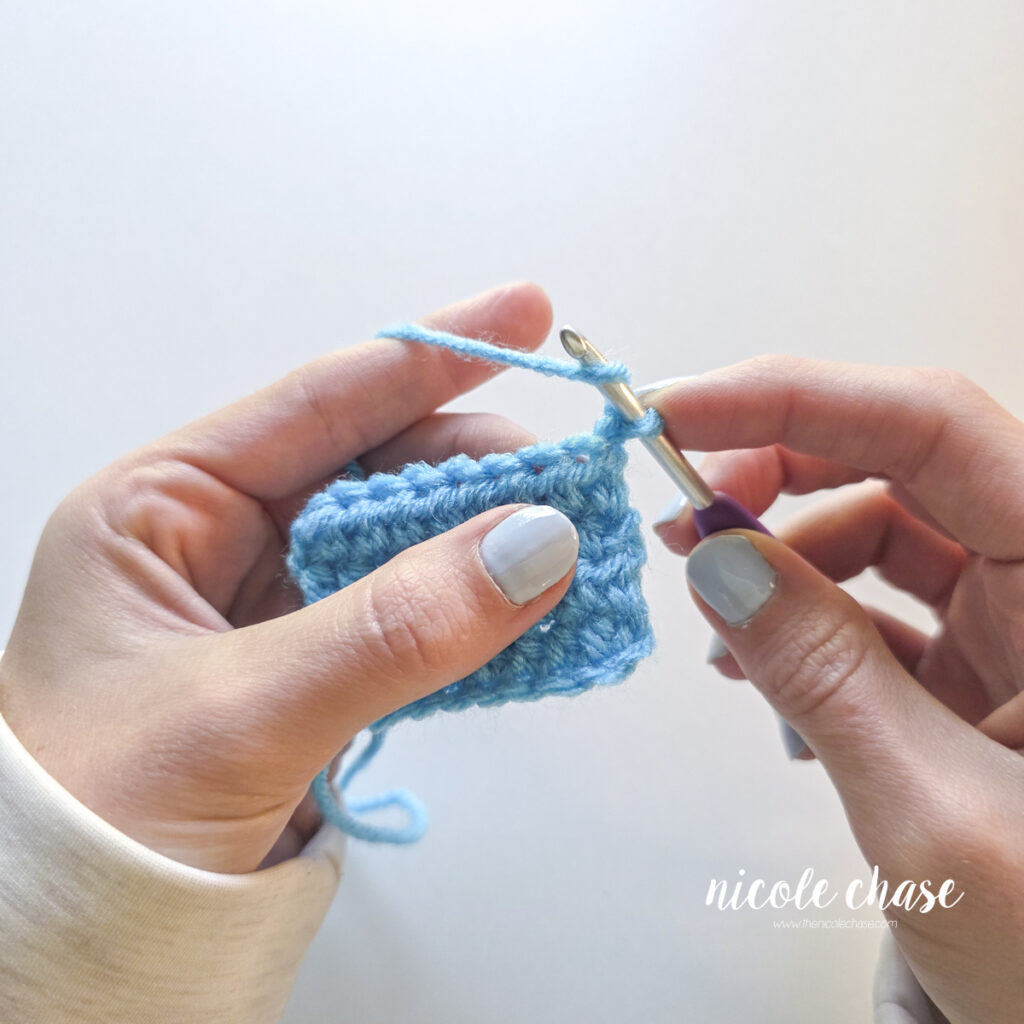
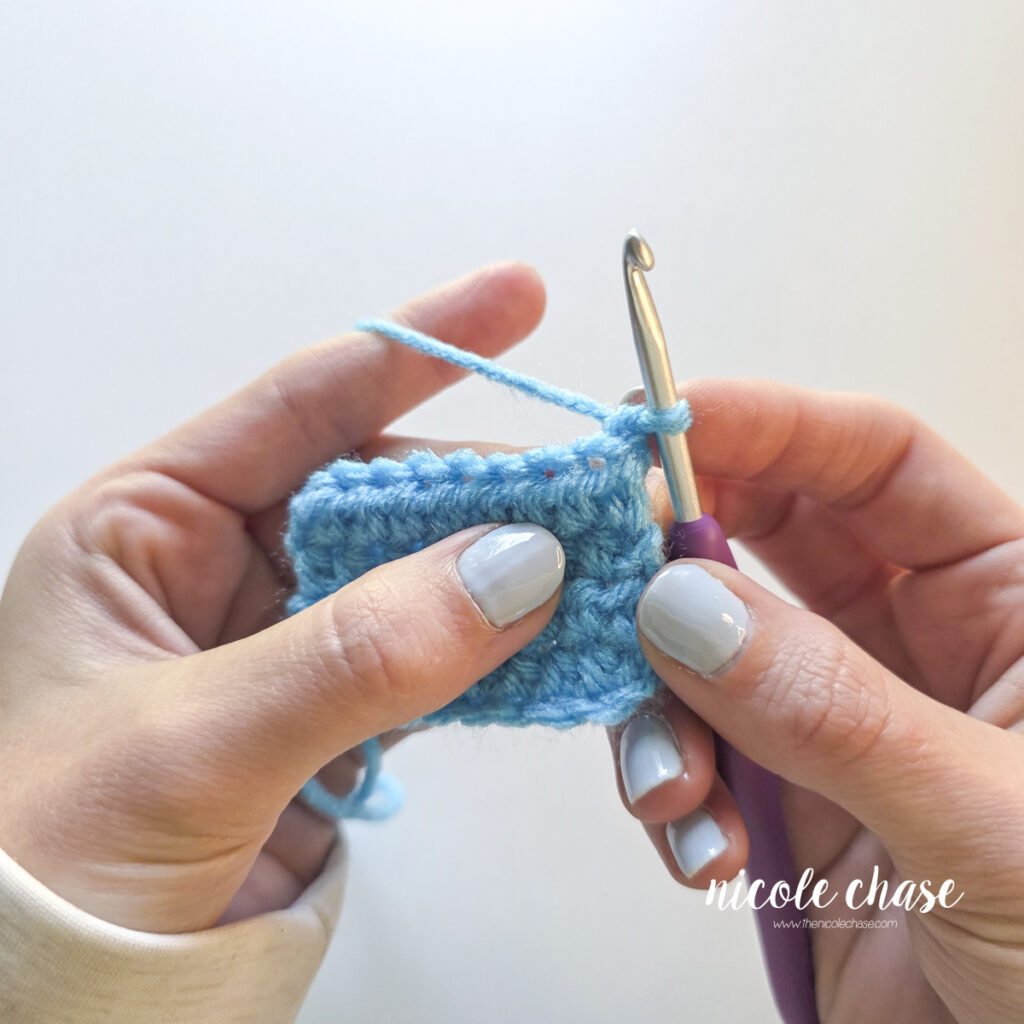
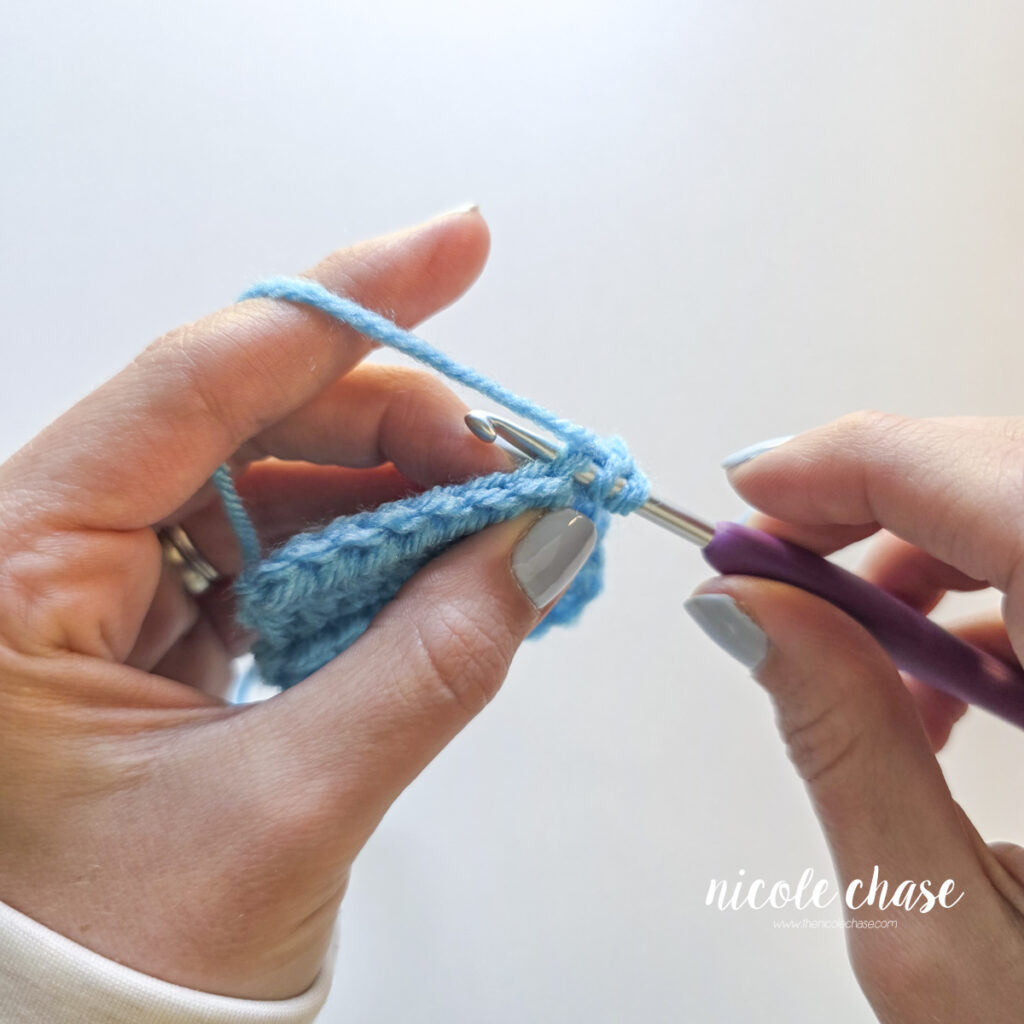
Step 2: Then you will yarn over and draw up a loop (creating 3 loops on your hook).
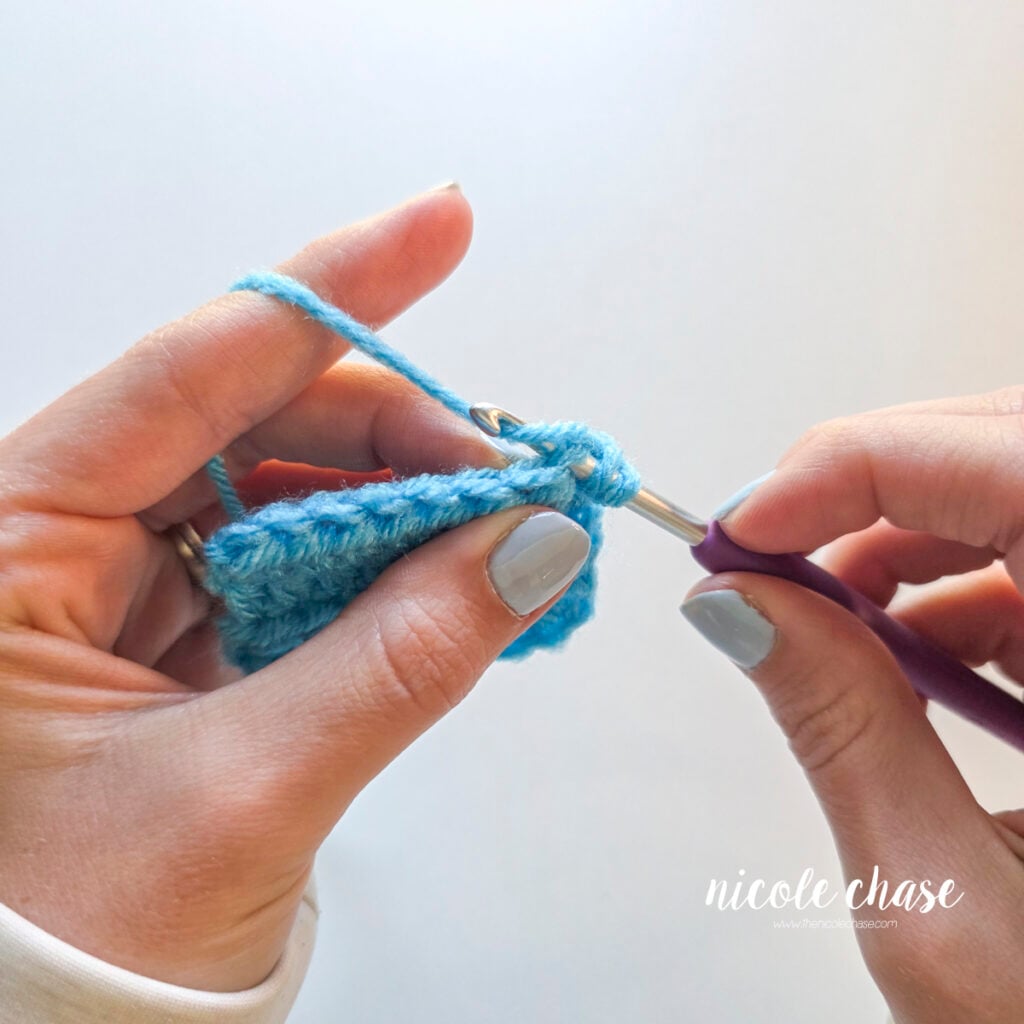
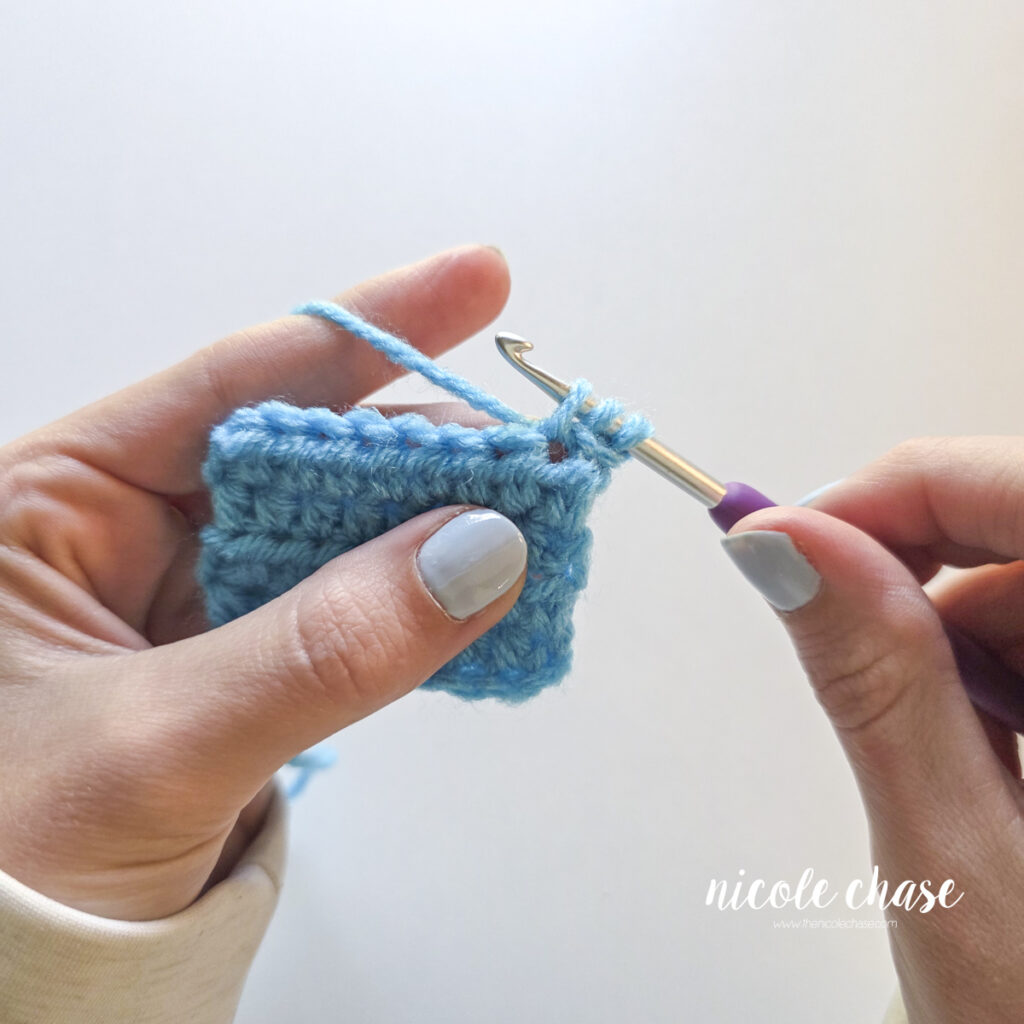
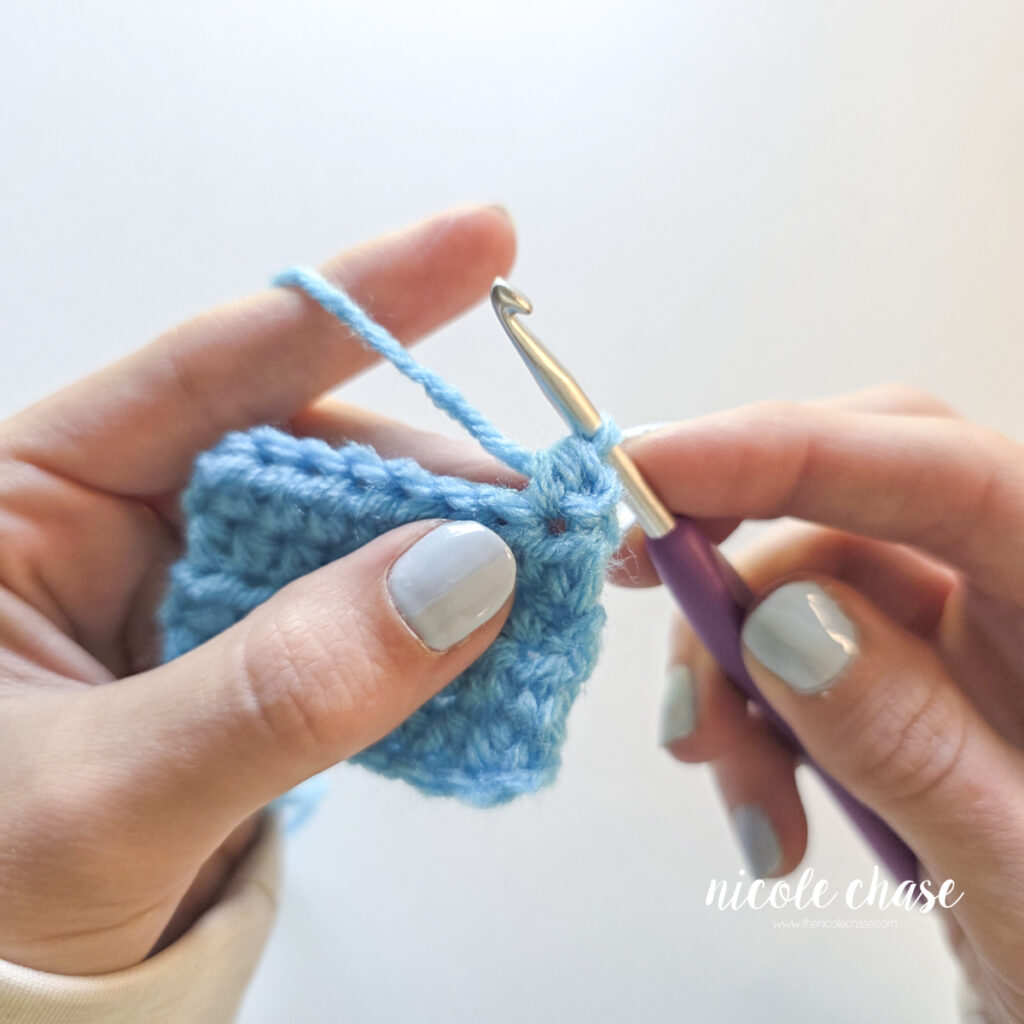
Step 3: Finally you will yarn over again and then pull your yarn through all three loops on your hook.
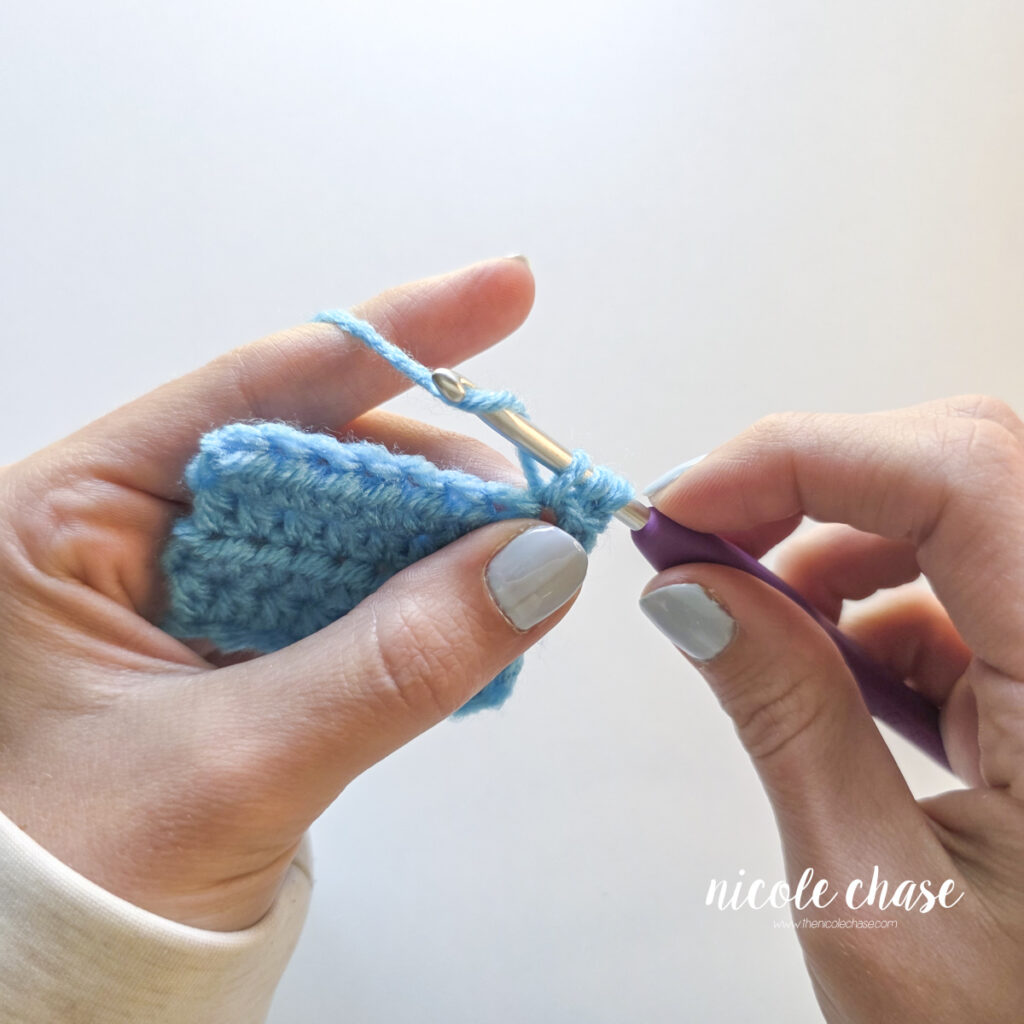
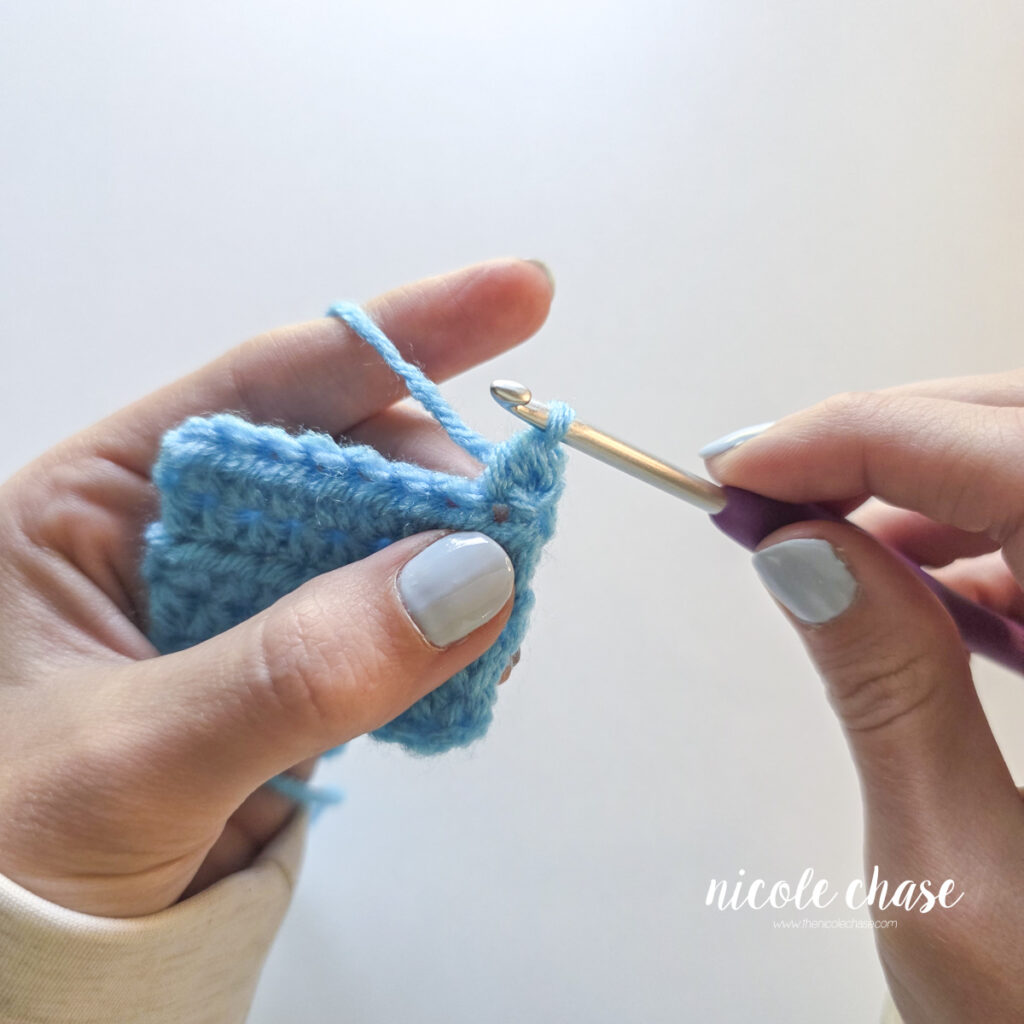
This creates the half double crochet stitch! This is further illustrated in the video tutorial below.
Half Double Crochet in Rows
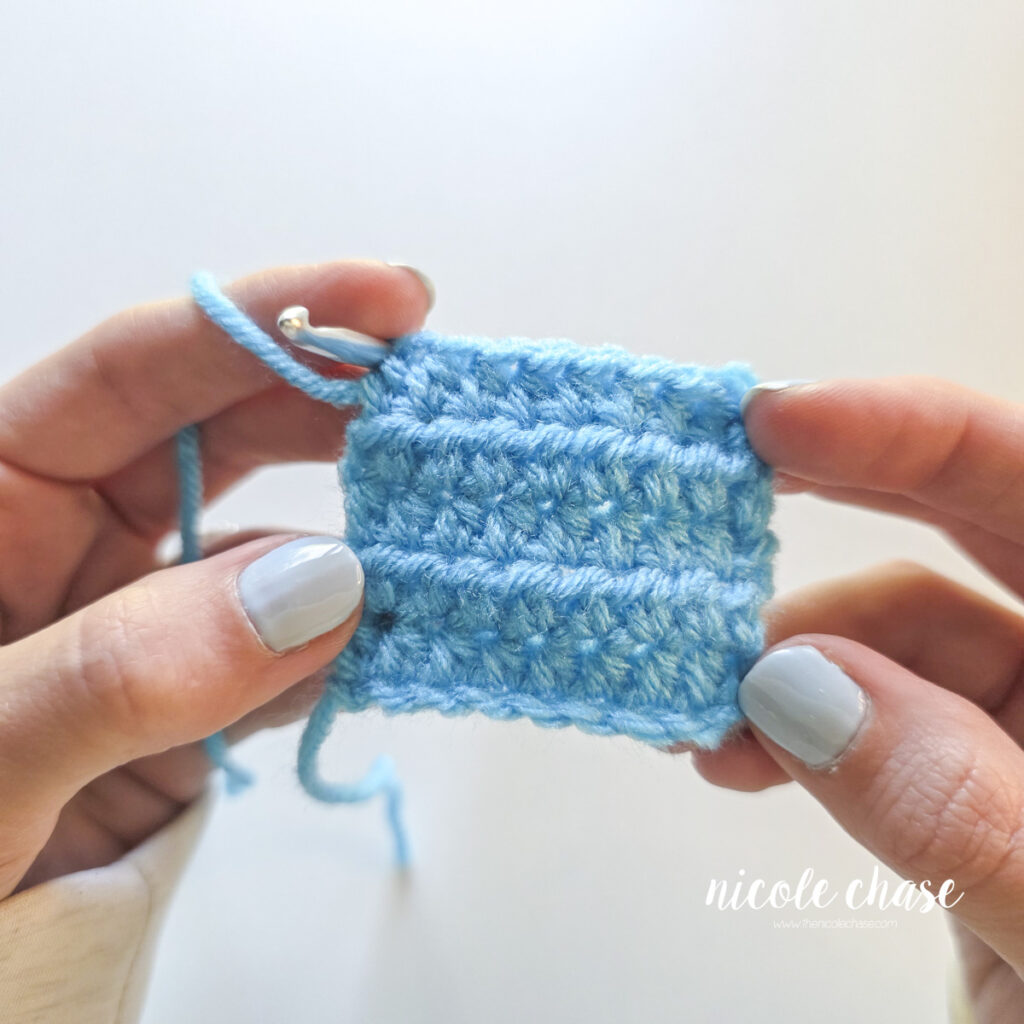
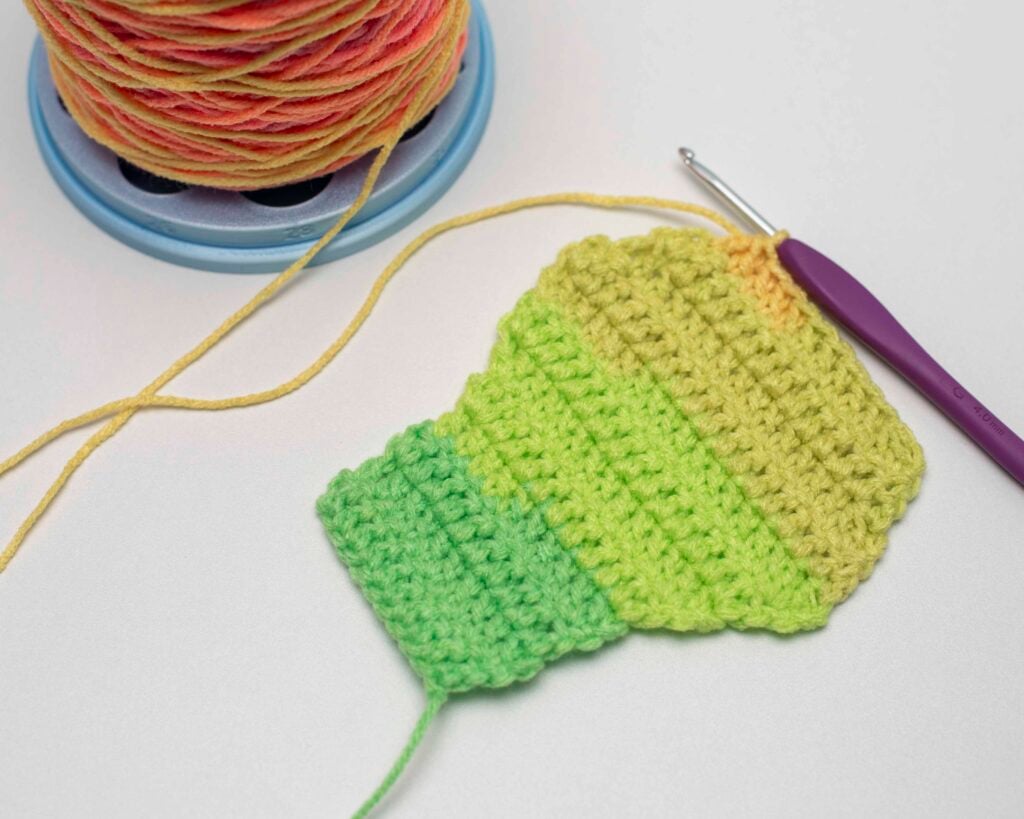
If you are using half double crochet in a project that is worked in rows, you will need to utilize a turning chain at the end of each row. The turning chain brings your yarn up to the correct height needed for the next row.
For the half double crochet stitch, you can use a turning chain of either 1 or 2 chain stitches (ch 1 or ch 2), depending on pattern instructions or your personal preference. The turning chain does not typically count as a stitch unless it is otherwise noted in your pattern.
I personally prefer using a ch 1 for my turning chain. I find that a ch 1 creates a tighter, cleaner edge on the side of my work without leaving a noticeable gap. However, some patterns may specify a ch 2.
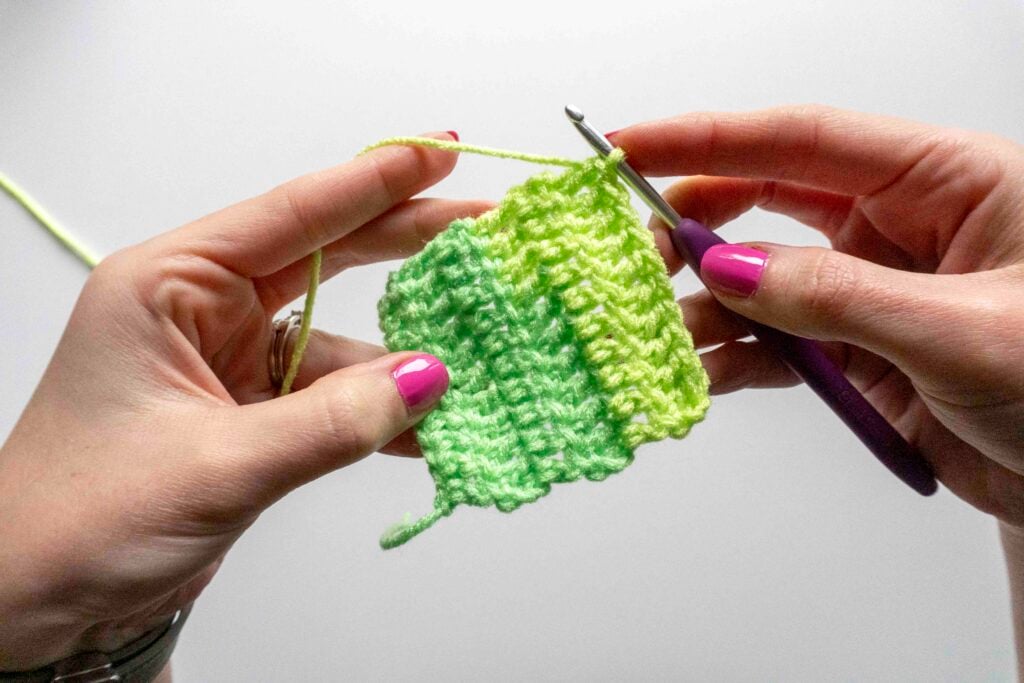
After your turning chain, you will work your first HDC crochet stitch and continue working your stitches across the row until you’ve reached the end.
Video Tutorial for How to Half Double Crochet in Rows
In this crochet video tutorial, I will demonstrate how to half double crochet in a chain and into subsequent rows.
Note that this video is intended to teach the half double crochet stitch and assumes you already know how to start your project. If you are brand new to crochet, be sure to check out my full tutorial on how to make a crochet slip knot and chain first.
This video is also available on YouTube. Watch this video: Half Double Crochet in Rows Tutorial on YouTube.
Half Double Crochet Troubleshooting
If the sides of your work look wavy or sloped, the most common culprit is either accidentally adding or missing stitches at the end of your rows.
- Check the Turning Chain: Make sure you know whether your pattern counts the turning chain as a stitch. If the pattern states that the turning chain does NOT count as a stitch, always make your first HDC directly into the very first stitch of the row and do NOT work into the top of the turning chain at the end.
- Count Your Stitches: It is easy to miss the final stitch of a HDC row because it can tilt slightly to the side. Use a stitch marker in the first and last stitch of each row to guarantee your stitch count stays exact.
Where do I insert my hook for HDC?
For standard half double crochet worked in rows or rounds, insert your hook under both top loops (the V) of the stitch from the previous row.
Half Double Crochet in US Terms vs UK Terms?
Crochet patterns use different terms depending on whether they are written using US or UK terms. US terms uses “half double crochet” (HDC), while UK terms uses “half treble crochet” (HTR). Both terms are for the stitch that is shown in this tutorial.
Note: HDC creates a unique “third loop” behind the top V due to the extra yarn over. Unless a pattern specifically directs you to work into the third loop (which creates a faux-knit ridge), always work under both standard top loops.

More Crochet Tutorials
I hope that you enjoyed this tutorial and feel confident with how to do the half double crochet! If you are building your foundational crochet skills, be sure to check out these other essential tutorials:
- Learn the most important stitch of all with my single crochet stitch tutorial.
- Ready for taller stitches? Check out my step-by-step double crochet stitch tutorial.
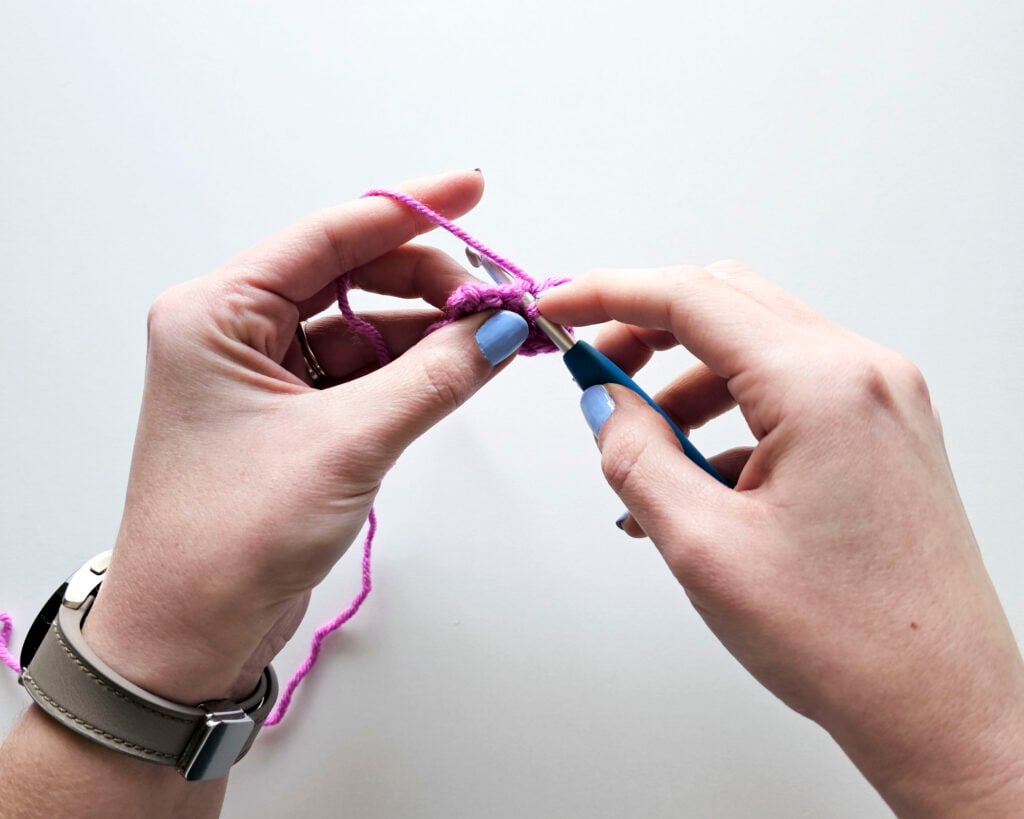
- Starting a project in the round? Master the magic ring crochet tutorial, or try my easy magic ring alternative.
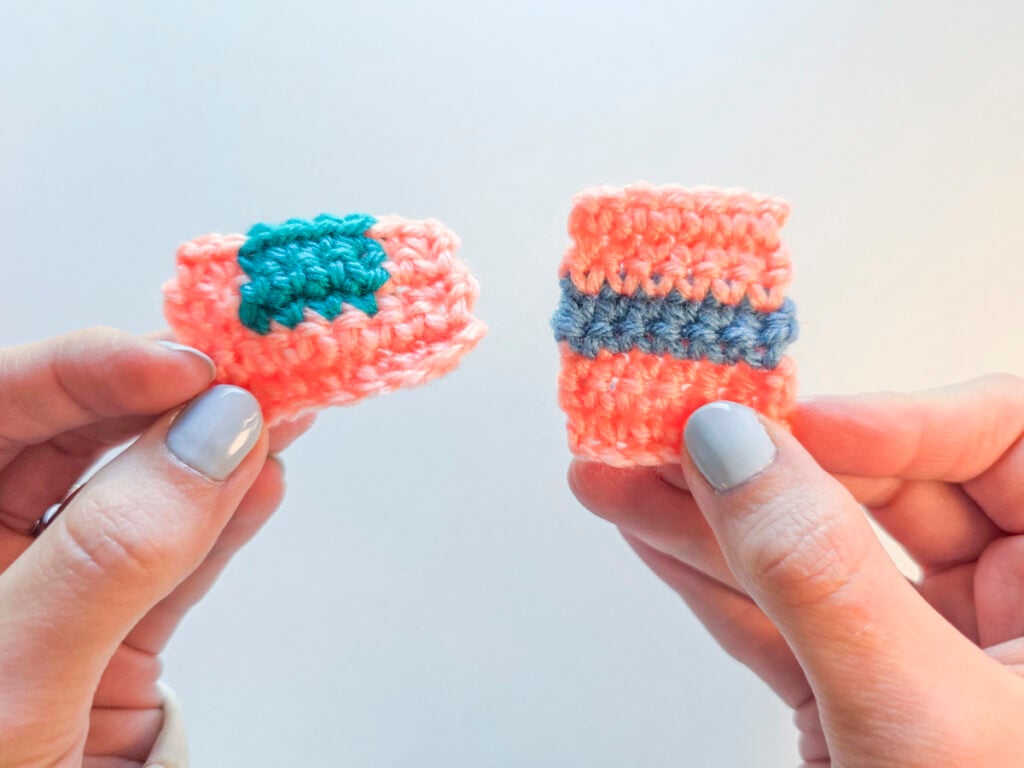
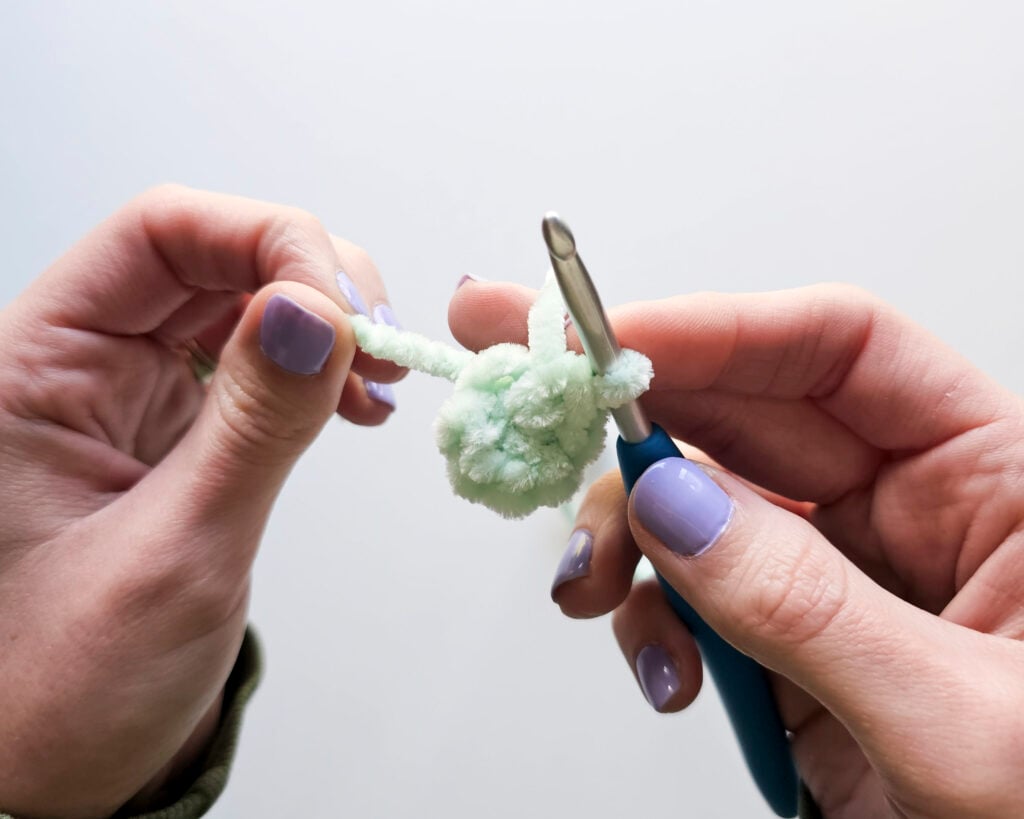
If you are new to making plushies, you might also love my free course, Amigurumi for Beginners, or explore my full library of free crochet patterns!
I hope you enjoyed this post! Be sure to leave me a comment below to let me know what you think.
Want to see more from me? Be sure to subscribe to my email newsletter so that you never miss a post!
Follow along with me on Instagram for daily updates and a behind the scenes look at my designs.
I’d love to see what you make with this tutorial! Don’t forget to share your finished work with me: on social media by tagging me @thenicolechase, in your Ravelry projects, or post over in my Facebook group!
Thanks for stopping by! Happy crafting!
Nicole
PATTERN COPYRIGHT © 2026 NICOLE CHASE. ALL RIGHTS RESERVED.
PATTERN MAY NOT BE ALTERED, COPIED, REDISTRIBUTED OR SOLD AS YOUR OWN PATTERN.
YOU MAY SELL THE FINISHED PRODUCT ON A SMALL SCALE. PATTERN/DESIGN CREDIT GIVEN TO WWW.THENICOLECHASE.COM IS APPRECIATED. PERMISSION TO SELL DOES NOT INCLUDE MASS PRODUCTION. LARGE SCALE PRODUCTION IS PROHIBITED.
PHOTOGRAPHY COPYRIGHT © 2026 NICOLE CHASE. ALL RIGHTS RESERVED.
PHOTOS MAY NOT BE ALTERED, COPIED, REDISTRIBUTED OR SOLD AS YOUR OWN.
This post may contain affiliate links. If you make a purchase through links on our site, we may earn a commission.