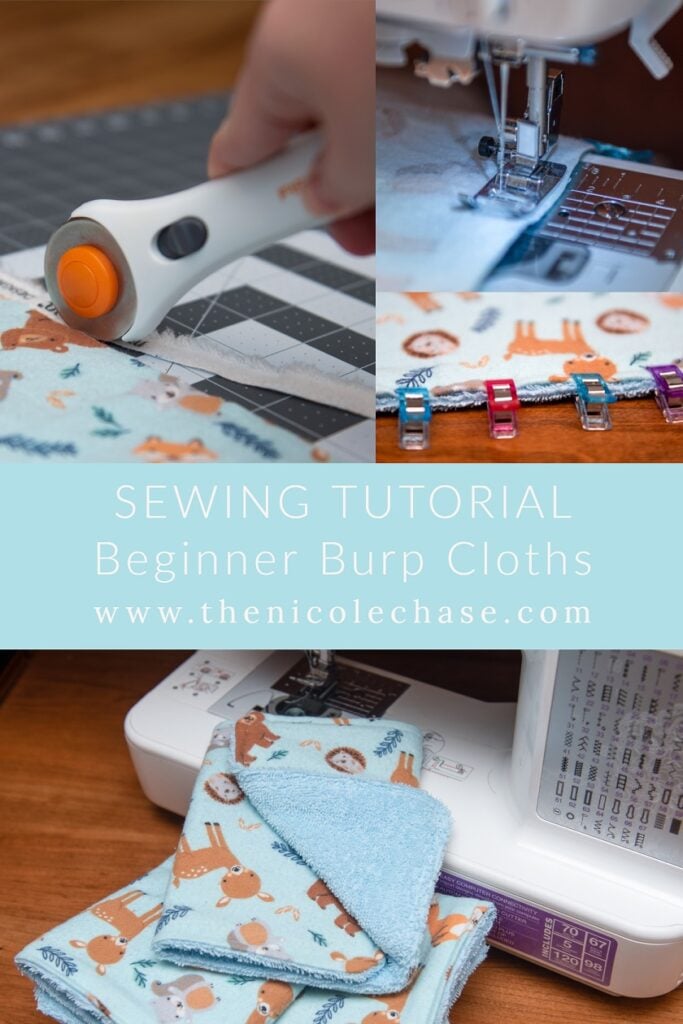
Beginner Burp Cloths Sewing Tutorial
This post may contain affiliate links. If you make a purchase through links on our site, we may earn a commission.
I’m not an expert seamstress by any means. In fact, up until a couple years ago, I thought I really disliked sewing. But after cozying up to my machine, the Brother SE400, it turns out that I really just dislike hand-sewing. I’ve become quite fond of creating things with my sewing machine, and these DIY burp cloths are a fun and fast project!
After seeing the prices of burp cloths, I thought I’d try my hand at making some instead!
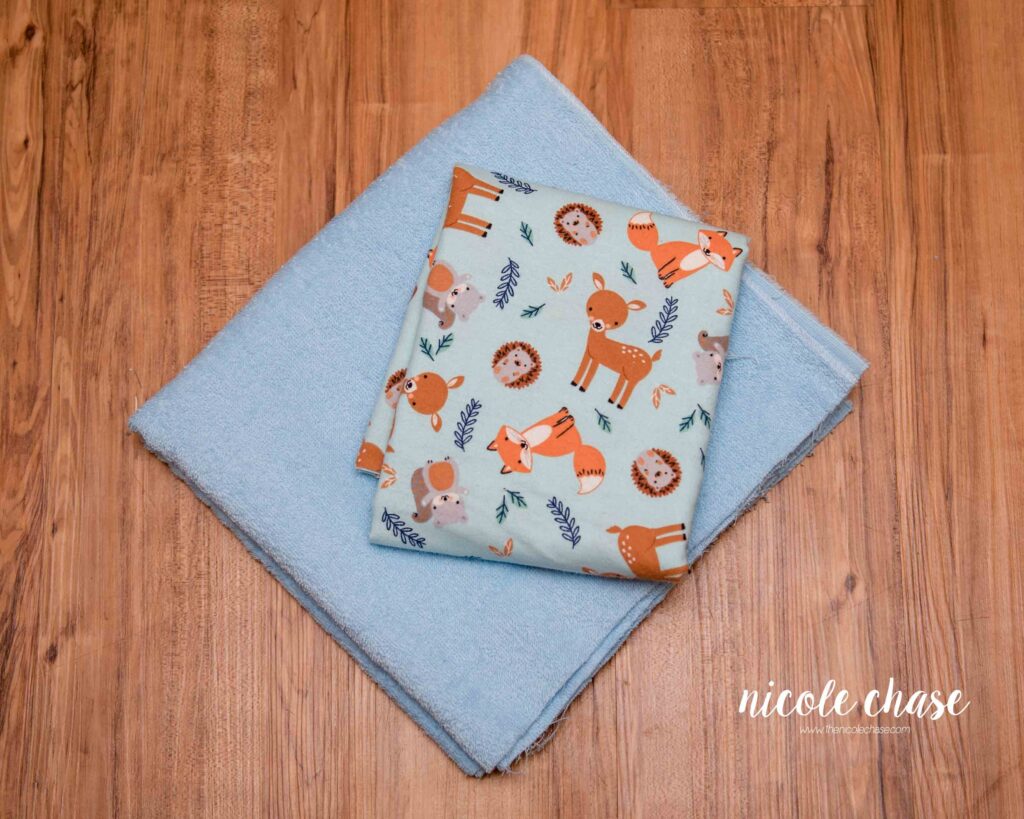
Table of Contents

Beginner Burp Cloth Sewing Pattern

Supplies
- 1/2 yard of flannel fabric
- 1/2 yard of terry cloth fabric
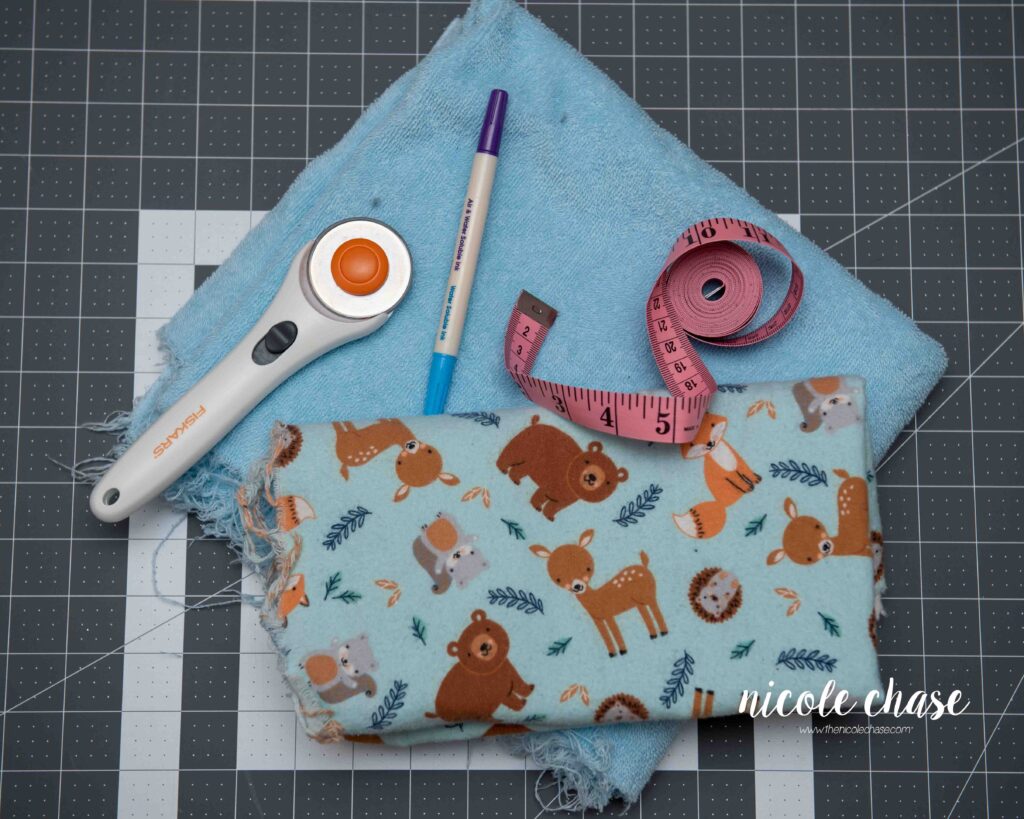
- Rotary Cutter
- Cutting Mat
- Tape Measure
- Disappearing Ink Pen or Chalk
- Clips or Pins
- Sewing Machine
- Coordinating All-Purpose Thread
Preparing the Fabric
You’ll need a half of a yard of flannel and a half of a yard of coordinating terry cloth. This next step is important – make sure that you wash and dry your fabric.
I used to think that this step wasn’t important, but fabric shrinks, and at different rates, so you’ll definitely want to make sure that this is done before you do your sewing. These DIY burp cloths are sure to get washed quite a bit!
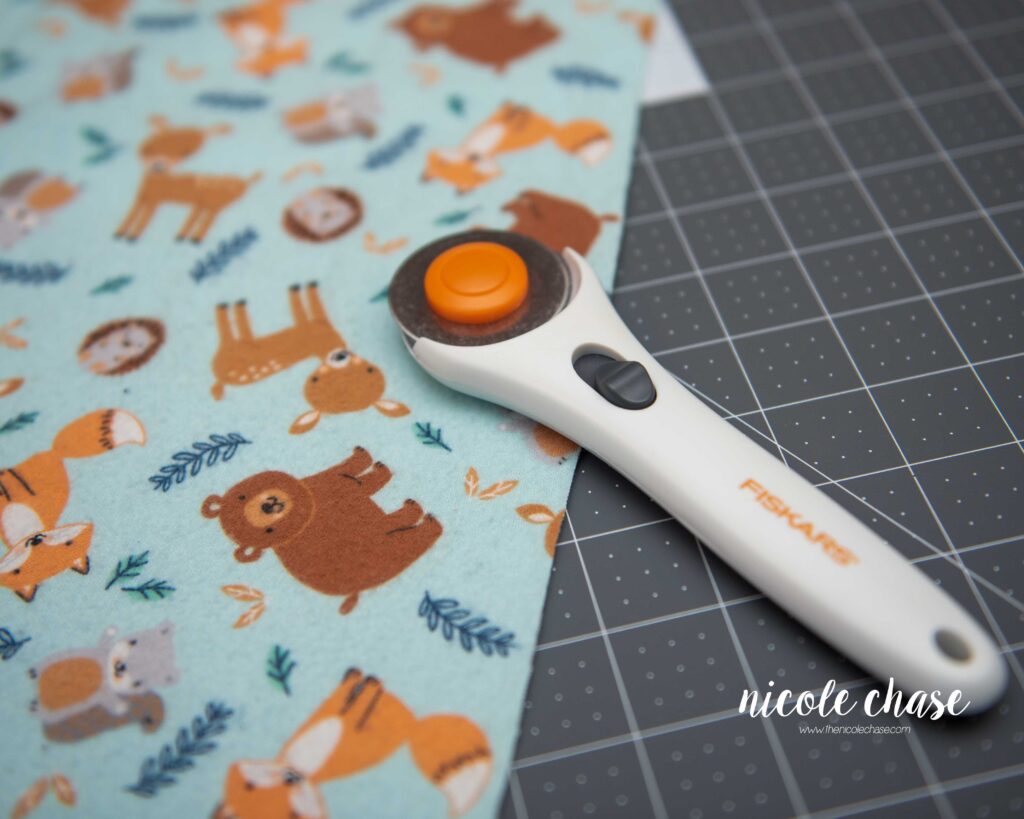
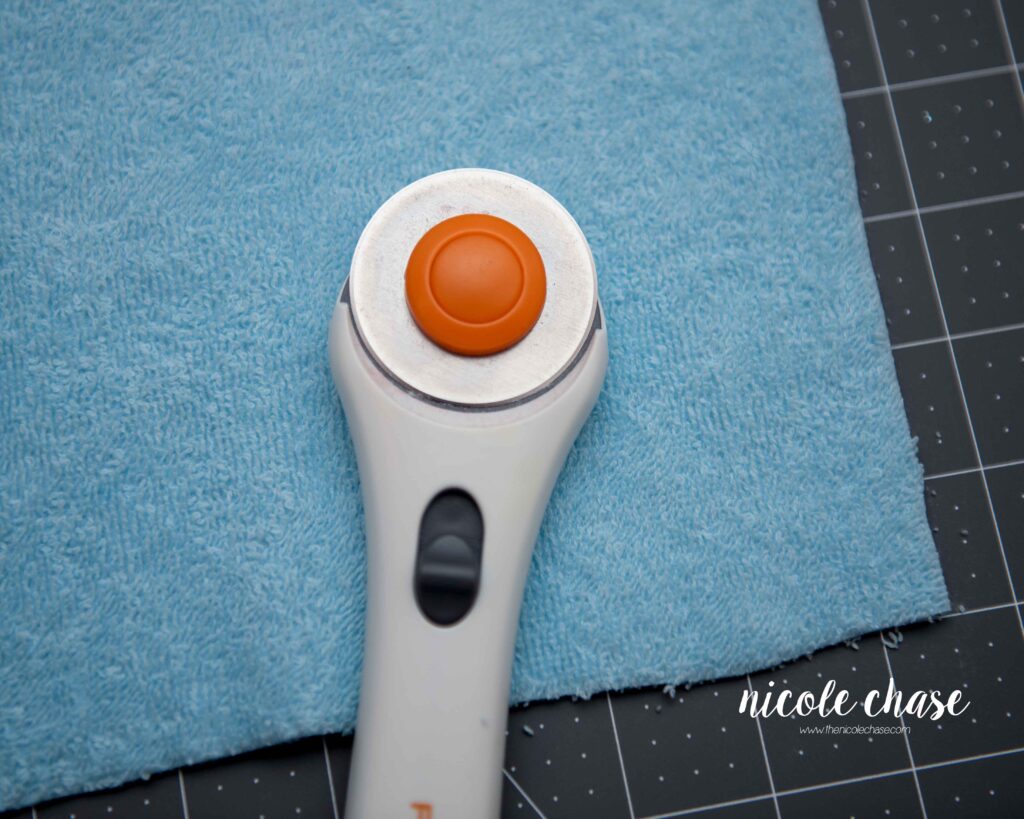
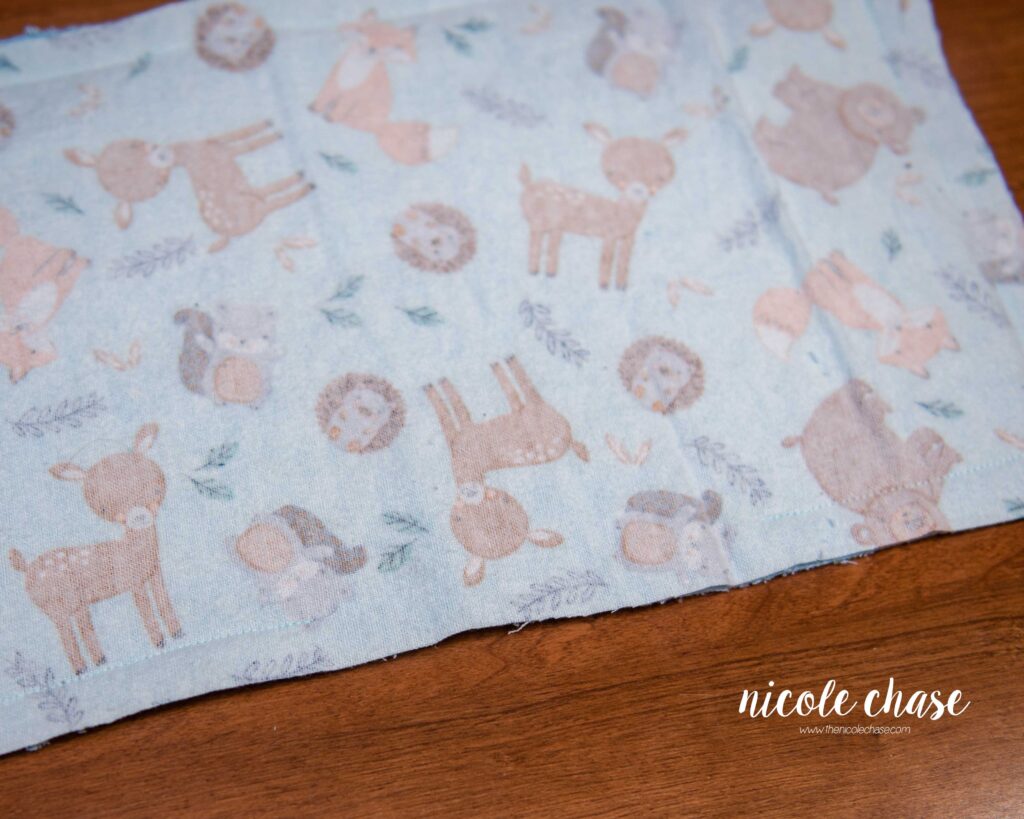
After washing and drying your fabric, you will have frayed edges. You’ll need to cut these raw edges using your rotary cutter. I’m sure someone much more professional than me would tell you that you now need to iron your fabric before cutting, but I like to live on the edge (and I also despise my iron).
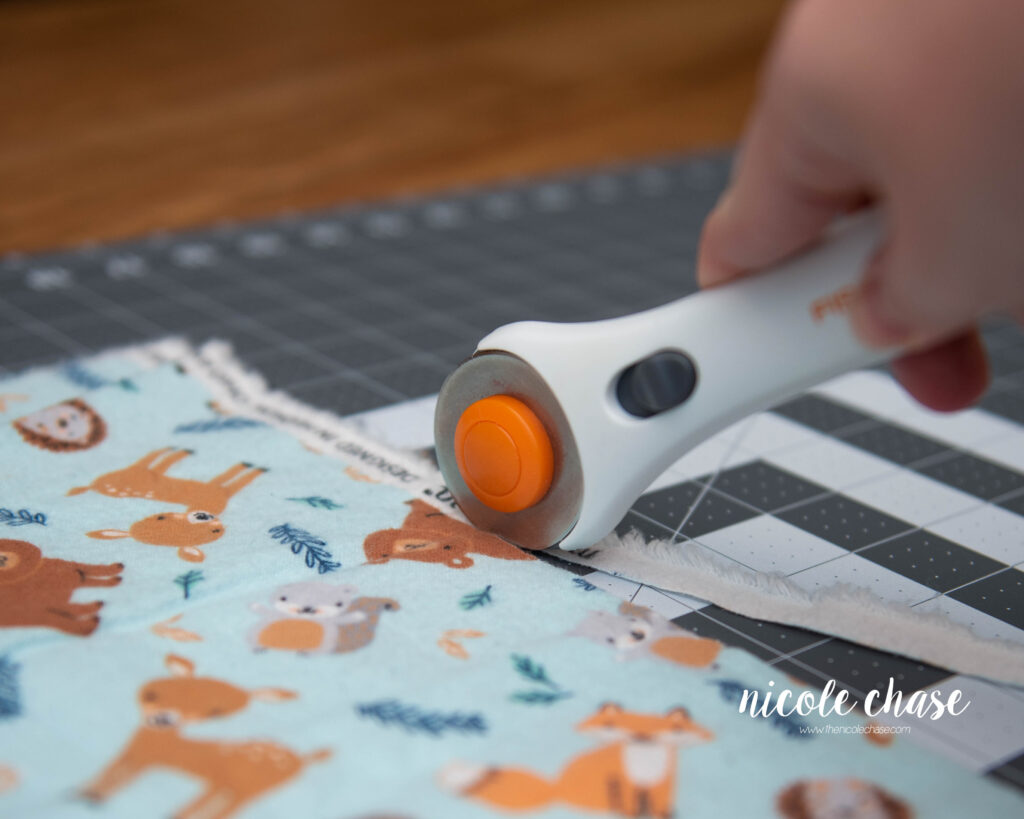
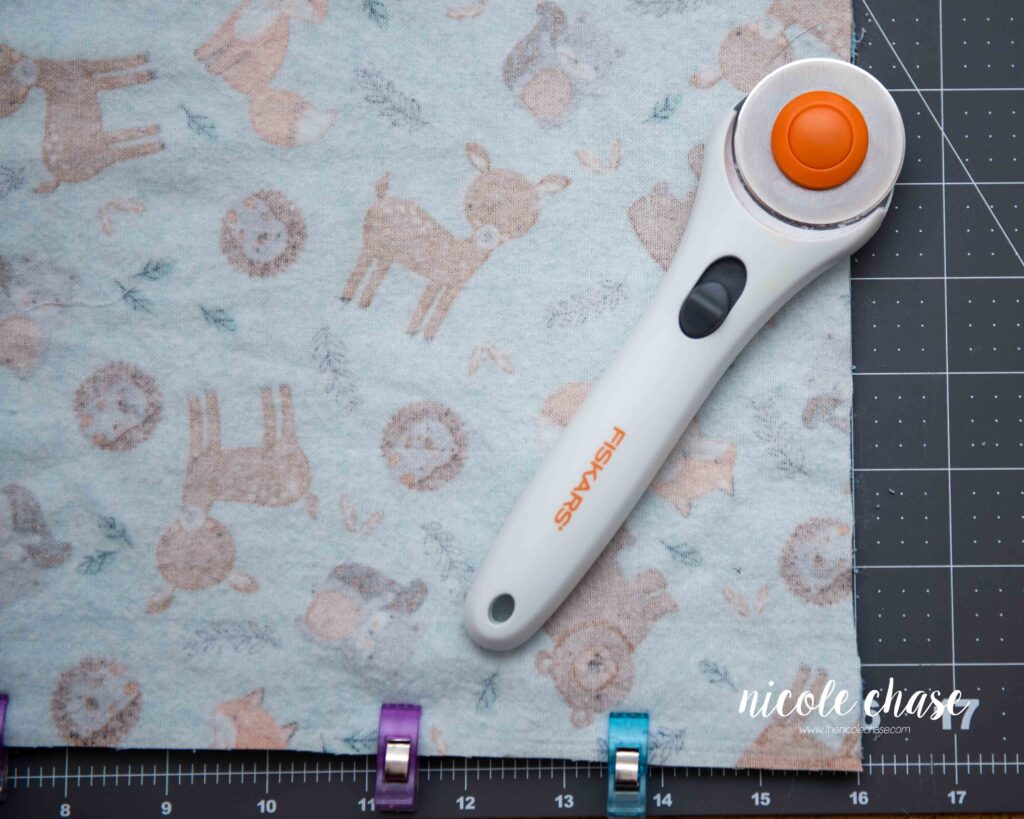
You’ll want to make sure that your fabric’s edges are pretty straight and even for this burp cloth pattern. This is easy to do utilizing your selvage ends of the fabric. However, the ends that are cut by the store employees are usually uneven. So how can you tell? I typically mark similarities in the print along the edge of the fabric with my marker. Then, using my rotary blade, cut along those marks. Then, to make the opposite side even, I just measure over the same distance and mark for the entire length of the fabric. Then again, cut along those marks.
In this case, after shrinkage from the wash and cutting the edges to make the fabric even, my fabric ended up being 15” wide by 41” long. You will likely have slightly different dimensions after you have completed these steps.

Cutting the Fabric
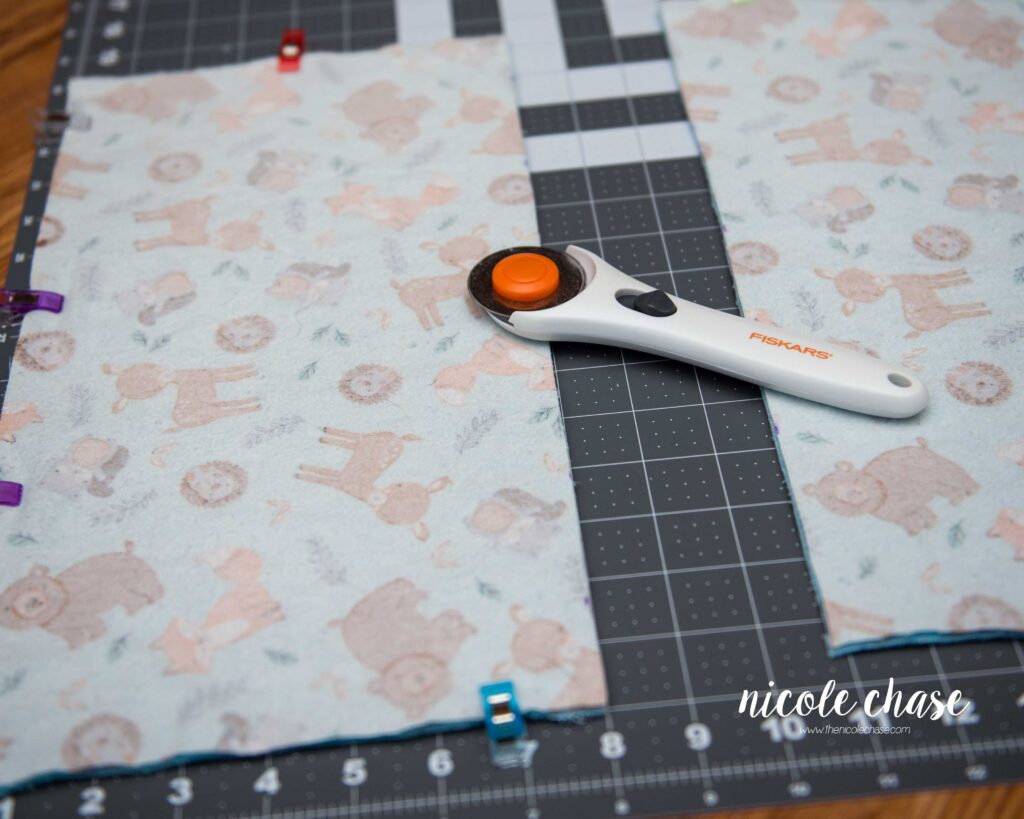
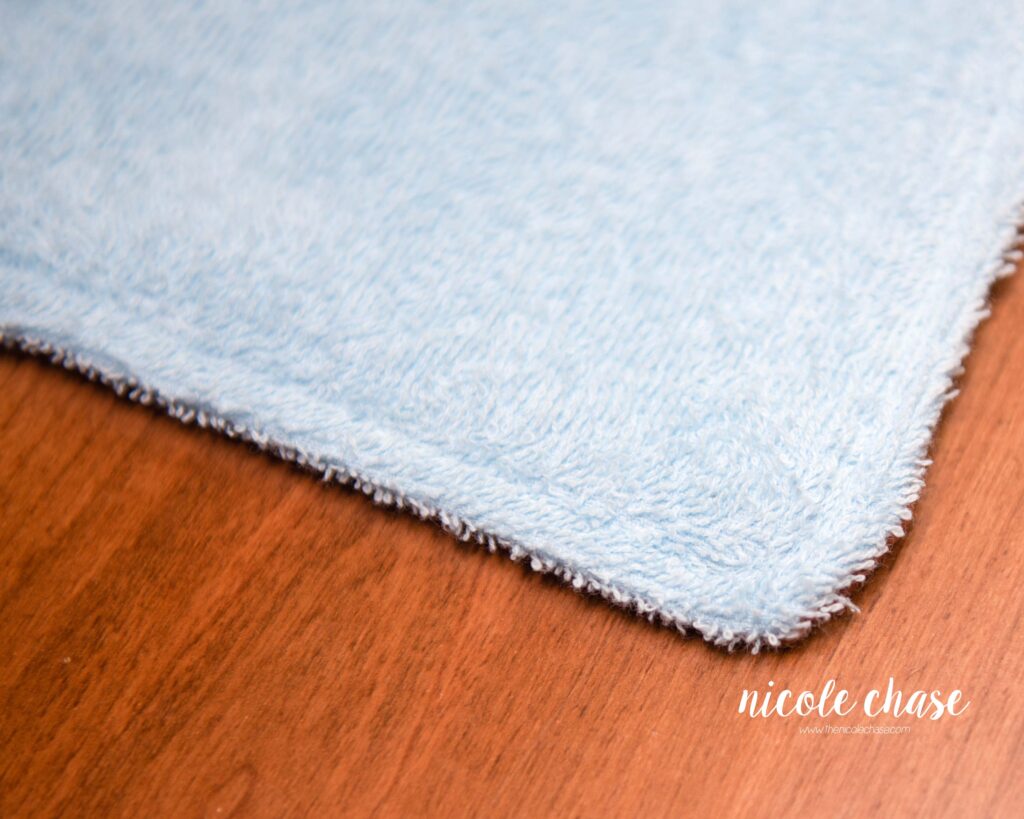
Now you’ll need to cut your terry cloth fabric to the same dimensions as your flannel. Lay your flannel on top of your terry cloth (wrong sides together) and cut off the excess. It is helpful to pin/clip your two pieces of fabric together as you go to prevent movement when doing this burp cloth sewing pattern.
You should be able to get a set of 5 burp cloths out of your half yard of fabric. As I mentioned earlier, my fabric ended up being 15” x 41”. The dimensions of your fabric after washing and cutting will likely not be identical to mine, and that is okay.
In order to calculate where to cut your burp cloths out, you simply need to figure out how many times 5 can go into the length of your fabric (in my case, 41”). So, round your length down to the nearest multiple of 5 (41” would round down to 40”), and divide by 5 (40” divided by 5” is 8”). Therefore, in my case, my fabric needs to be cut every 8”. These measurements will need to be adjusted based on the size fabric you are left with after everything is even, and the size or number of burp cloths that you wish to produce.
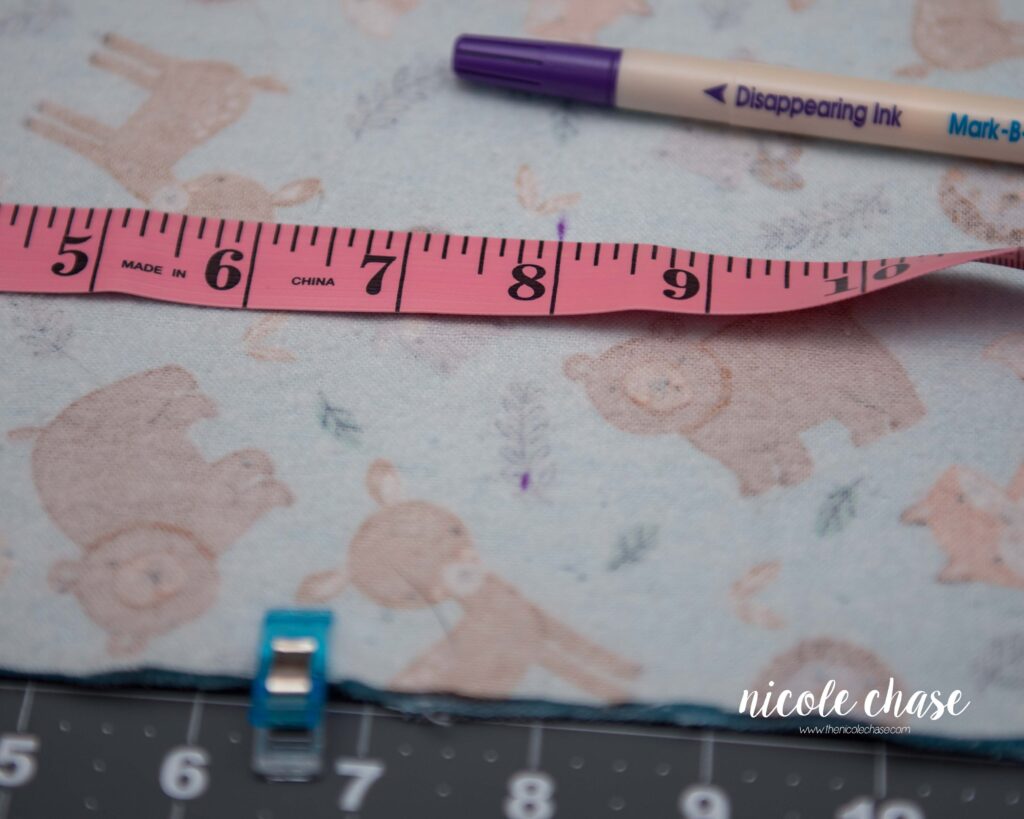
Now, starting at one of the short ends of your fabric, measure over and mark 8” all the way across.
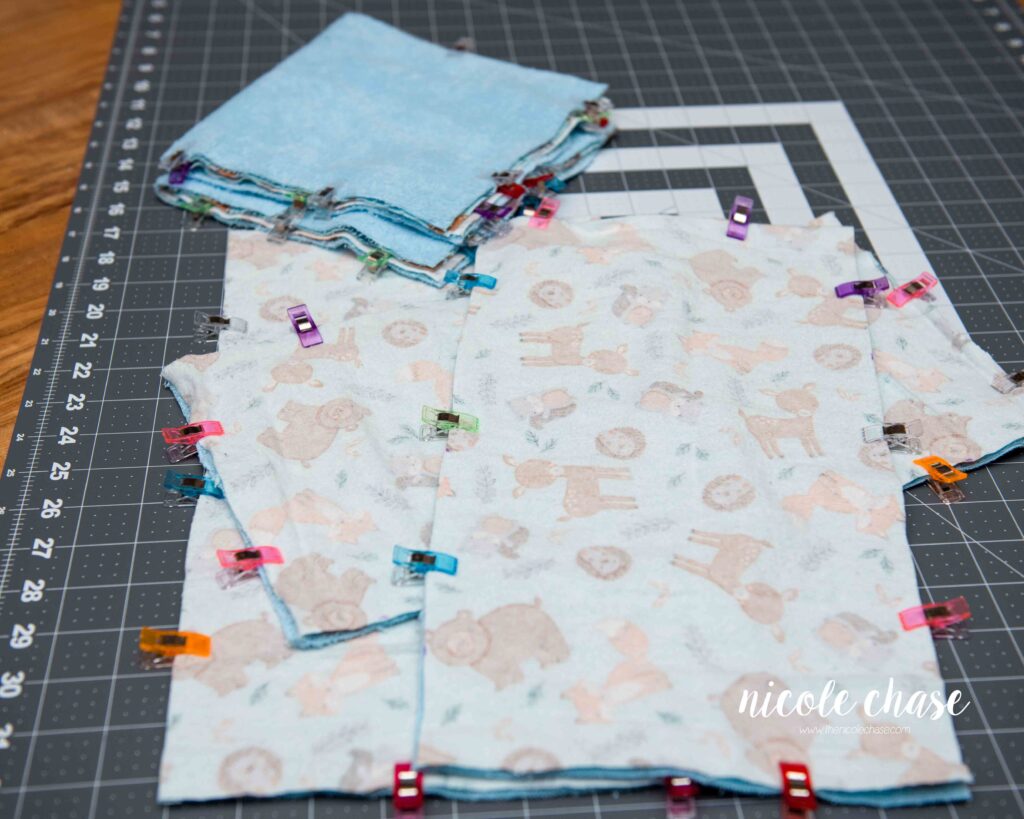
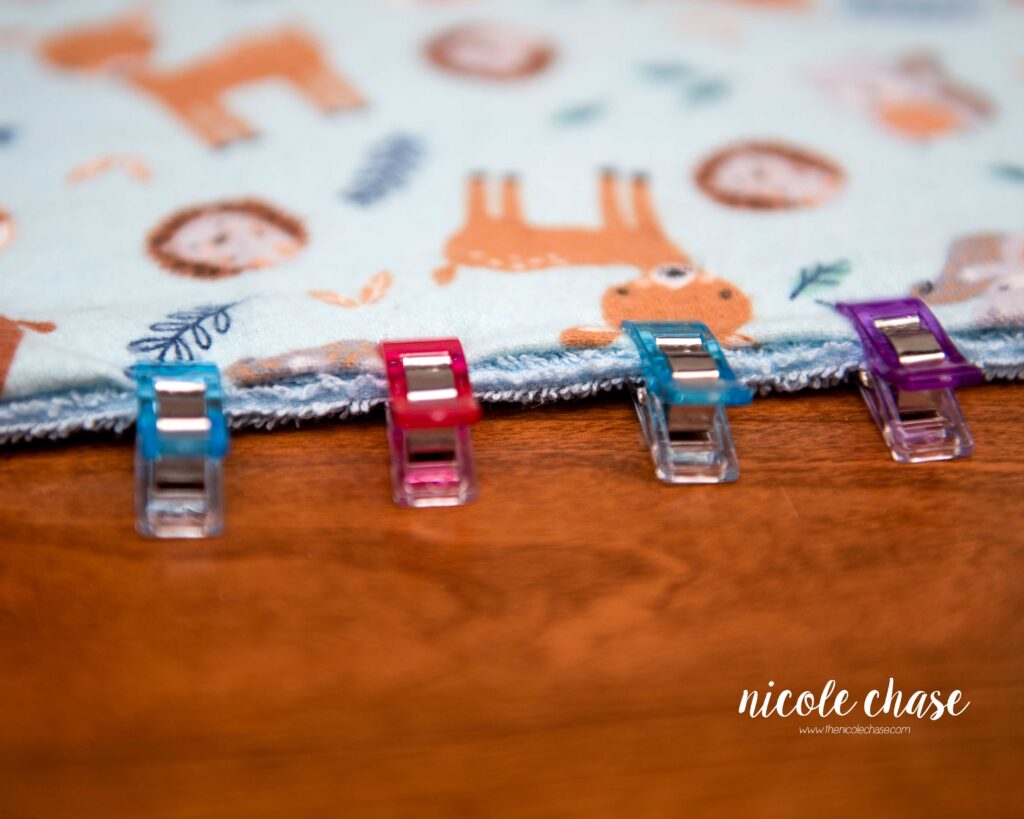
Cut along the marks that you just created. After each piece has been cut, add clips along the edges to hold the fabric together.
Continue cutting out your 8” pieces until you have 5.
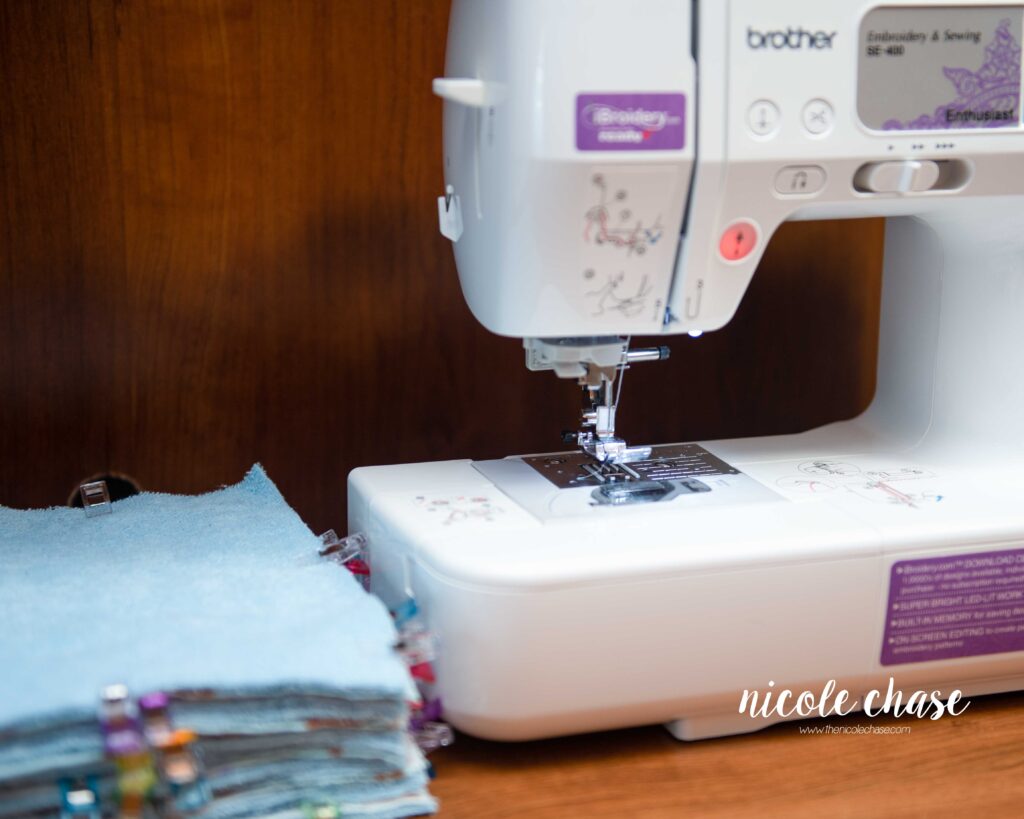
Now it is time to sew!
Sewing the DIY Burp Cloths
Beginning about half way down the long edge of your burp cloth, begin sewing all the way around the edge of your burp cloth using a 1/2” seam allowance. Be sure to back stitch at both the start and end of your sewing in order to lock the stitches in place.
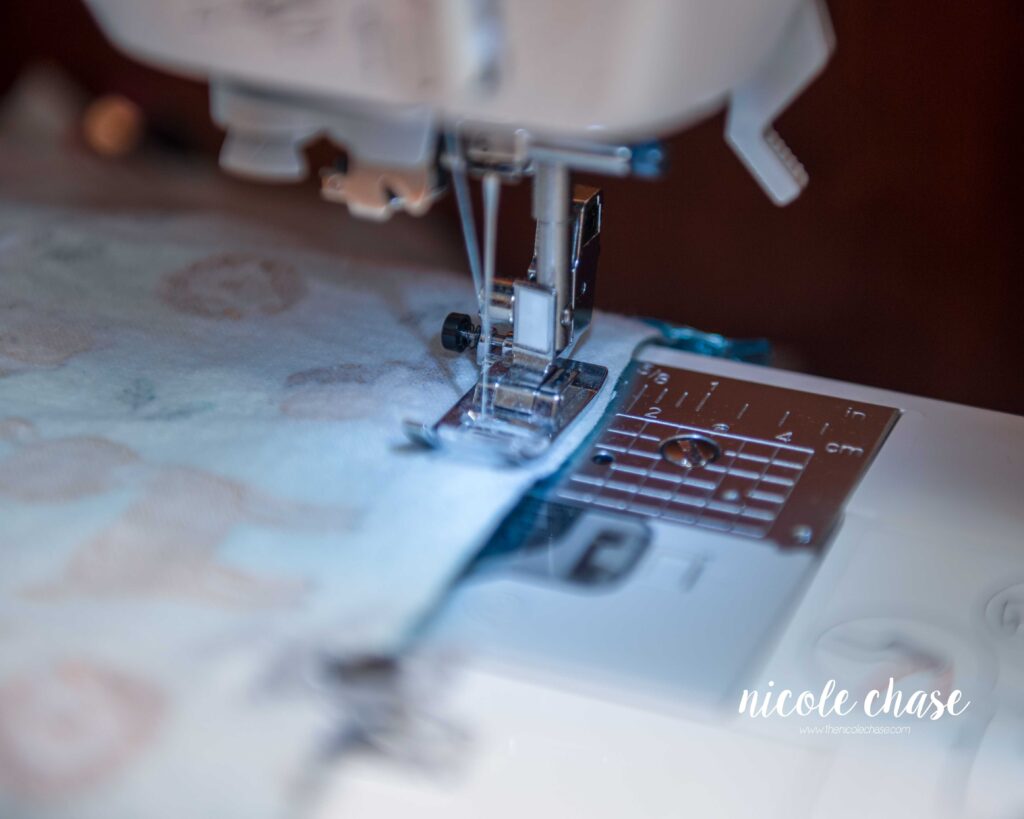
You will continue along until a couple inches before you reach the start of your stitches. This creates an opening for turning your fabric right side out. You will need to allow enough space to fit your hand inside.
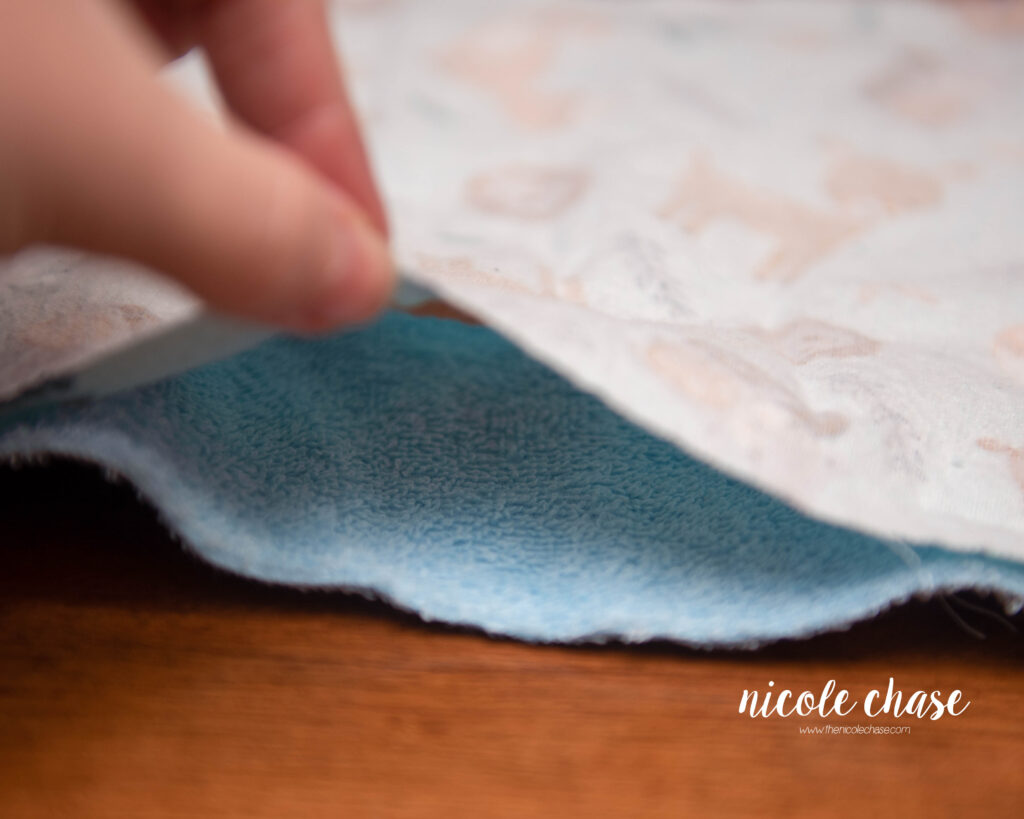
Put your hand inside the opening you made and pull the fabric through to bring the pattern side of your material out. When your burp cloth is completely right side out, using your finger, push out the corners as much as possible.
Finishing the Burp Cloth
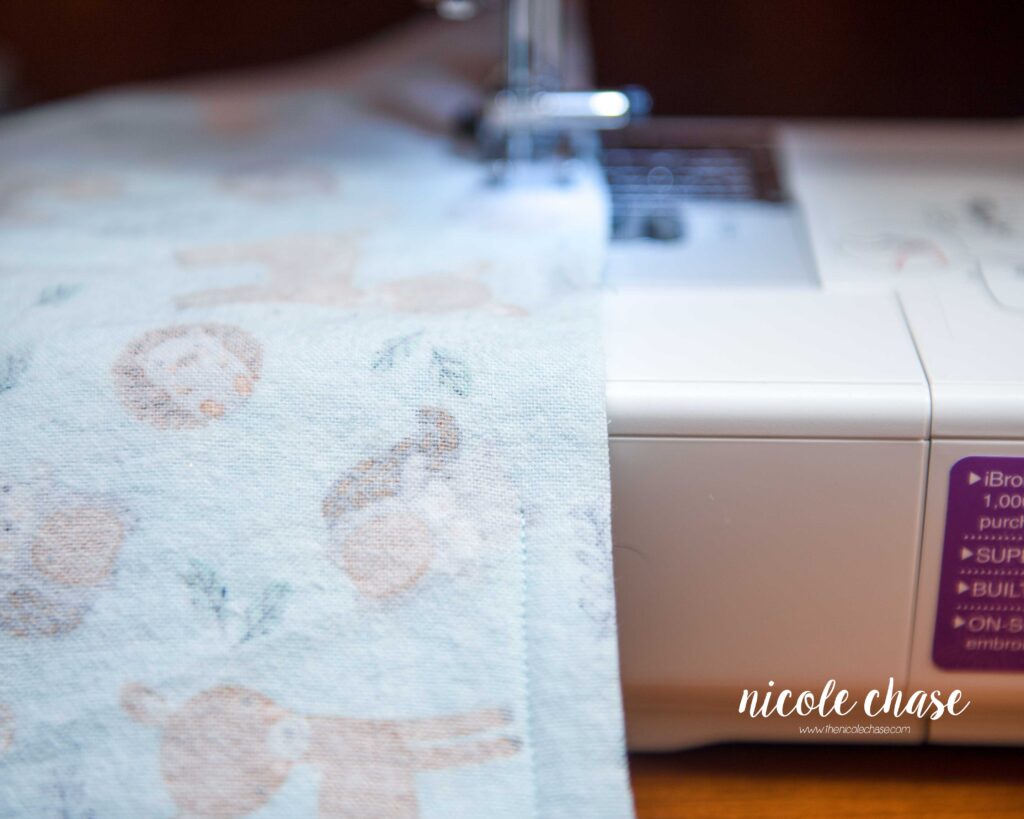
Fold in the edges of your opening and clip.
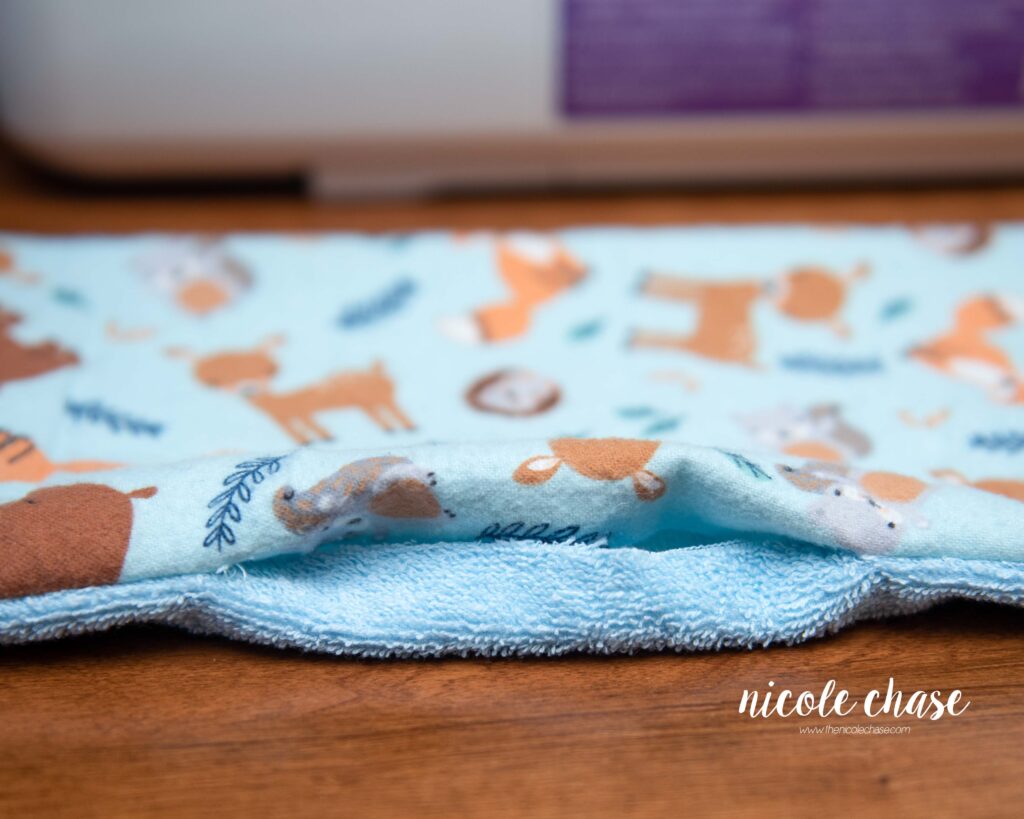
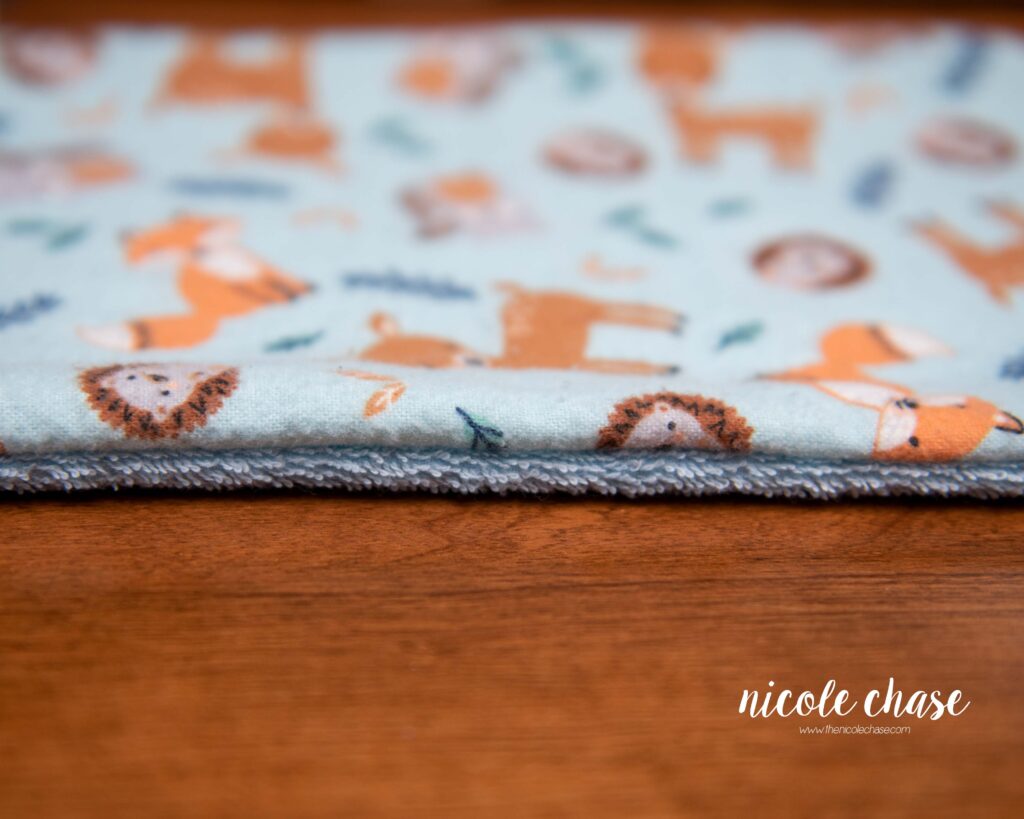
Using a 3/8” seam allowance, sew all along the edge of the burp cloth. Again, be sure to back stitch at the start and end of your stitching.

Trim any excess thread.

And repeat!
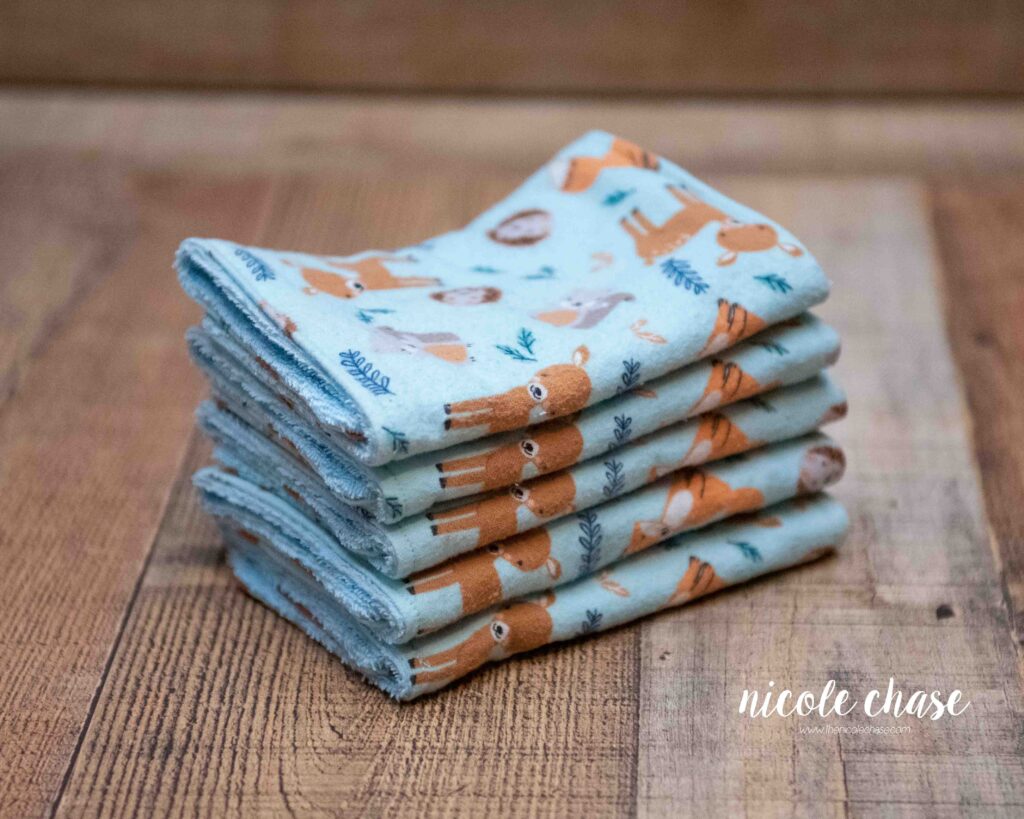
There you have it! A set of beautiful, handmade, one of a kind burp cloths, made for under $10!
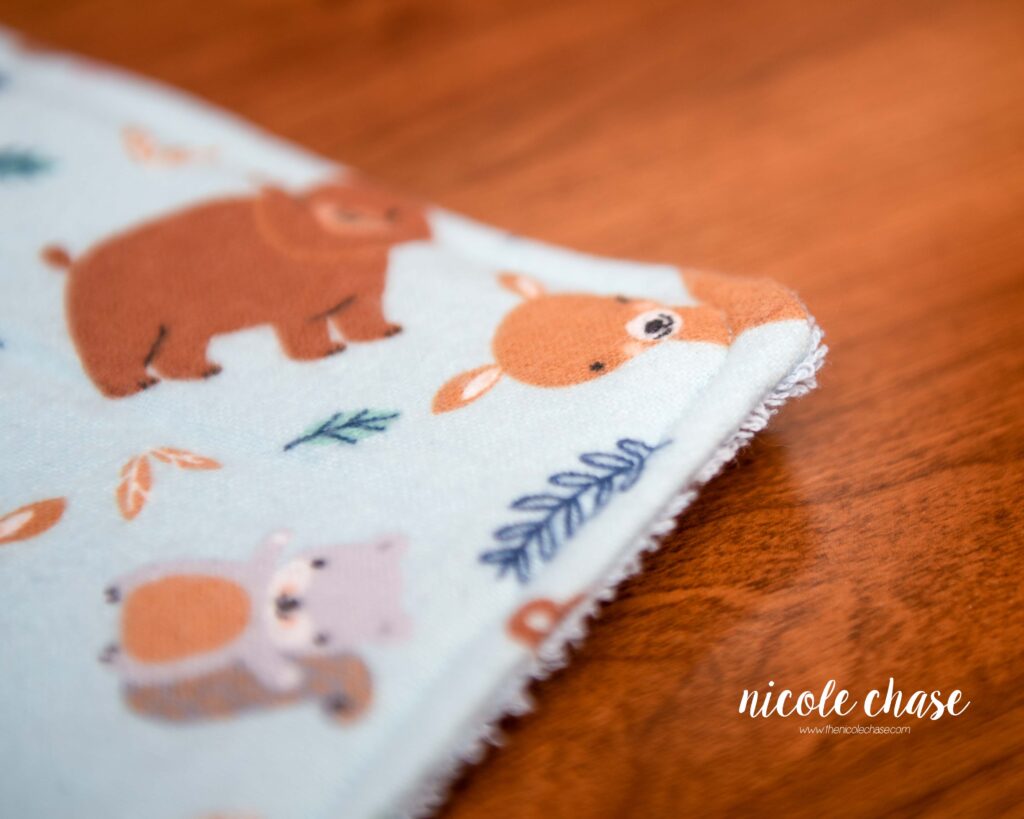
Finished dimensions of each burp cloth is approximately 14” x 7”.
I hope that you’ve enjoyed this burp cloth sewing pattern!

More Sewing Tutorials
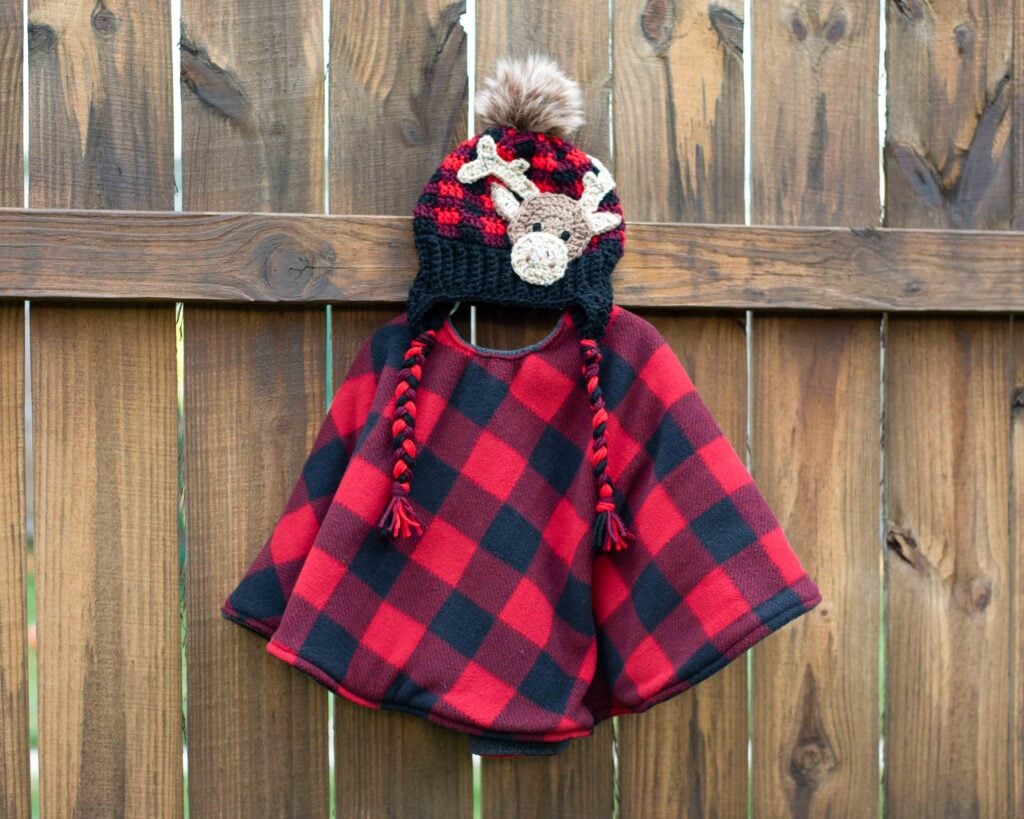
After you’ve finished up your DIY burp cloths, you may want to check out some of my other sewing and craft projects! You may especially enjoy my DIY car seat poncho tutorial!
I hope you enjoyed this post! Be sure to leave me a comment below to let me know what you think.
Want to see more from me? Be sure to subscribe to my email newsletter so that you never miss a post!
Follow along with me on Instagram for daily updates and a behind the scenes look at my designs.
I’d love to see what you make with this tutorial! Don’t forget to share your finished work with me: on social media by tagging me @thenicolechase, in your Ravelry projects, or post over in my Facebook group!
Thanks for stopping by! Happy crafting!
Nicole
PATTERN COPYRIGHT © 2026 NICOLE CHASE. ALL RIGHTS RESERVED.
PATTERN MAY NOT BE ALTERED, COPIED, REDISTRIBUTED OR SOLD AS YOUR OWN PATTERN.
YOU MAY SELL THE FINISHED PRODUCT ON A SMALL SCALE. PATTERN/DESIGN CREDIT GIVEN TO WWW.THENICOLECHASE.COM IS APPRECIATED. PERMISSION TO SELL DOES NOT INCLUDE MASS PRODUCTION. LARGE SCALE PRODUCTION IS PROHIBITED.
PHOTOGRAPHY COPYRIGHT © 2026 NICOLE CHASE. ALL RIGHTS RESERVED.
PHOTOS MAY NOT BE ALTERED, COPIED, REDISTRIBUTED OR SOLD AS YOUR OWN.
This post may contain affiliate links. If you make a purchase through links on our site, we may earn a commission.