Card Binding Tutorial
This post may contain affiliate links. If you make a purchase through links on our site, we may earn a commission.
My husband picks on me all the time for hoarding anything with sentimental value, especially when it comes to our kids. So after my son turned 1 and my daughter turned 4, I was starting to realize I really need to come up with something to do with all of their birthday cards that I’ve been collecting.
I never want my kids to look back on their childhood and wish they had some kind of memento. And we all know that time flies by so quickly, and you never know how much time you have left with someone. Which is why I have always kept the cards the kids were given at birthdays. You just never know when an ordinary birthday card may suddenly become so meaningful.
It doesn’t stop there though, I also keep all of the Anniversary, Valentine, and Mother’s Day cards that I have gotten from my husband and kids. Do I have a problem? Perhaps. But, that doesn’t change the fact that I needed some way to keep these cards straight, rather than just keeping them in a pretty box.
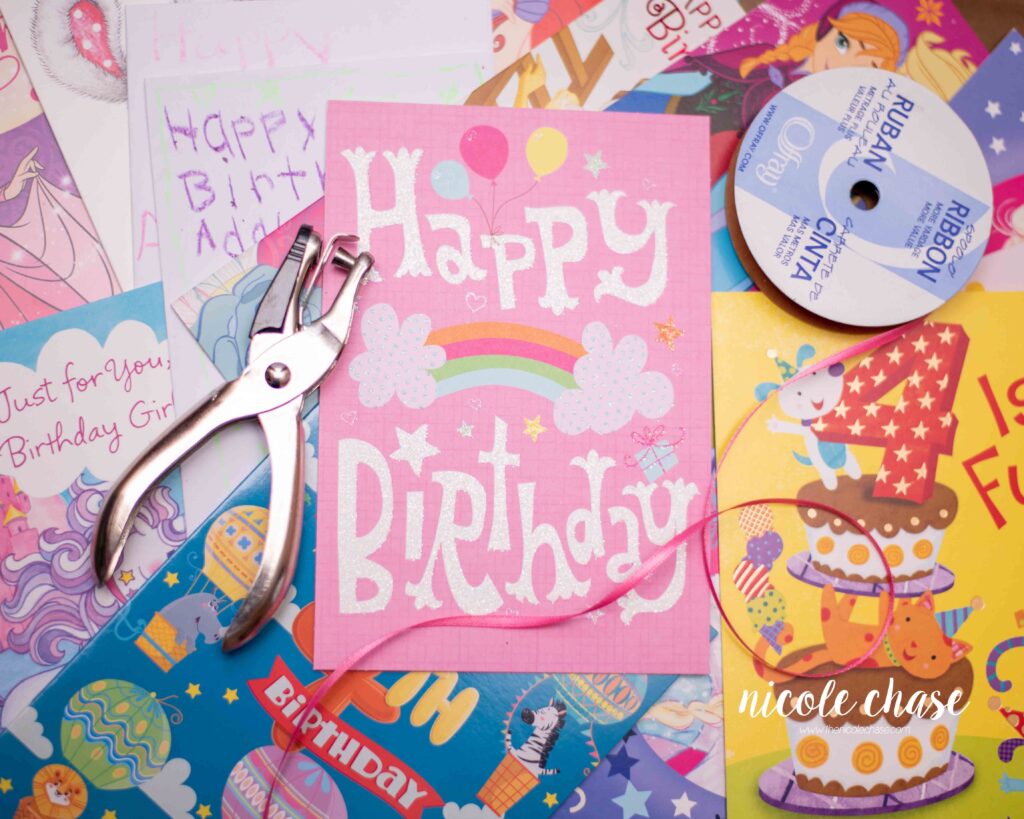
This is a super affordable project! The only supplies that you will need for this project is a hole punch of some kind, as well as ribbon/twine/yarn to connect the cards.
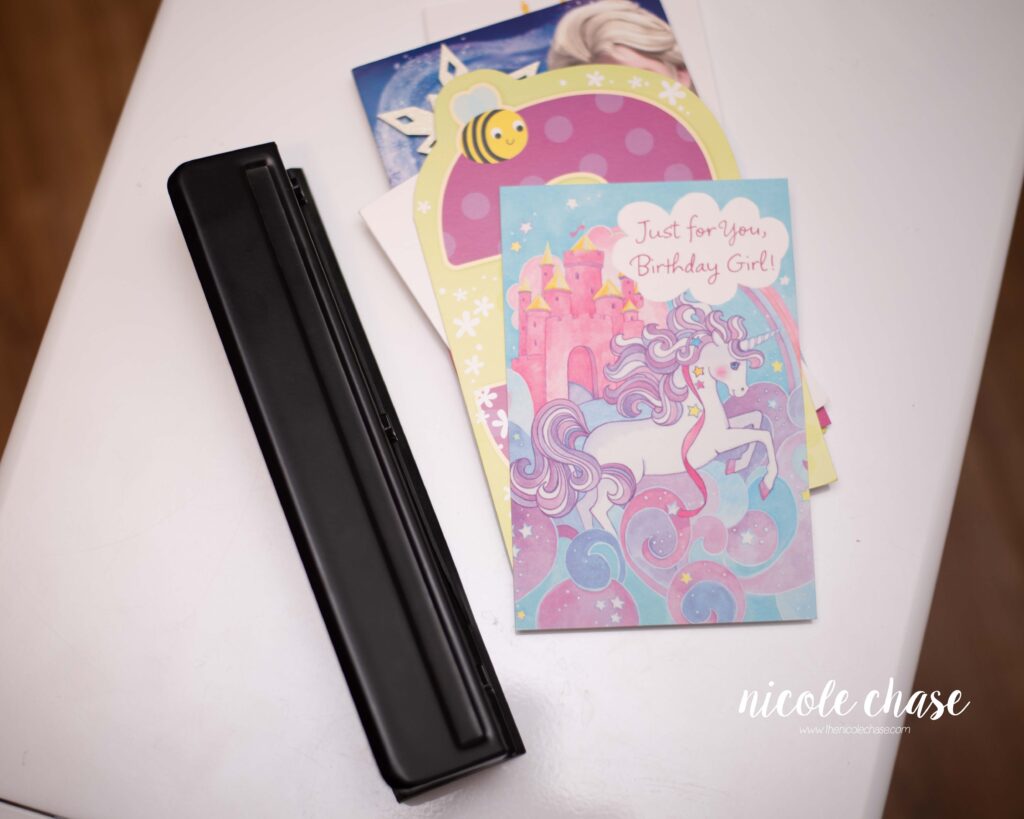
Your first step will be to organize your cards of course! Luckily, I write the year on the back of all of the cards I keep, so I was able to group the cards pretty easily. If you’re like me and intend to keep this tradition going, it would definitely be helpful to either clearly label your cards.
I’d love to see what you make with this tutorial! Don’t forget to share a photo of your finished work in your Ravelry projects and my Facebook group!
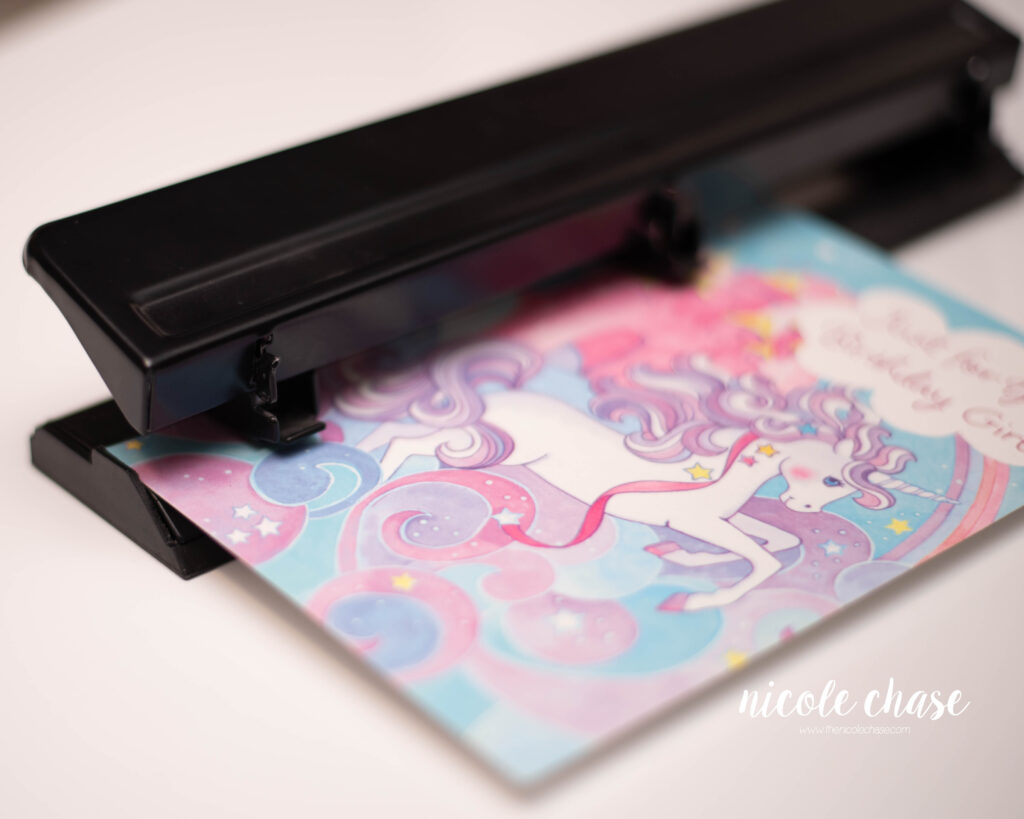
Unless you have a high capacity hole punch, you should only put one card into your 3 hole punch at a time. Some cards are thicker than others, and may require you to use a handheld punch to cut through multiple layers.
SUPPLIES USED
- 3 hole punch
- 1 hole punch
- 1/8” ribbon
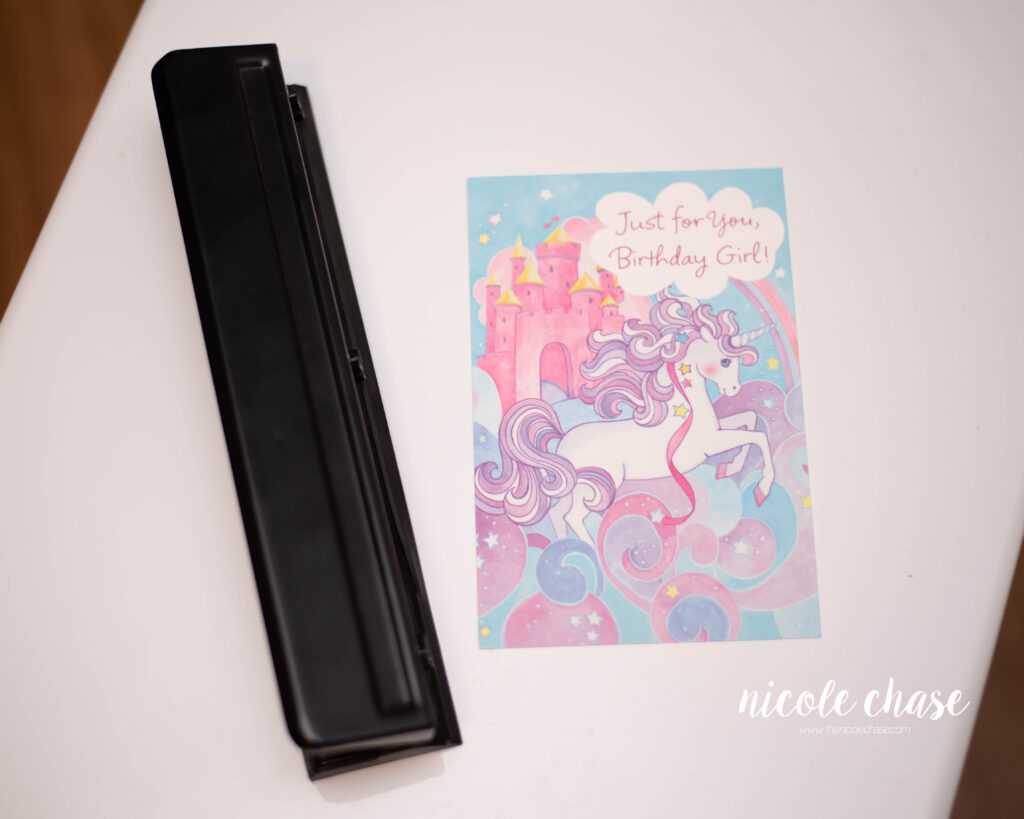
Since cards come in so many shapes and sizes, you’ll want to align the bottom left side of your card to the guide of your 3 hole punch, before you begin making your holes. You will only be making 2 holes in each card.
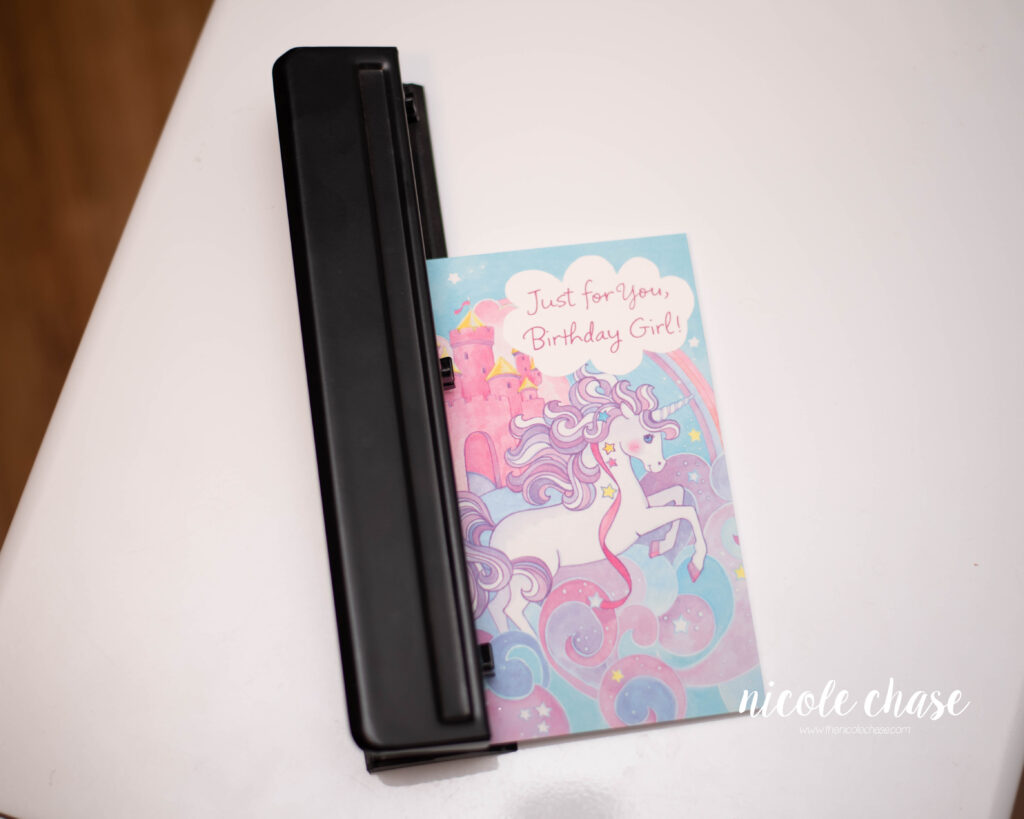
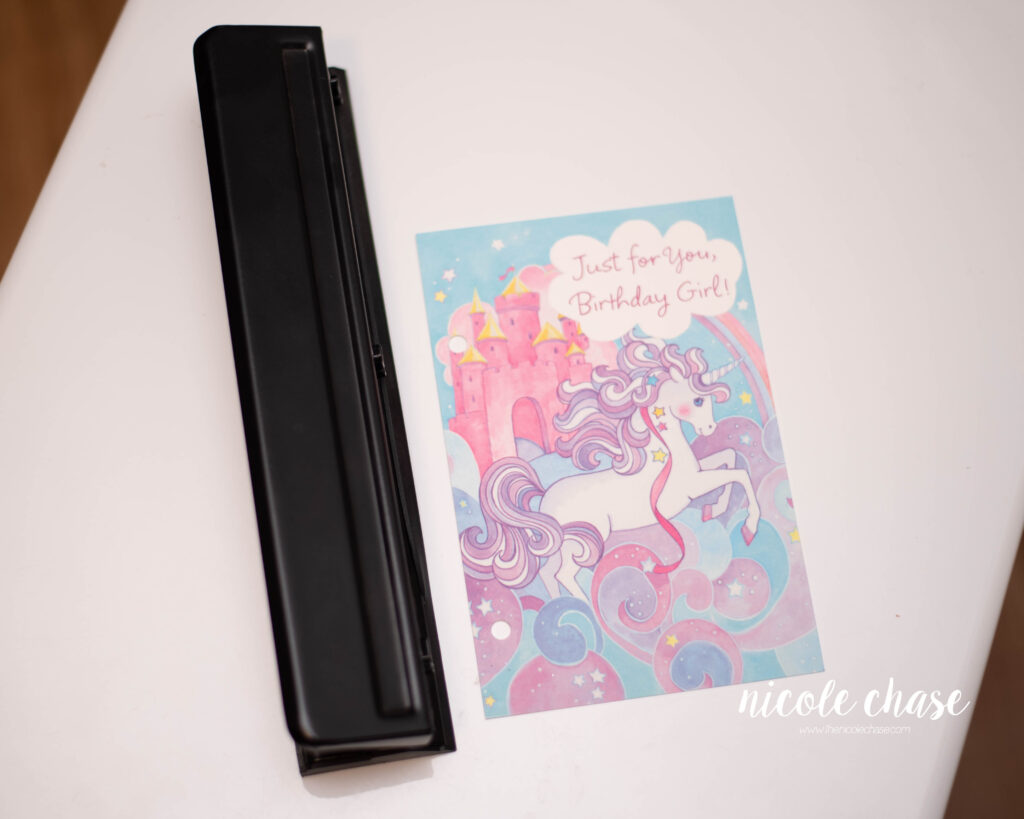
Repeat this process for each card.

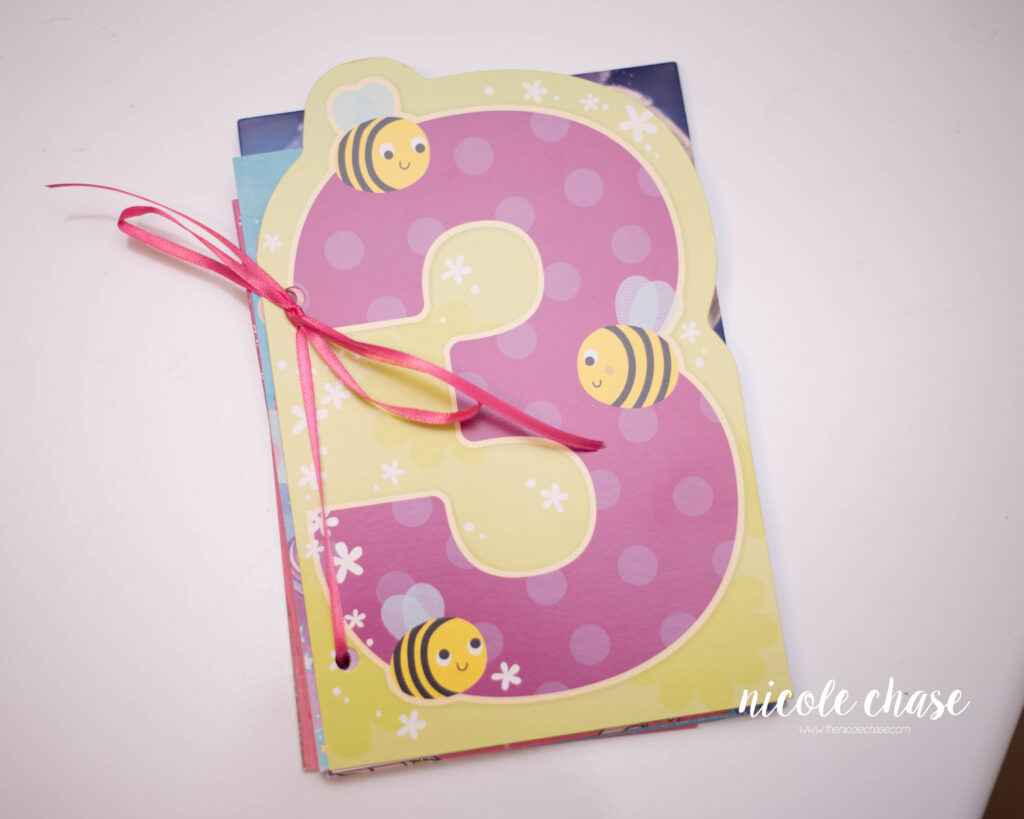
After you have all of your cards punched, you’ll need something to bind them with! You could get really creative here and add beads or charms to your ribbon, etc. As I’m just starting to do this, and have SO many cards to bind from over the years, I’m just keeping it simple for now, but I may come back and add to them.
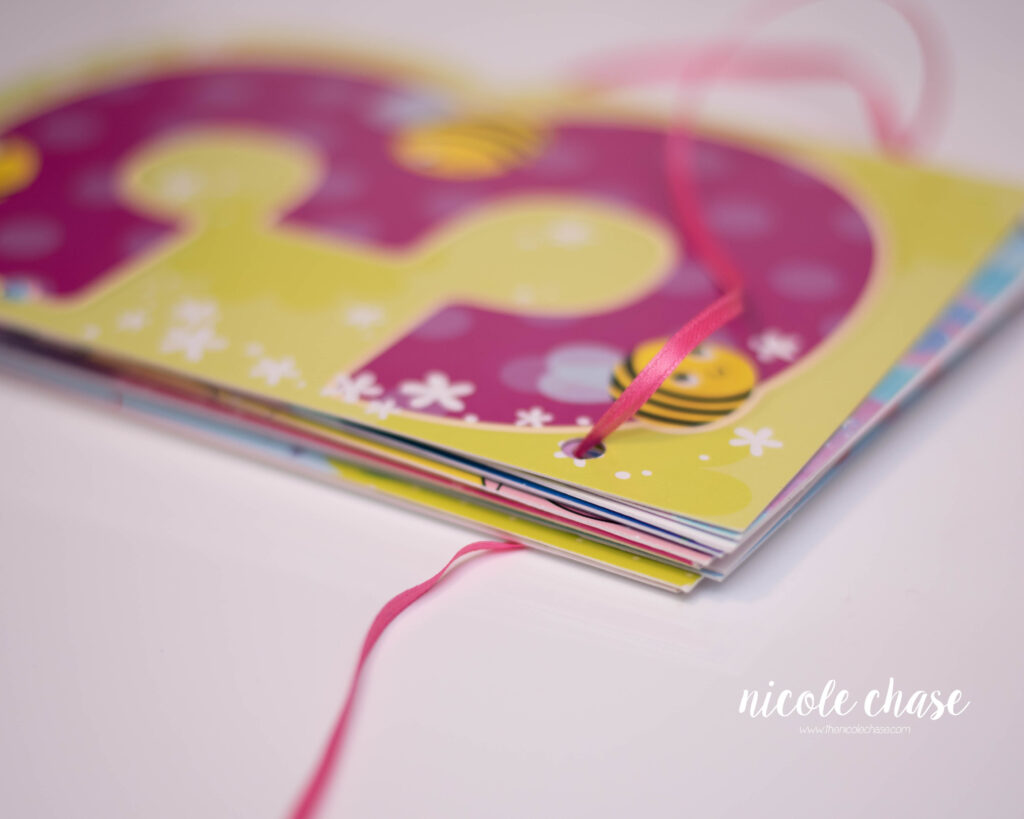
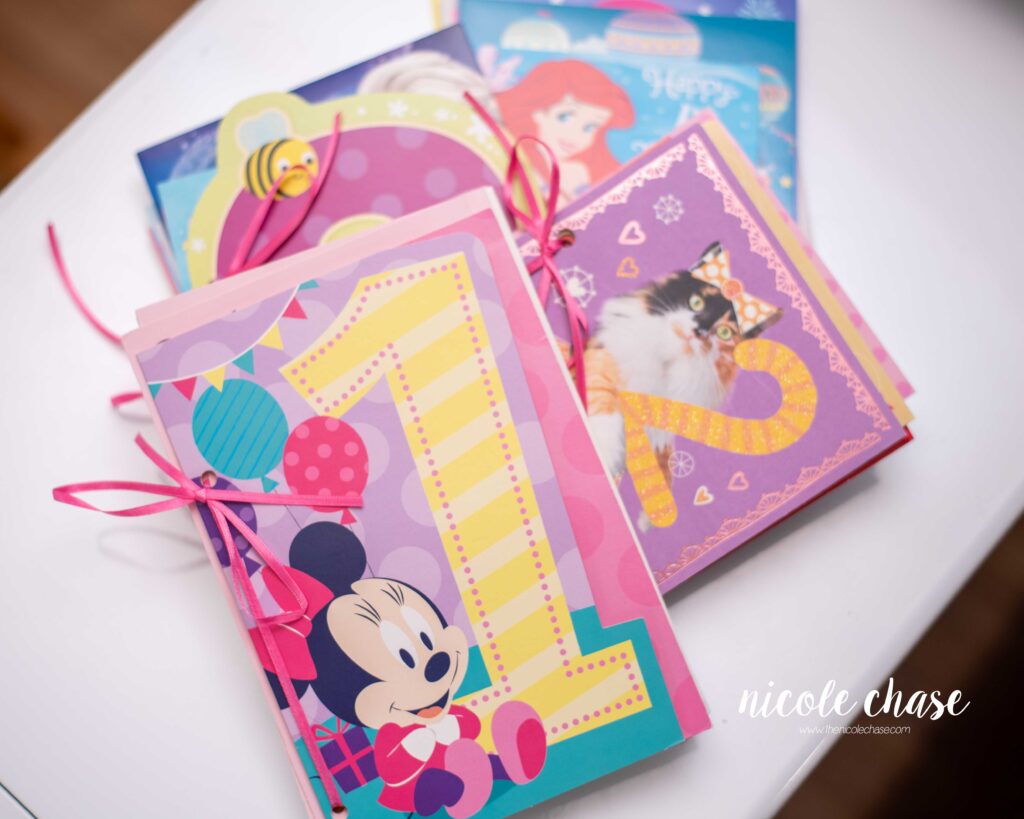
It’s simple: starting with your “cover” card, loop your ribbon through the bottom holes of each card.
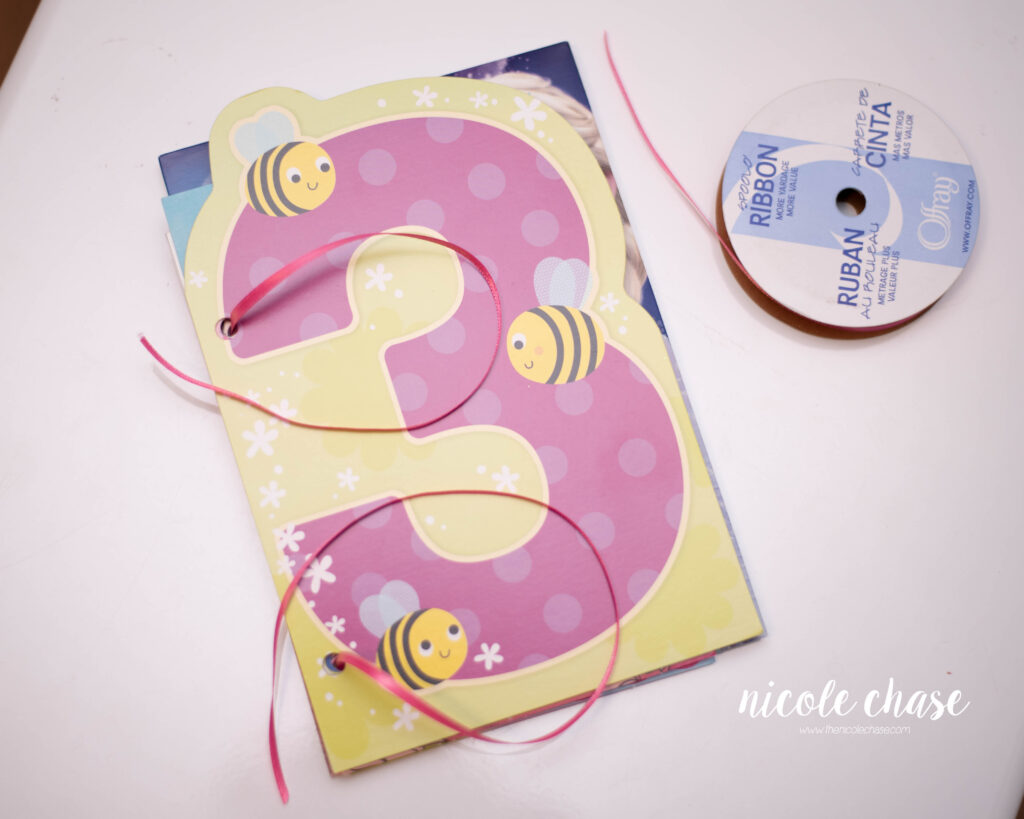
Then you’ll loop your ribbon from the back of your “book” to the front, in the top hole of each card. Cut your ribbon, leaving enough of a tail to tie securely. If you’ll be adding to this set of cards in the future (for example, Valentine’s cards from each year), make sure to leave longer ribbon tails to accommodate growth over the years.
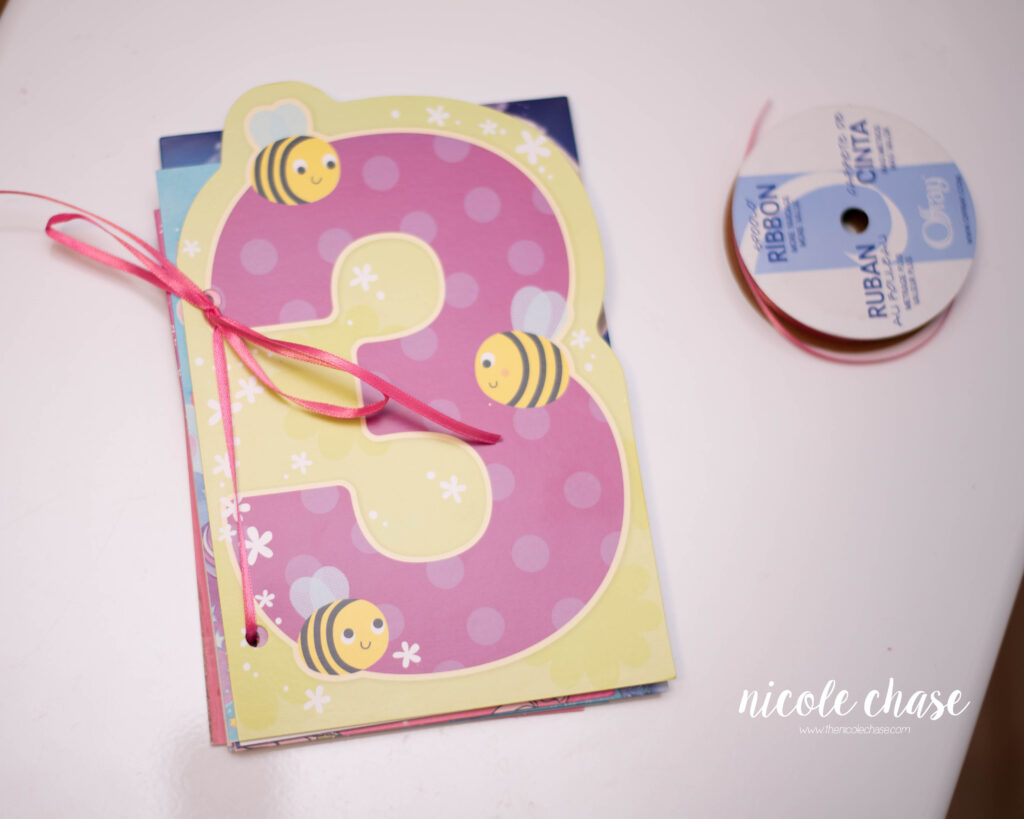
Tie a secure bow. Don’t pull your ribbon too tightly; you’ll want to allow enough room for you to turn the pages without difficulty.
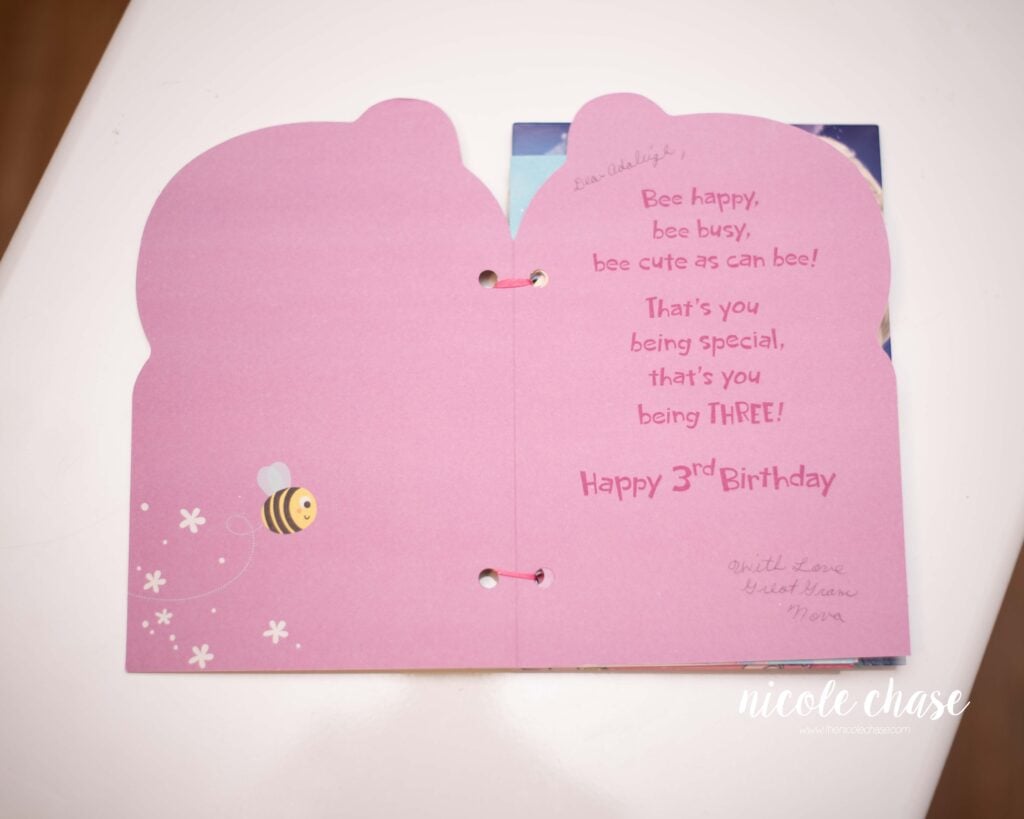
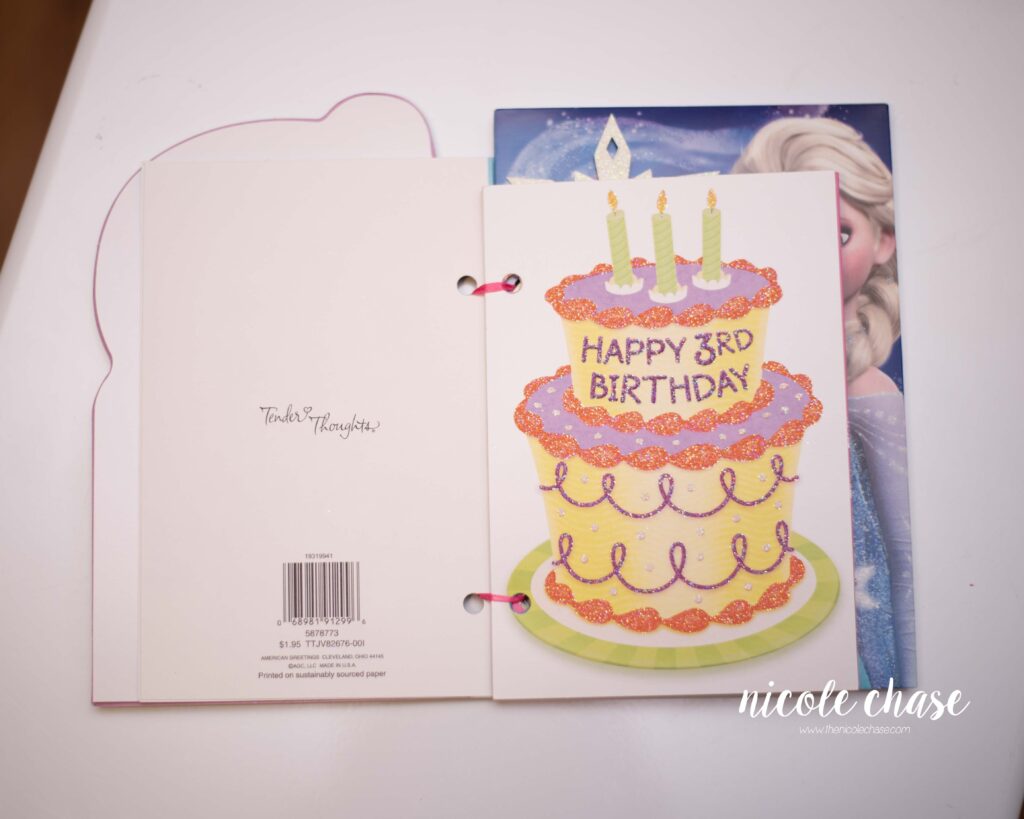
That’s all there is to it! A super simple way to keep cards, making them more easily enjoyed down the road.

If you’ve enjoyed this post, be sure to subscribe to my email newsletter so that you never miss a pattern release, and have subscriber only access to exclusive discount codes, offers, and freebies!
Thanks for stopping by! Happy crafting!
Nicole
PATTERN COPYRIGHT © 2026 NICOLE CHASE. ALL RIGHTS RESERVED.
PATTERN MAY NOT BE ALTERED, COPIED, REDISTRIBUTED OR SOLD AS YOUR OWN PATTERN.
YOU MAY SELL THE FINISHED PRODUCT ON A SMALL SCALE. PATTERN/DESIGN CREDIT GIVEN TO WWW.THENICOLECHASE.COM IS APPRECIATED. PERMISSION TO SELL DOES NOT INCLUDE MASS PRODUCTION. LARGE SCALE PRODUCTION IS PROHIBITED.
PHOTOGRAPHY COPYRIGHT © 2026 NICOLE CHASE. ALL RIGHTS RESERVED.
PHOTOS MAY NOT BE ALTERED, COPIED, REDISTRIBUTED OR SOLD AS YOUR OWN.
This post may contain affiliate links. If you make a purchase through links on our site, we may earn a commission.