Allegheny Baby Boots – Free Crochet Pattern
This post may contain affiliate links. If you make a purchase through links on our site, we may earn a commission.
*** I hope you enjoy this free crochet pattern available here on my blog! An ad-free, formatted PDF version of this crochet pattern is also available for purchase here:
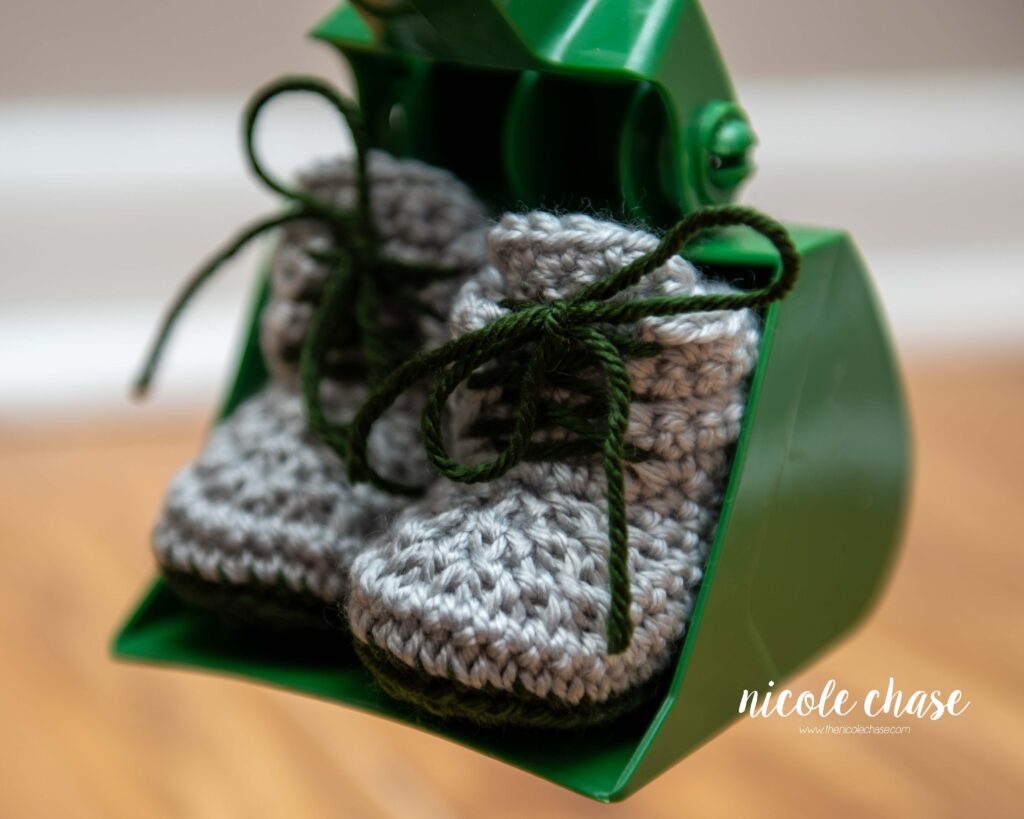
I’m very proud of where I’m from, a tiny little town in the Laurel Highlands region of Pennsylvania, part of the Allegheny Mountains. So when I was trying to think of a name for these cute little booties, I thought this was the perfect time to pay tribute to this area that I love!
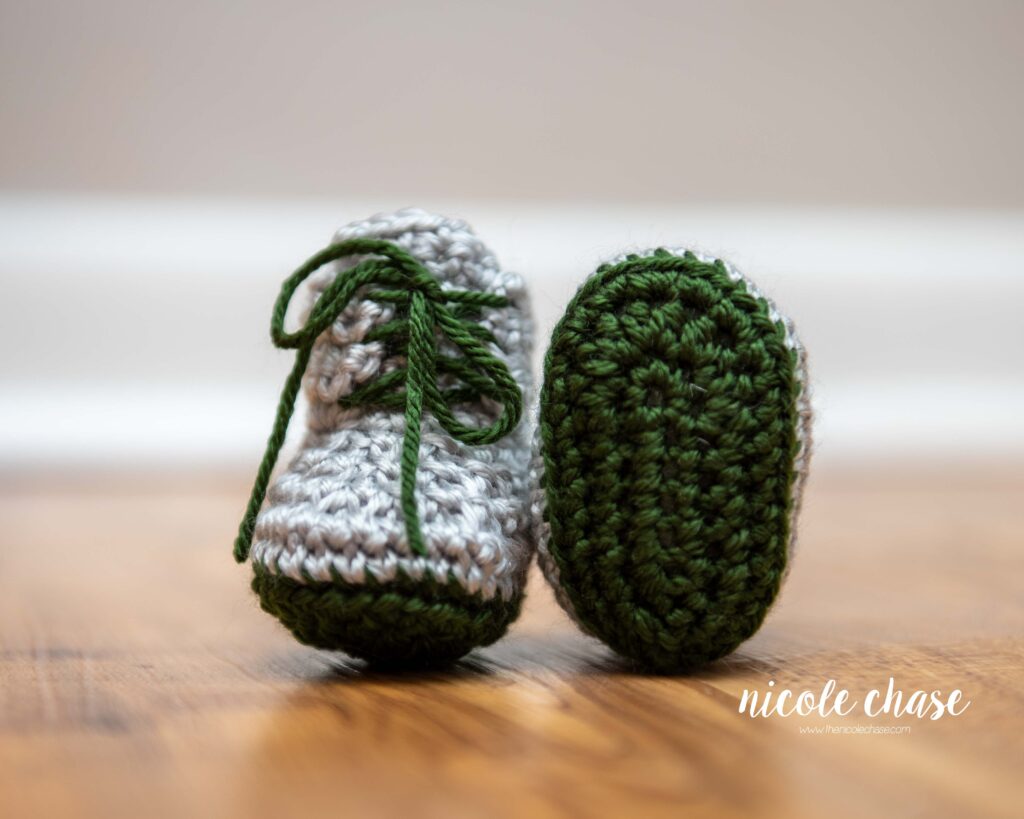
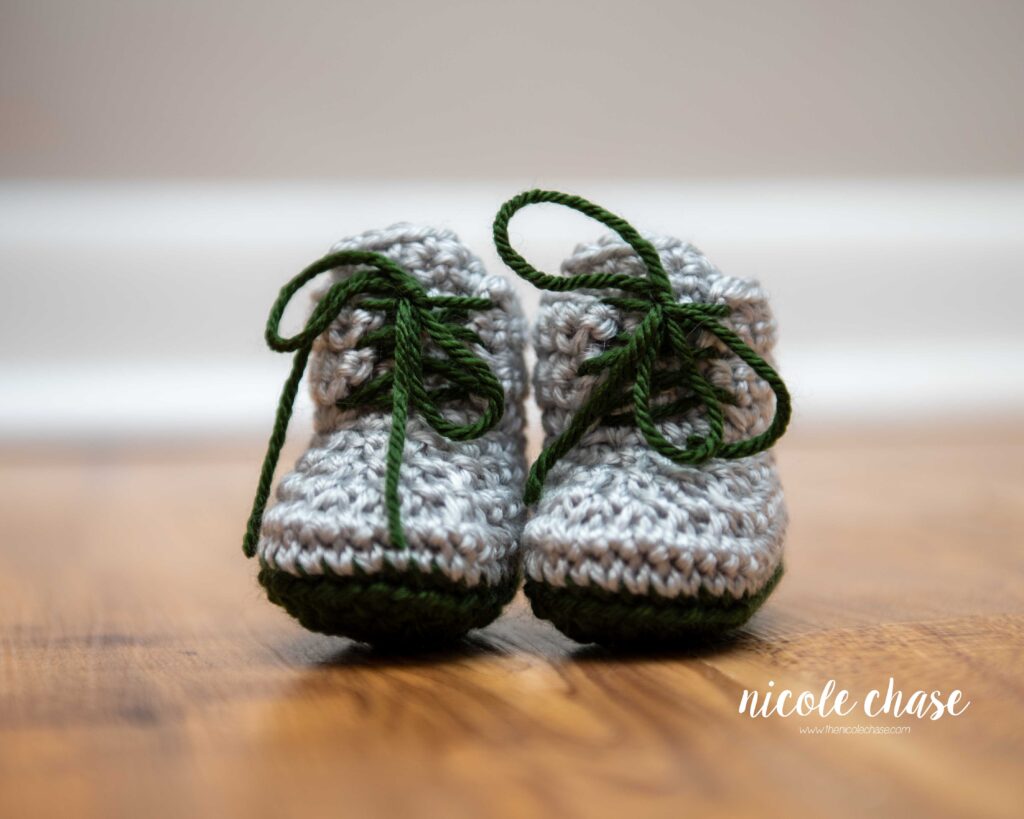
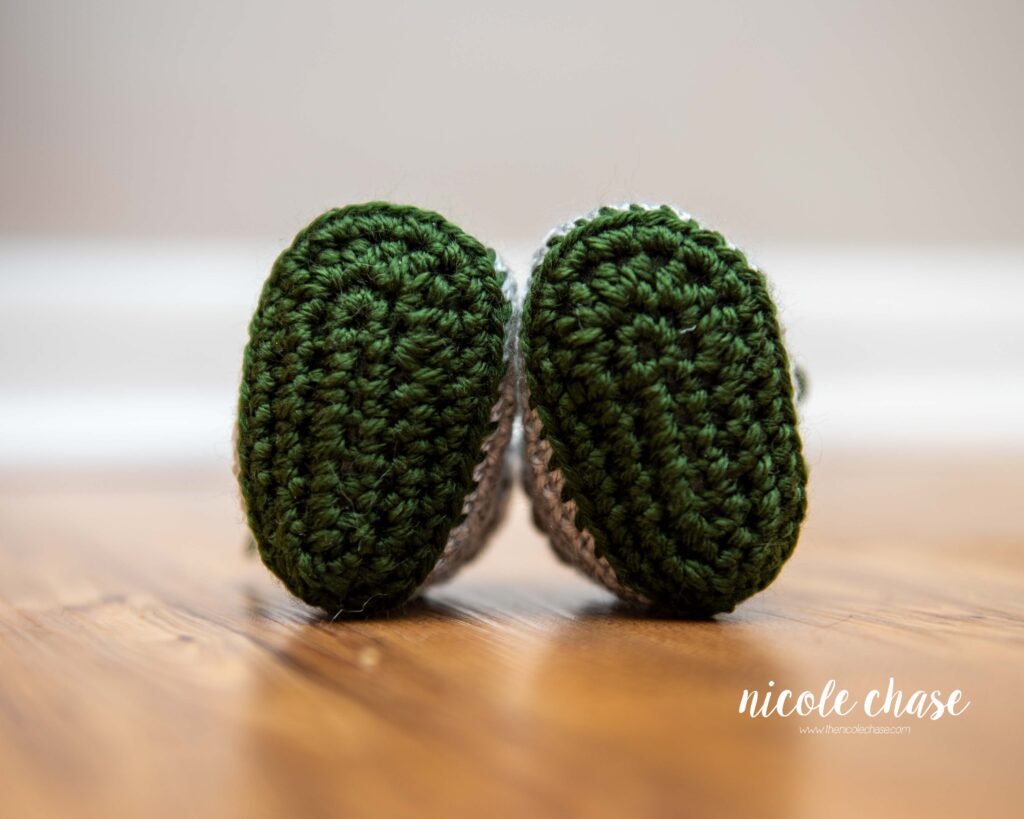
The Allegheny Baby Boots are sized for 0-3 months. I used the fabulous and versatile Brava Worsted Yarn by WeCrochet / Knit Picks. It is a premium acrylic yarn, and is super soft! I used the “Dublin” colorway for the soles and laces of the boots, and “Dove Heather” for the body of the boots.

Don’t forget to save this pattern in your favorites and add it to your project queue to save it for later! View this pattern on Ravelry here.
This pattern is a really good scrap buster and works up really quickly. I only used a total of just over 50 yards for the pair!
I’d love to see what you make with this tutorial! Don’t forget to share a photo of your finished work in your Ravelry projects and my Facebook group!
Allegheny Baby Boots

PATTERN SPECIFICS
Size: 0-3 months
Gauge: 1” = 4SC sts and 4 SC rows
Hook Size: 5.0mm (G)
Other Tools: tapestry needle, stitch markers, scissors
Yarn Weight: Medium (4), Worsted
Yarn Used: WeCrochet / Knit Picks Brava Worsted
Yardage: color A (green): 20 yds, color B (gray): 38 yds
Other Materials: n/a
ABBREVIATIONS
st = stitch
sl st = slip stitch
ch = chain
SC = single crochet
HDC = half double crochet
SC2tog = single crochet 2 stitches together (invisible decrease is recommended)
SPECIAL STITCHES
SC2tog (using invisible decrease method): Insert hook into front loop of the first stitch. Insert hook into front loop of second stitch. Yarn over. Draw through the first two loops on hook. Yarn over. Draw through both loops on hook.
NOTES
- Chain 1 at the beginning of each round does NOT count as a stitch (unless otherwise specified).
PATTERN
Sole
Using color A (shown as green):
R1: Ch 8. SC in second ch from hook and the next 5 sts. Work 5 SC in last st working around to the other side. Now working on the other side of the ch, SC in the last 6 sts. Join with a sl st into your beginning SC. (17 sts)
R2: Ch 1. 2 SC in each of the next two sts, 1 SC in each of the next 4 sts, 2 HDC in each of the next 5 sts, 1 SC in each of the next 4 sts, 2 SC in each of the last 2 sts. Join with a sl st into your beginning SC. (26 sts)
R3: Ch 1. 1 SC in each of the next 10 sts, 2 SC in each of the next 6 sts, 1 SC in each of the last 10 sts. Join with a sl st into your beginning SC. (32 sts)
Sides
Using color B (shown as gray):
R4: Ch 1. Working in back loops only, SC in each st around. Join with a sl st into your beginning SC. (32 sts)
R5: Ch 1. Working again in both loops, SC in each st around. Join with a sl st into your beginning SC. (32 sts)
R6: Ch 1. 1 SC in each of the next 10 sts, SC2tog 6 times, 1 SC in each of the last 10 sts. Join with a sl st into your beginning SC. (26 sts)
R7: Ch 1. 1 SC in each of the next 8 sts, SC2tog 5 times, 1 SC in each of the last 8 sts. Join with a sl st into your beginning SC. (21 sts)
R8: Ch 1. 1 SC in each of the next 8 sts, placing a stitch marker in the 8th st, SC2tog 3 times, 1 SC in each of the last 7 sts. Join with a sl st into your beginning SC. (18 sts)
Fasten off.
Tongue
Using color B (shown as gray):
R9: Attach yarn at the 8th SC of R8 (where you placed your stitch marker). Ch 1. 1 SC in each of the next 4 sts. (4 sts)
R10: Ch 1. Turn. 1 SC in each of the next 4 sts. (4 sts)
R11: Ch 1. Turn. 1 SC in the first st, 2 SC in each of the next 2 sts, 1 SC in the last st. (6 sts)
R12-15: Ch 1. Turn. 1 SC in each of the next 6 sts. (6 sts)
Fasten off.
Upper Sides
Using color B (shown as gray):
R9: With toe of boot facing you, attach yarn to the first st to the left of the tongue on R8 of Lower Sides. Ch 1. 2 SC in first st, 1 SC in next 12 sts. 2 SC in last st. You will now be in the last st to the right of the tongue. (16 sts)
R10-13: Ch 1. Turn. 1 SC in each st. (16 sts)
Fasten off.
FINISHING
Laces
Using color A (shown as green):
Insert yarn between R9 and R10 on each Upper Side (on either side of the tongue). Lace yarn, crossing over to each side, going up one row with each crossover, or as desired.
If you’ve enjoyed this pattern, be sure to subscribe to my email newsletter so that you never miss a pattern release, and have subscriber only access to exclusive discount codes, offers, and freebies!
Thanks for stopping by! Happy crafting!
Nicole
PATTERN COPYRIGHT © 2026 NICOLE CHASE. ALL RIGHTS RESERVED.
PATTERN MAY NOT BE ALTERED, COPIED, REDISTRIBUTED OR SOLD AS YOUR OWN PATTERN.
YOU MAY SELL THE FINISHED PRODUCT ON A SMALL SCALE. PATTERN/DESIGN CREDIT GIVEN TO WWW.THENICOLECHASE.COM IS APPRECIATED. PERMISSION TO SELL DOES NOT INCLUDE MASS PRODUCTION. LARGE SCALE PRODUCTION IS PROHIBITED.
PHOTOGRAPHY COPYRIGHT © 2026 NICOLE CHASE. ALL RIGHTS RESERVED.
PHOTOS MAY NOT BE ALTERED, COPIED, REDISTRIBUTED OR SOLD AS YOUR OWN.
This post may contain affiliate links. If you make a purchase through links on our site, we may earn a commission.
do you have a tutorial video?
For this pattern, no I don’t.
Thank you for the adorable pattern. I was so excited that I am making a pair right now. I have a question, though. On row 9, if you 2 SC in first st, 1 SC in next 13 sts. 2 SC in last st. You will now be in the last st to the right of the tongue. (16 sts) – doesn’t that add up to 17 stitches, 2+13+2?
Hi Tina! That was a typo, sorry about that! It should read 2 SC, 1 SC in the next 12, and 2 SC. Leaving you with 16 stitches. I will correct it now. Thanks for letting me know! So excited that you’ve started a pair already!