DIY Car Seat Poncho Sewing Tutorial
This post may contain affiliate links. If you make a purchase through links on our site, we may earn a commission.
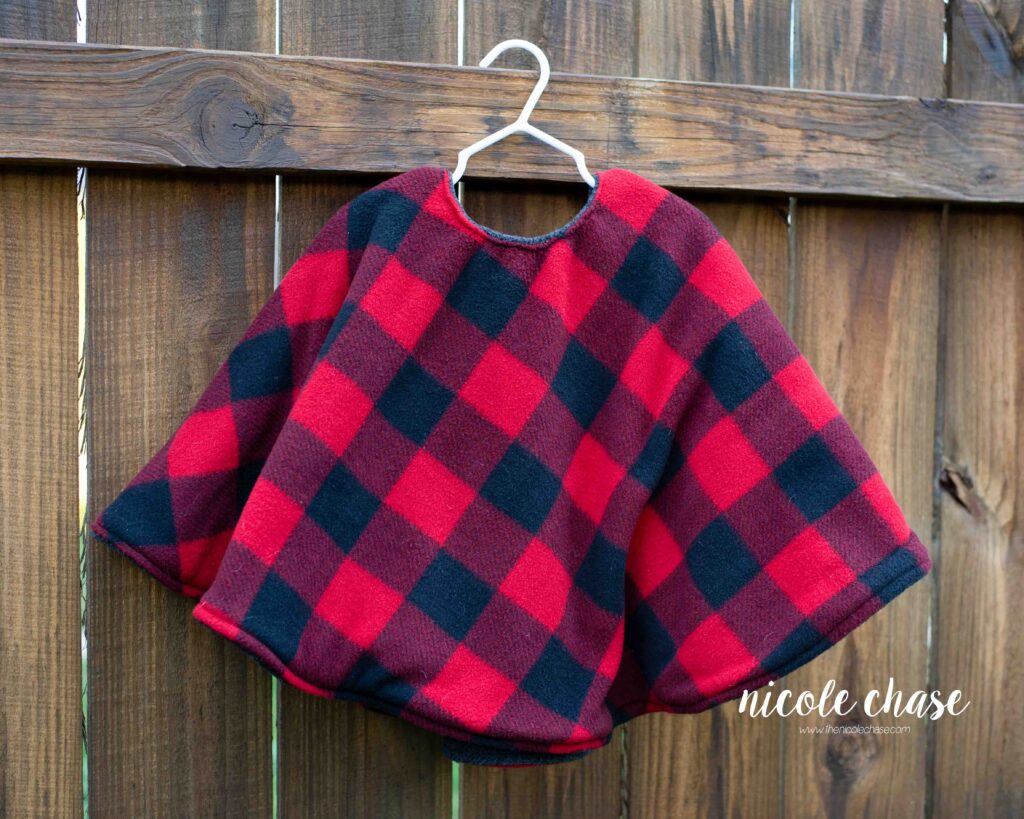
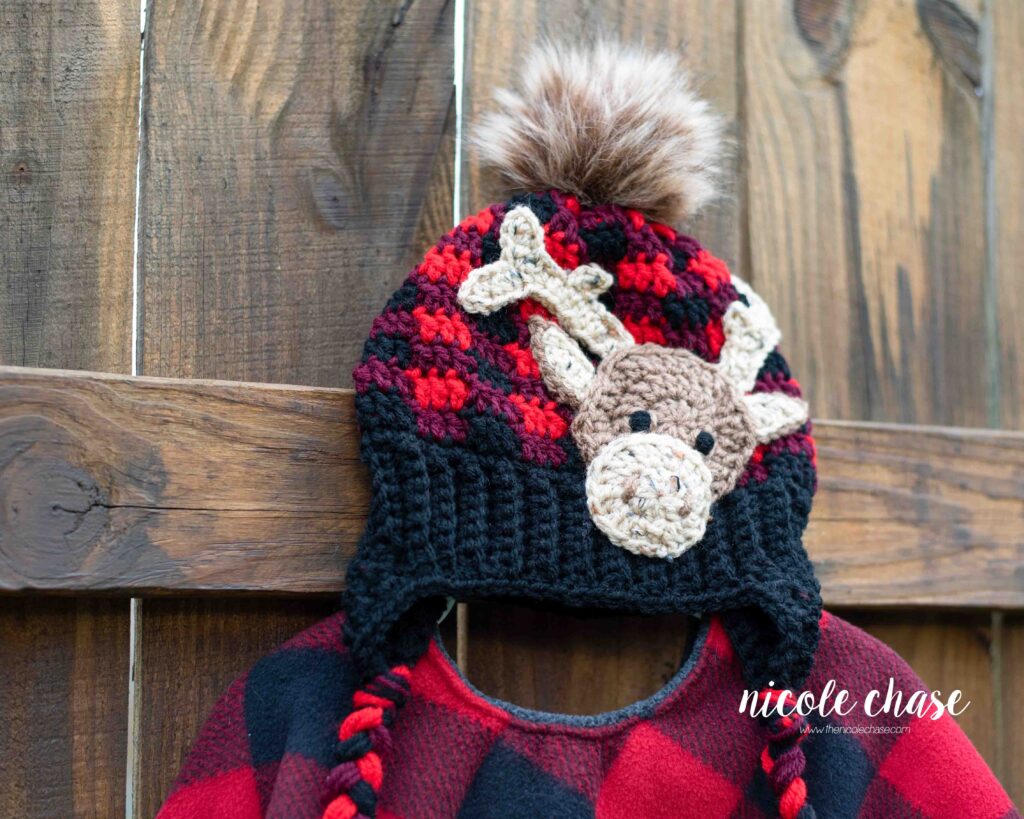
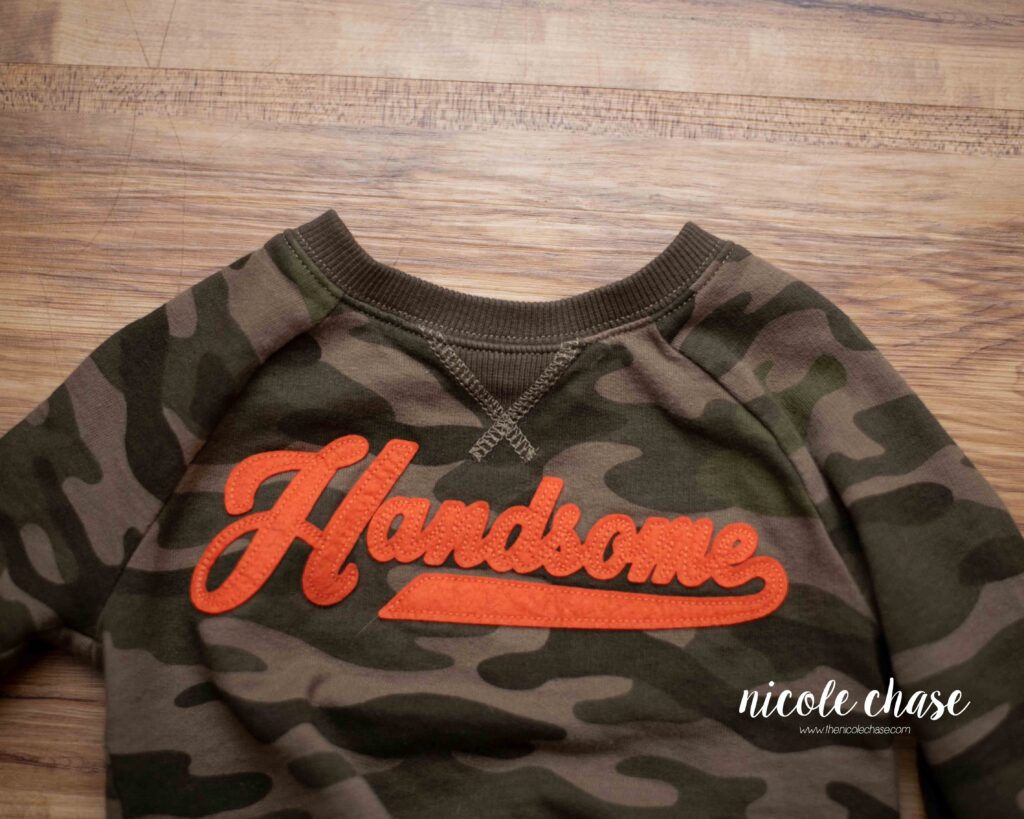
Over the years, I’ve made quite a few of these car seat ponchos for my daughter. Now that my baby boy, Landon, is here, he needed a car seat poncho too! My son has been using this poncho regularly for a while, and I’m still convinced it is the greatest thing ever invented! Naturally, I paired it with a cute plaid crochet hat to match!
One of the very first things that new parents learn about car seat safety is that heavy winter coats are not to be used. This car seat cape does a great job of safely replacing bulky coats, but still keeps your kiddo warm!
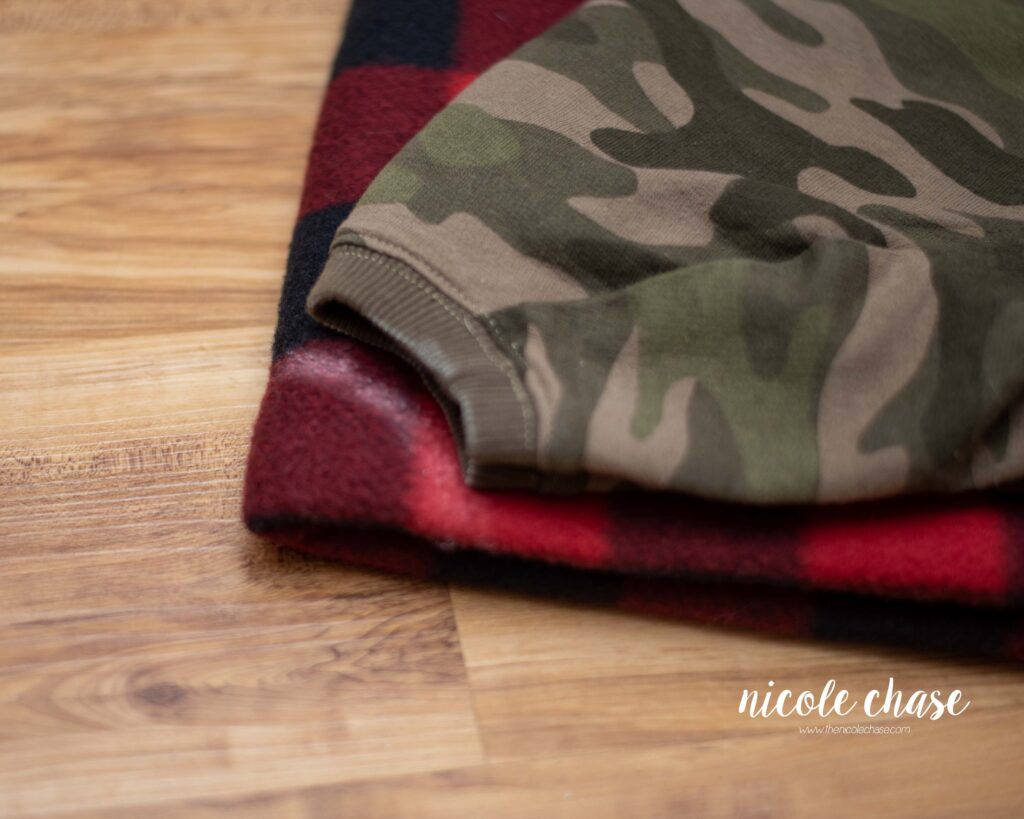
It gets pretty cold where I live, so I used two layers of fleece for this poncho, but I think a layer of flannel with a layer of fleece would be really nice as well!

This poncho is super quick and easy to take on and off, and is the perfect solution for in the car seat. You just lift the poncho up and buckle the baby in underneath, which eliminates the need for a bulky winter coat that can leave the harness too loose to be effective in a crash.
I’d love to see what you make with this tutorial! Don’t forget to share a photo of your finished work in your Ravelry projects and my Facebook group!
Landon’s Car Seat Poncho

SUPPLIES USED
- 1 yard of patterned fleece fabric
- 1 yard of solid fleece fabric
- Rotary Cutter
- Cutting Mat
- Tape Measure
- Disappearing Ink Pen or Chalk
- Clips or Pins
- Sewing Machine
- Coordinating All-Purpose Thread
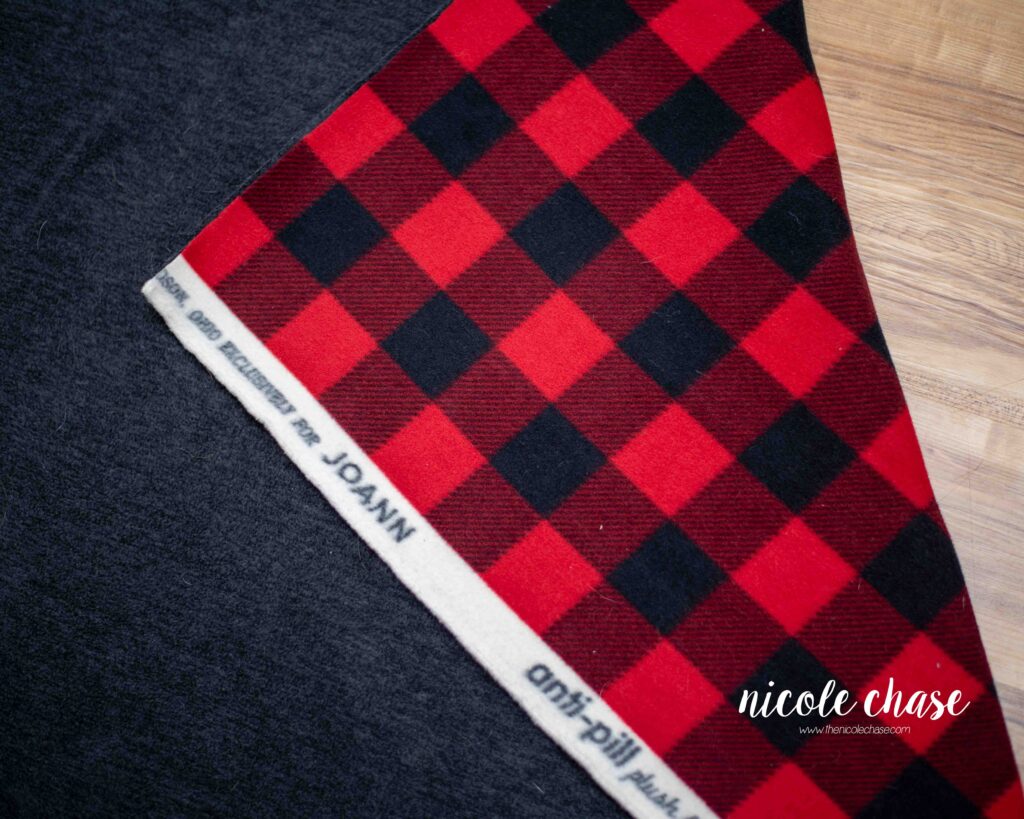
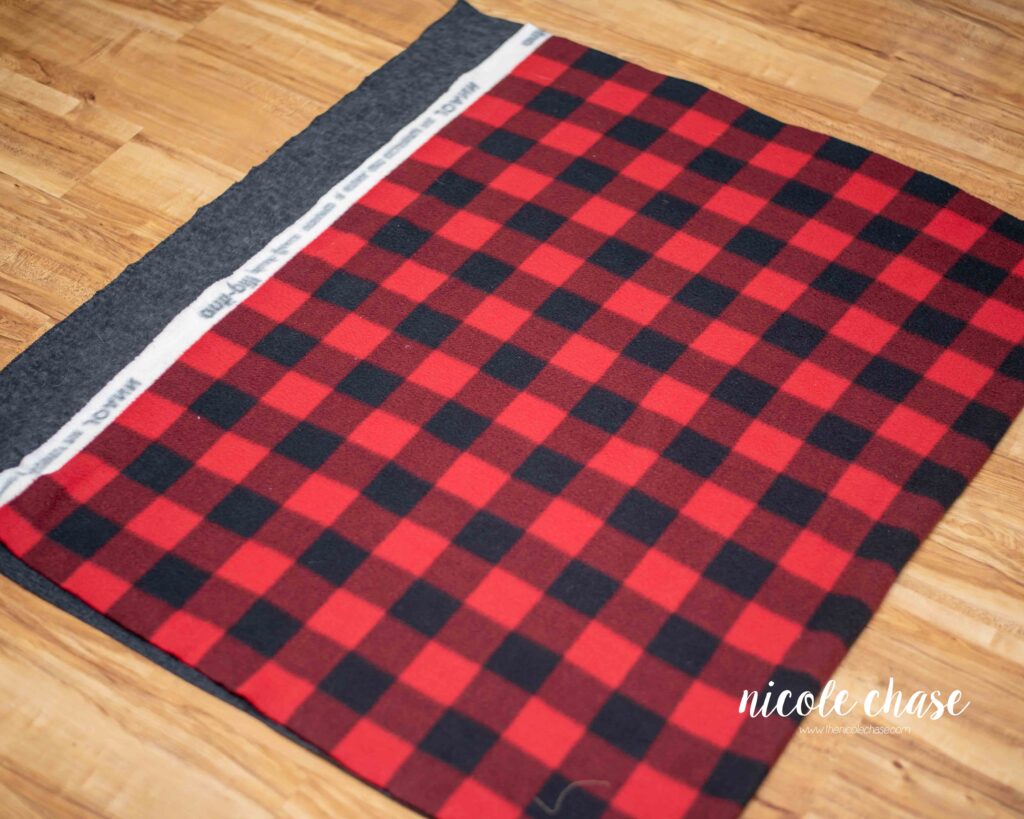
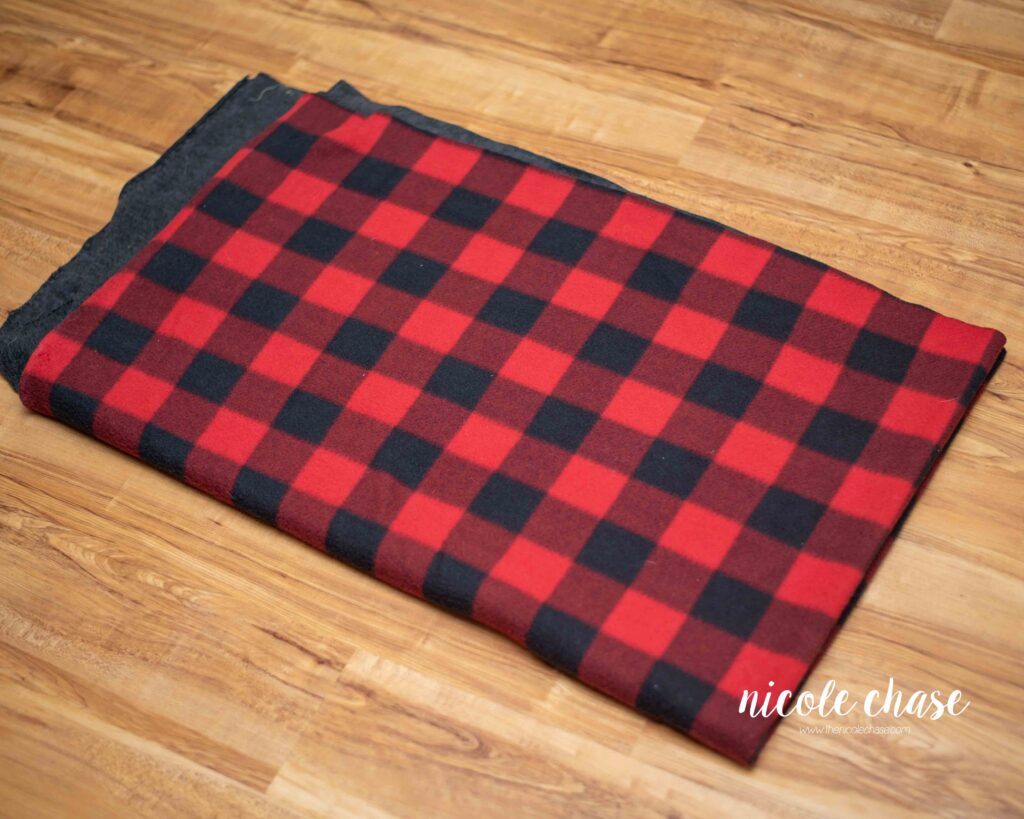
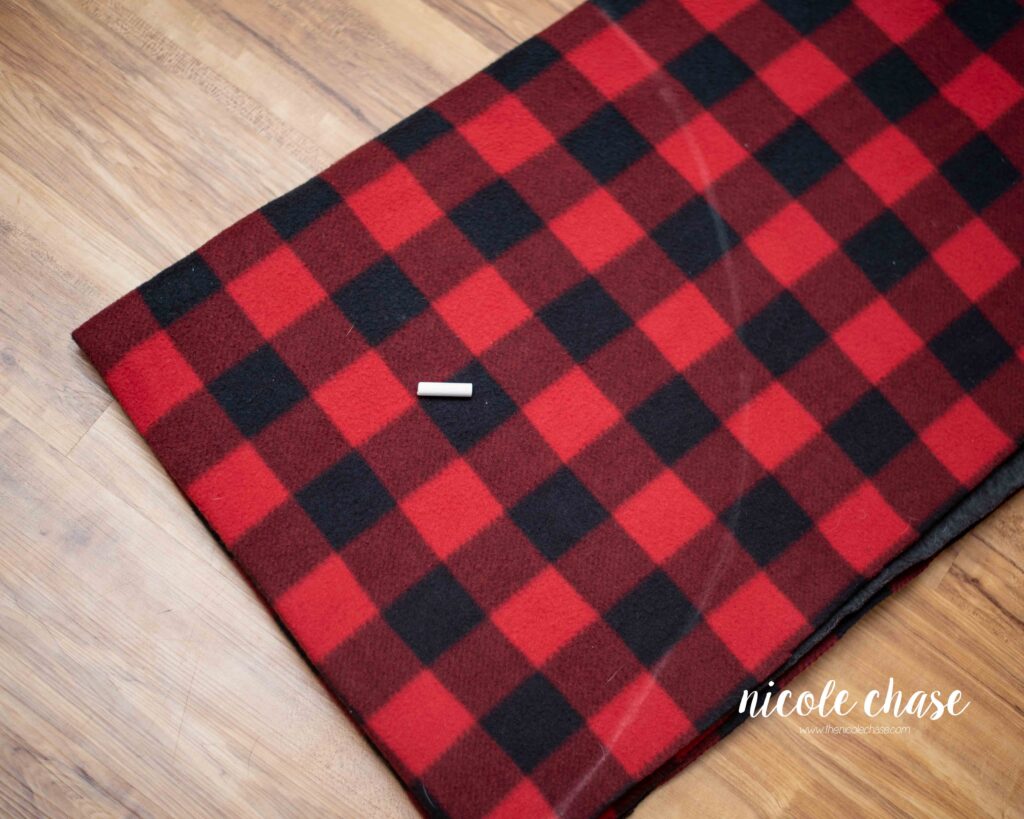
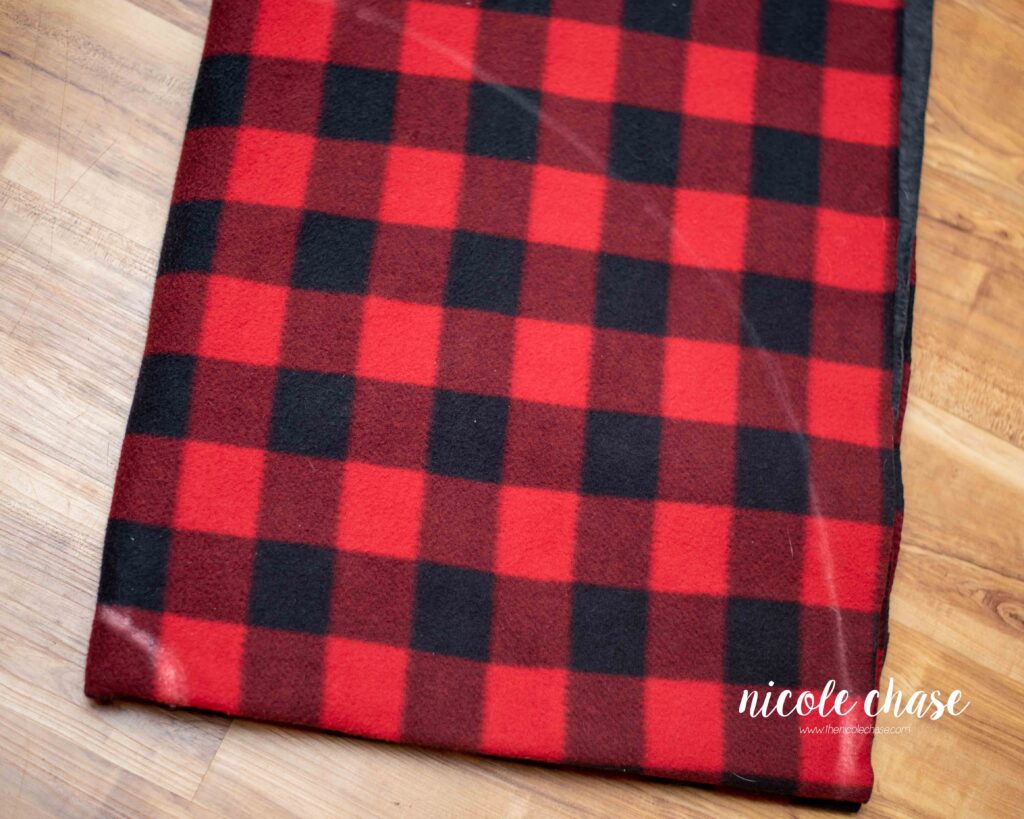
I chose this red buffalo check for the outside, and this plain heather gray for the inside, both from JoAnn Fabrics. I do recommend choosing an anti-pill fleece, as your poncho will likely get some heavy use.
The first thing you’ll need to do is wash and dry your fabric. Don’t skip this step, it’s important! This gets all of your potential shrinking out of the way, so that the poncho still looks and fits as it should when you wash it later.
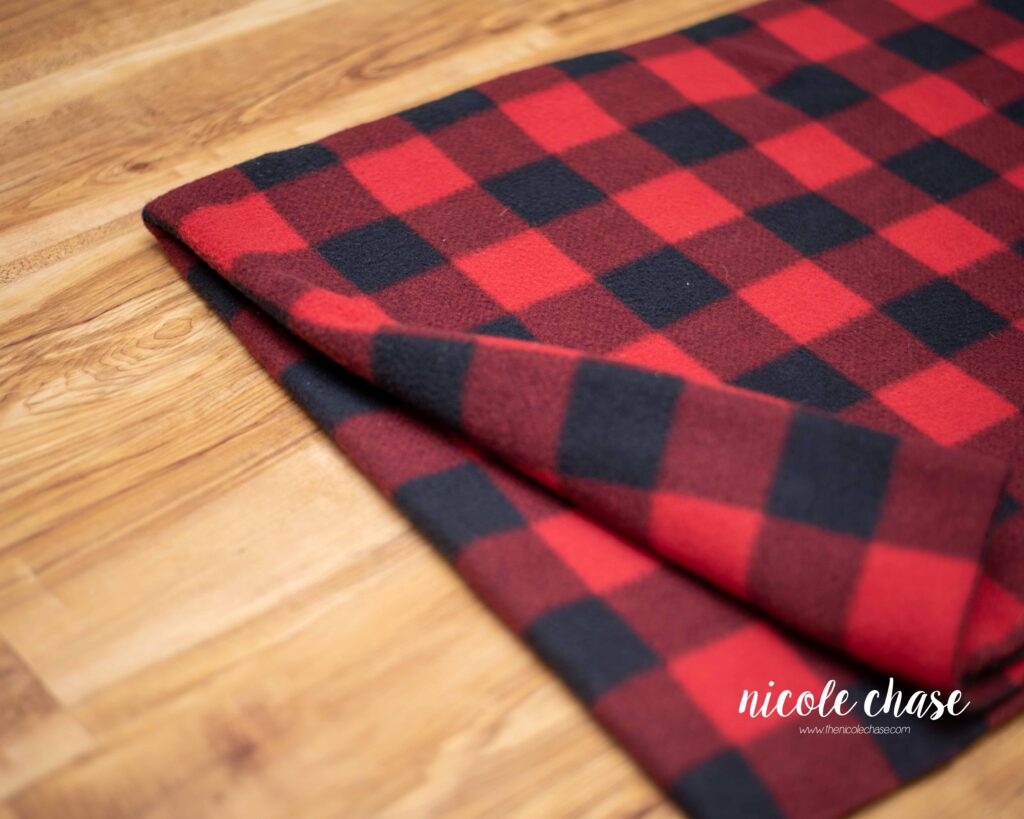
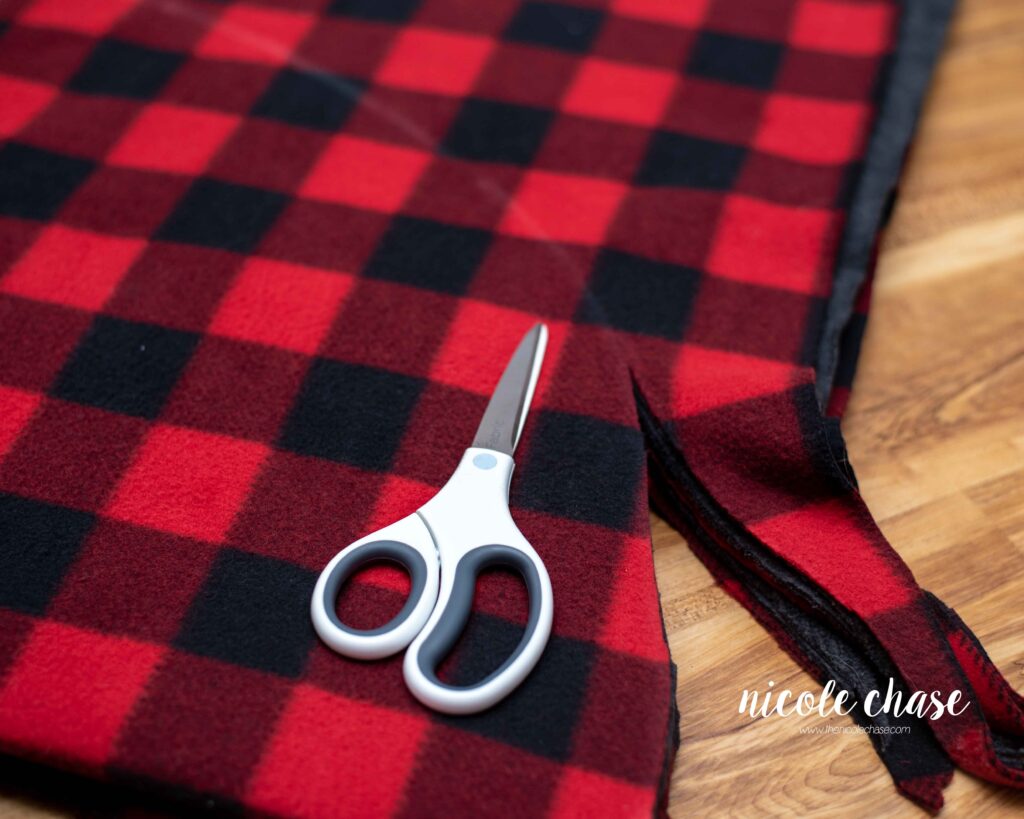
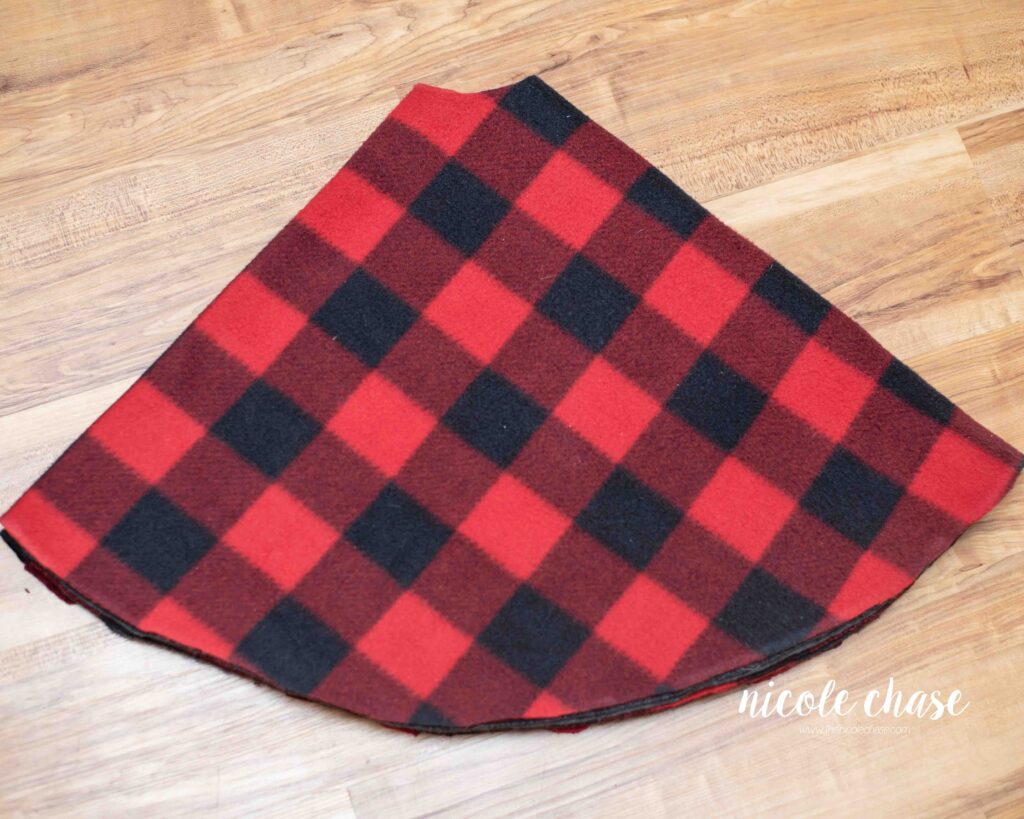
After your fabric has been washed, place your two pieces of fabric, right sides together. You will then need to fold your fabric in half twice. The purpose of folding is to allow for us to more easily cut an even circle.
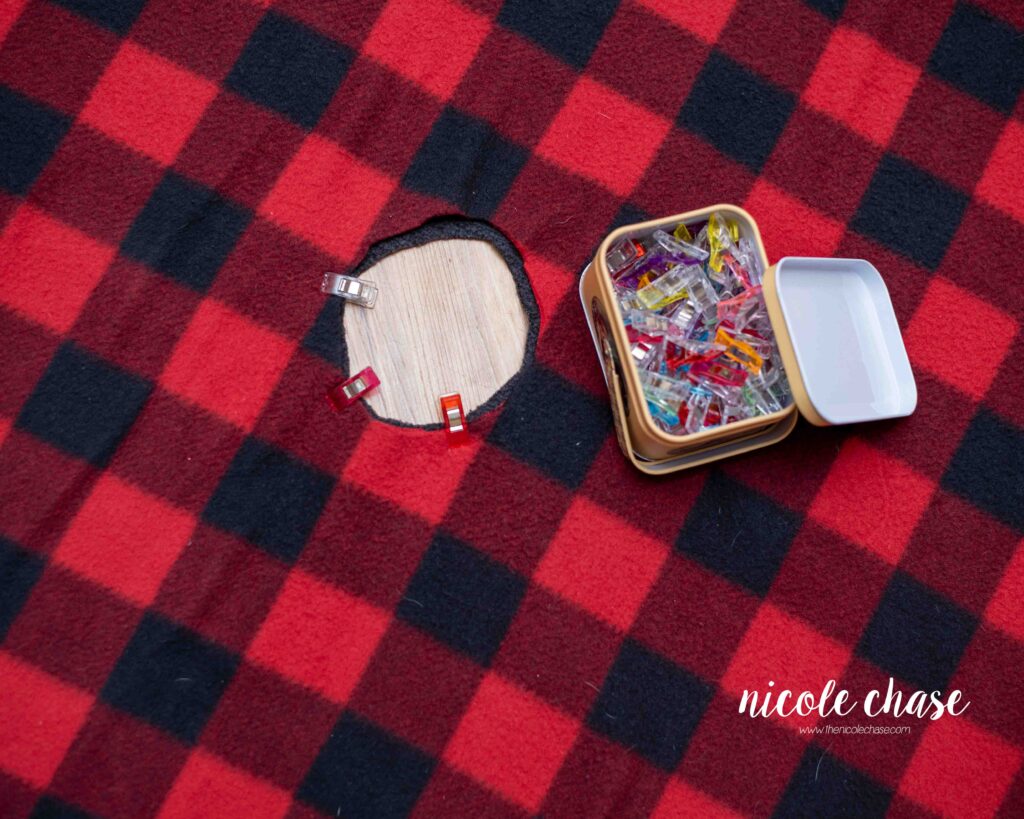
Take note of the corner with no open edges. This will end up being where the neck hole is.
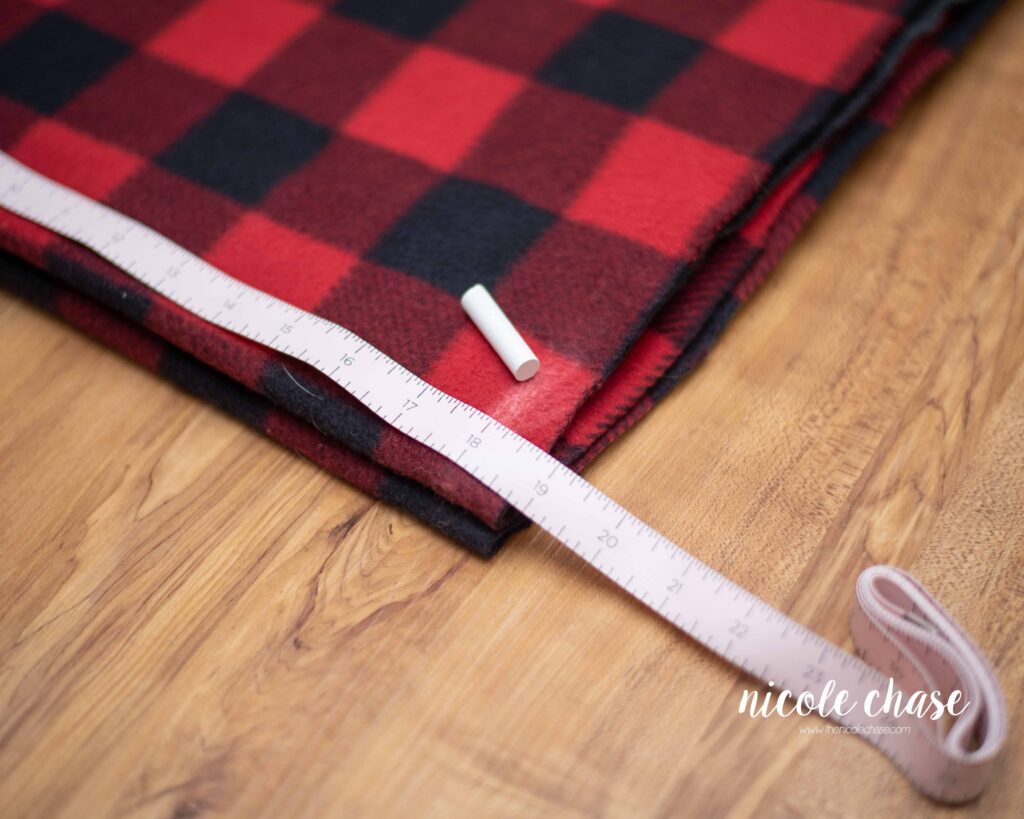
To measure how long your poncho needs to be, measure from the base of the child’s neck, over the shoulder and down the arm, to wherever you would like the poncho to end. Since babies at my son’s age tend to grow so quickly, I prefer that the poncho is on the longer side, at 15 inches. For your reference, at the time of measuring, my son was about 10 months, and to the end of the winter months in PA, he will be about 16 months.
You will then take your measurement, and add 2 inches for the neck hole, plus about an inch for the seams, for a total of 18 inches. As our fabric is folded, we will be creating a 36 inch round poncho (18”+18”=36”). If you need any more than a 34 inch round poncho, I would recommend getting larger cuts of fabric, as a yard is only 36″ inches.
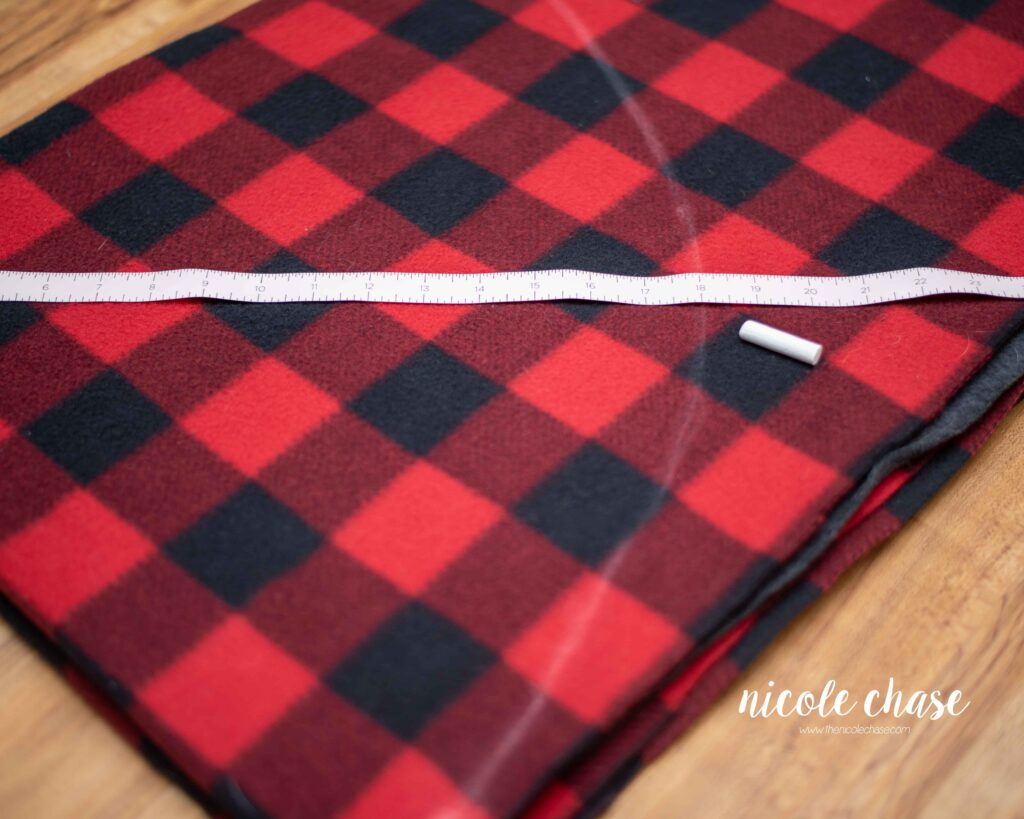
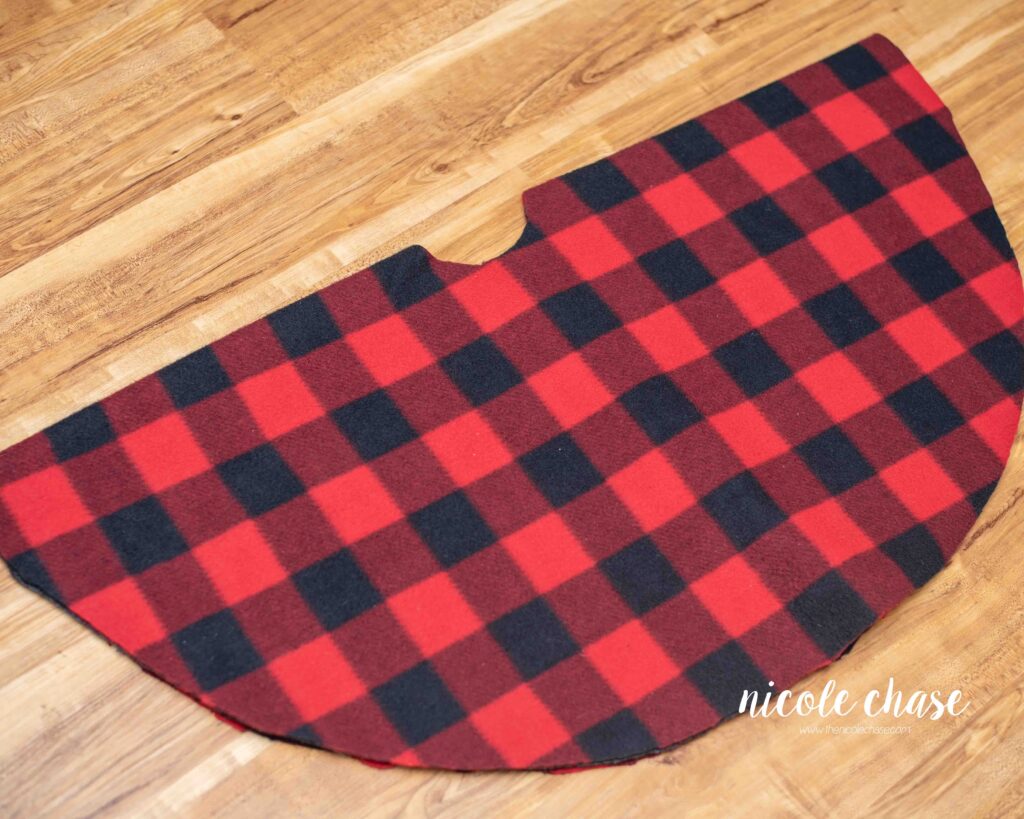
Measuring from the neck hole corner of your folded fabric, toward the open edges, mark 18 inches across to each side. This can simply be done by holding one end of your measuring tape in the neck hole corner, and the other end of your measuring tape at 18 inches, with your chalk, and sliding across the fabric. See photos below.
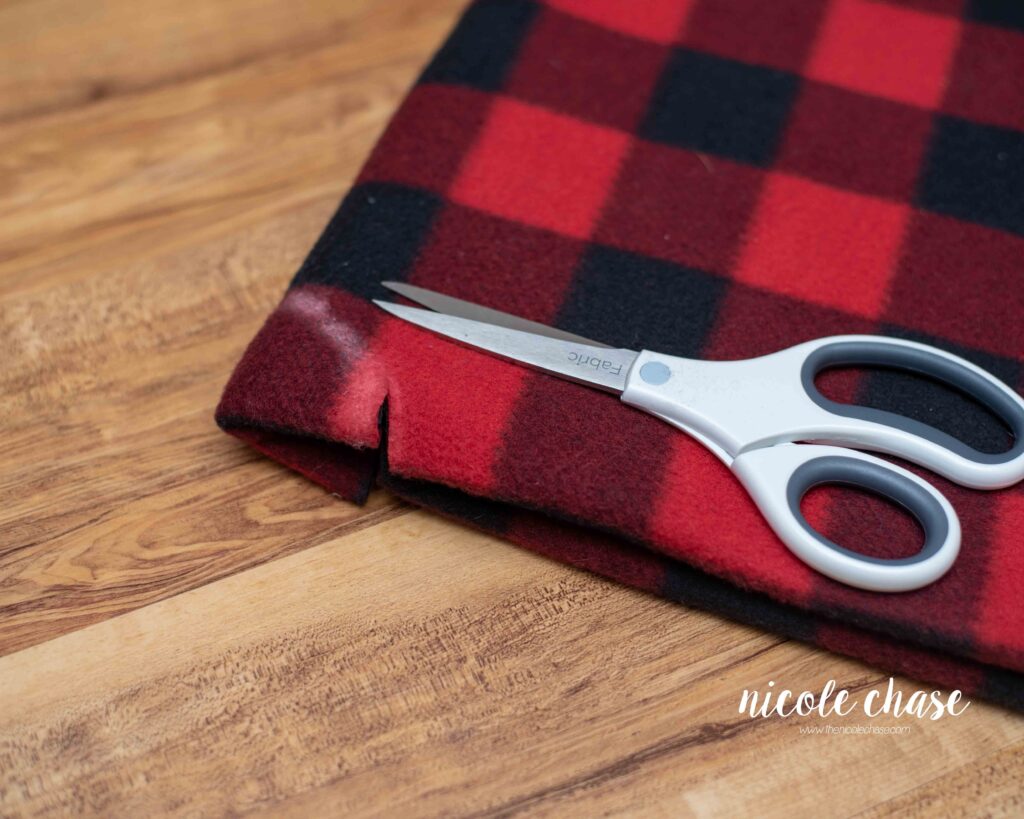
I’m sure there is a more technically accurate way to measure for the neck hole, but as I have said in prior tutorials, I am not an expert seamstress, so here is what I did…
I took one of his shirts, folded it in half, and traced the neck opening.
I know you’re probably thinking this looks nothing like a poncho, but stick with me!
This is a very forgiving, beginner friendly sewing project, so there is no need to be worried about having perfectly straight lines.
Now cut your fabric!
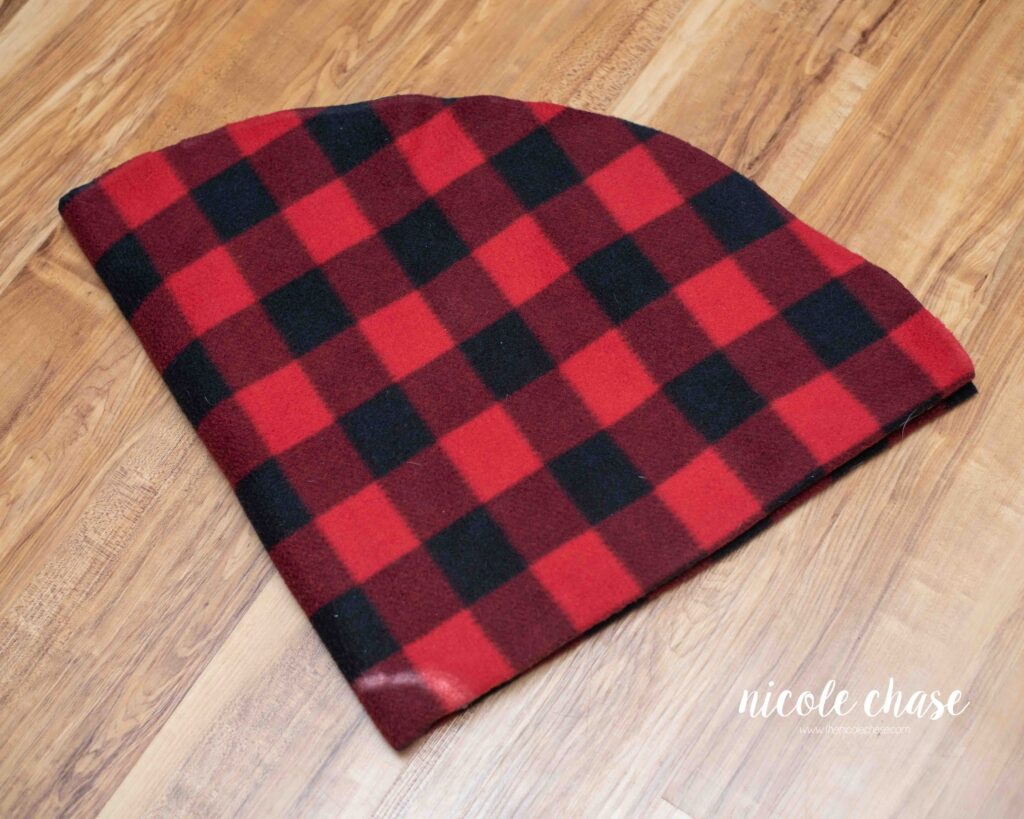
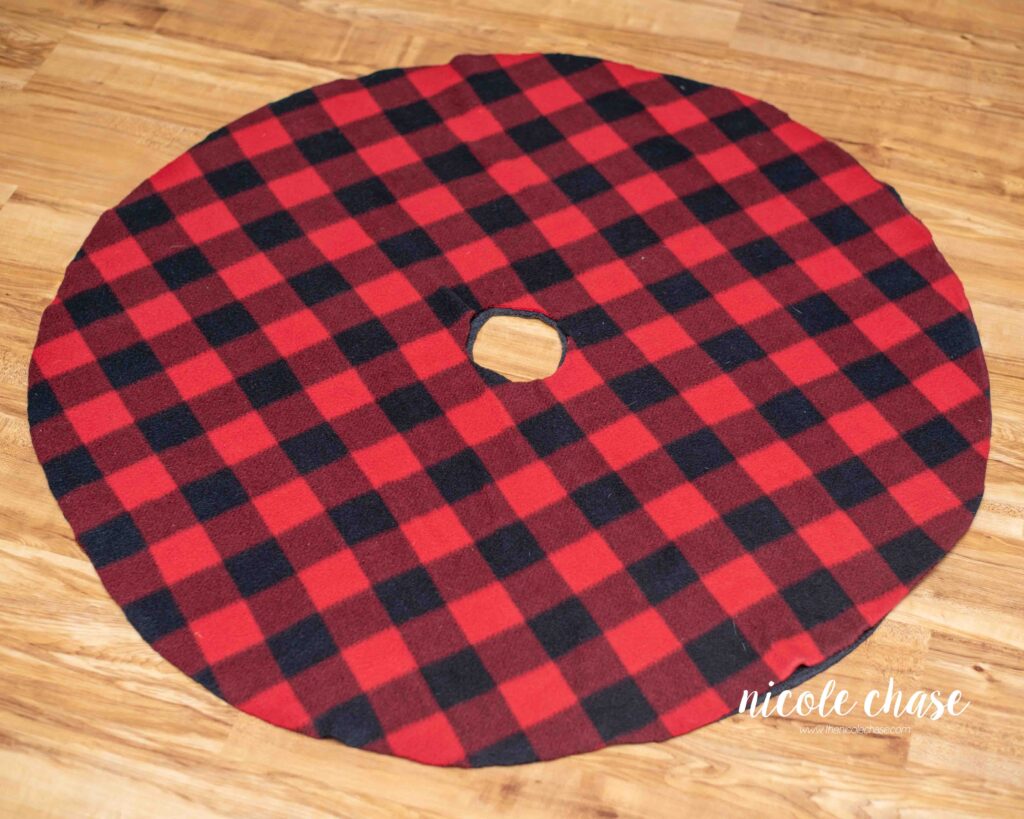
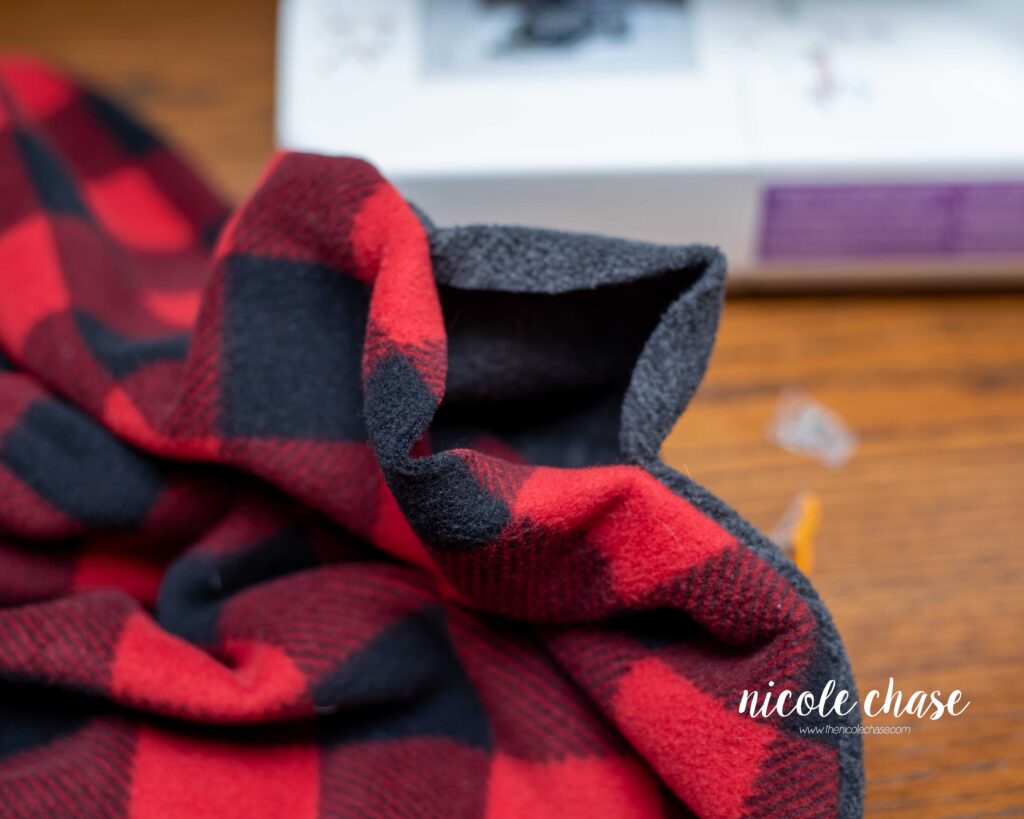
It’s really starting to look like a poncho now!
Now, still keeping both of your fabric pieces together, unfold.
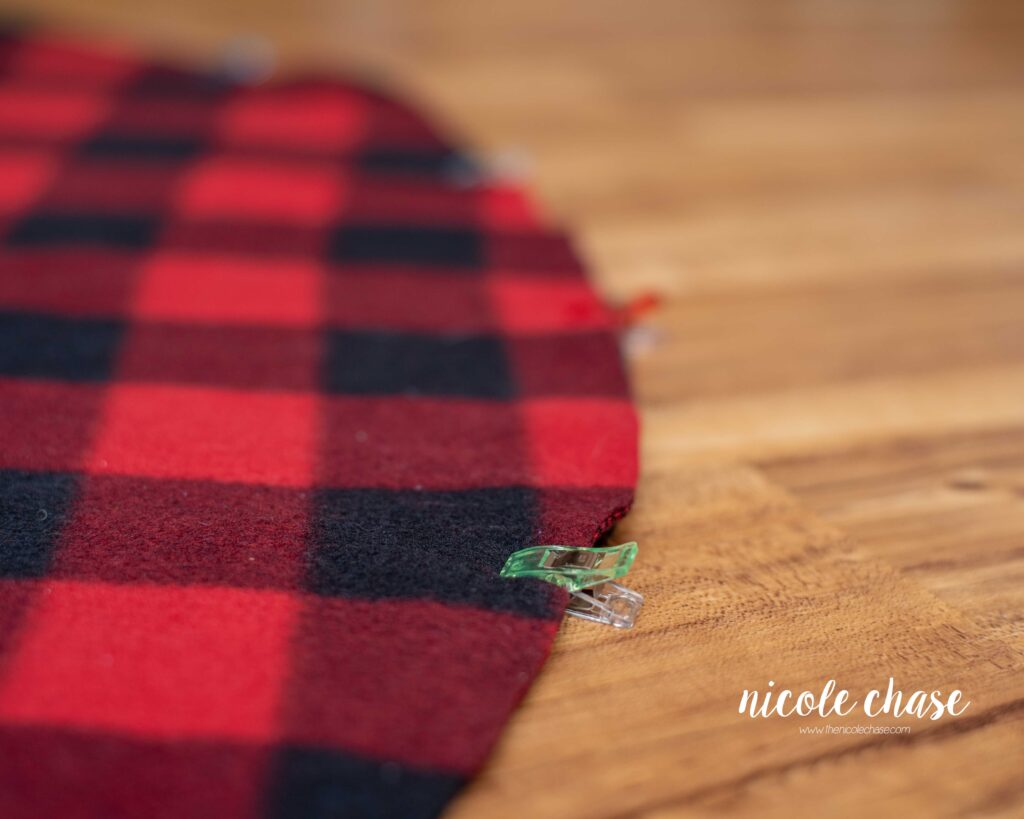
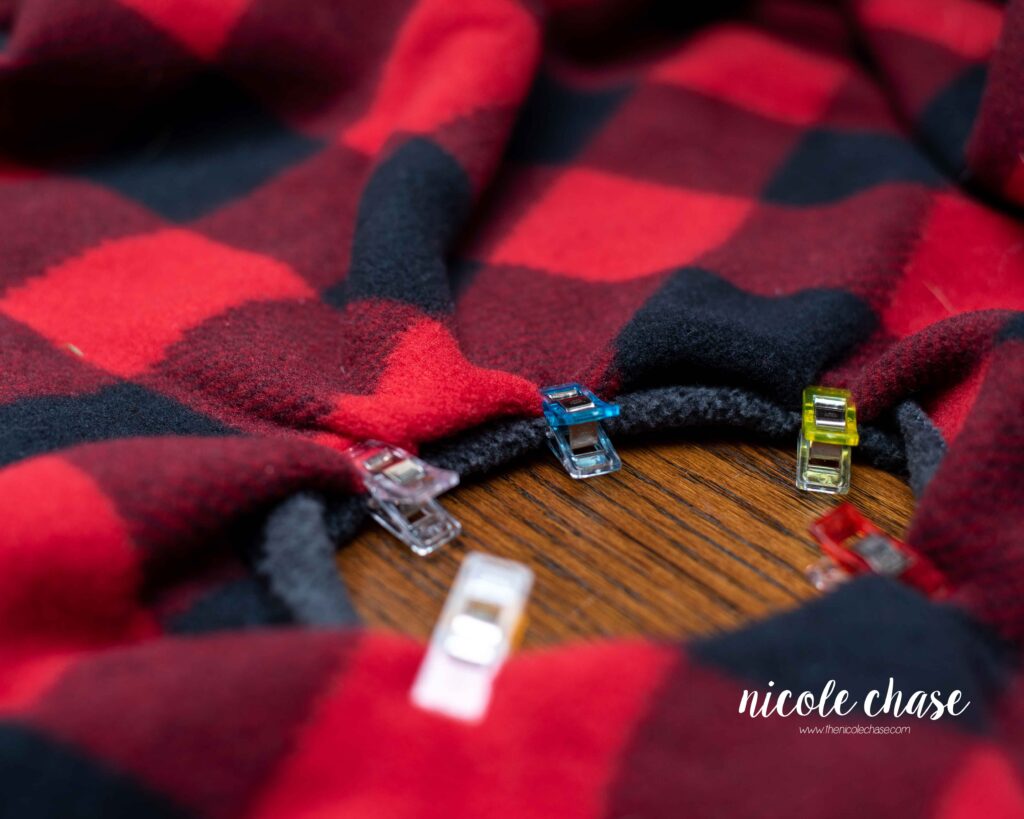
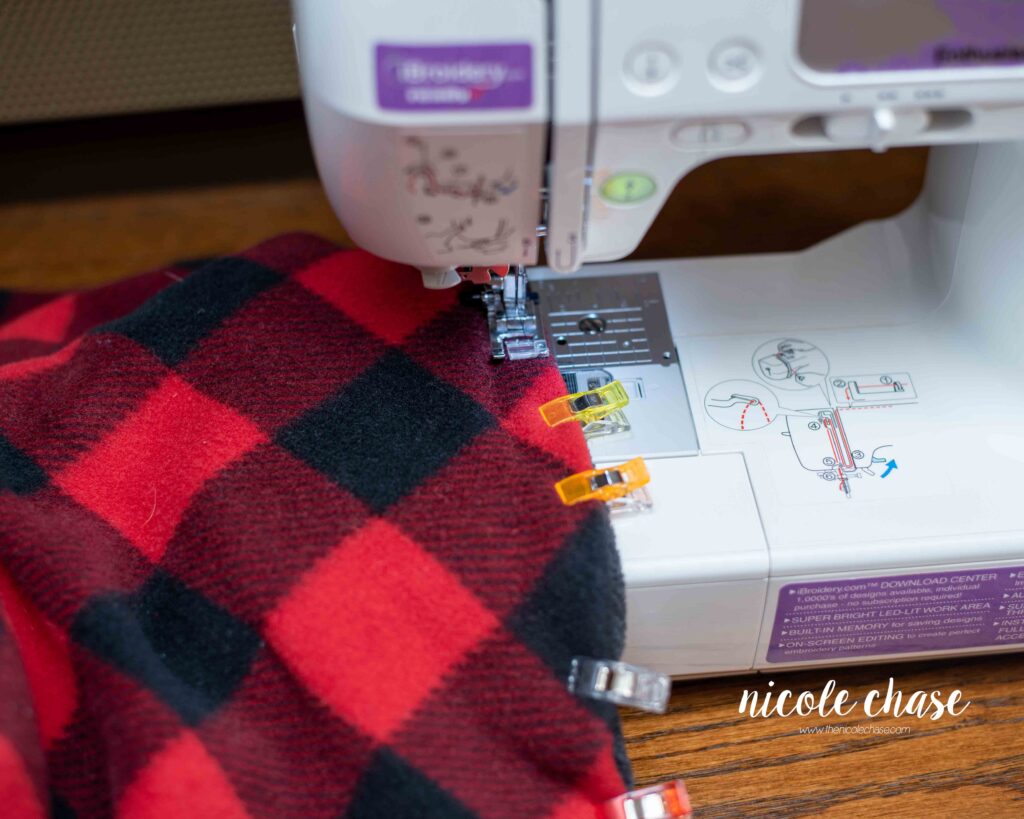
With your fabric still wrong sides together, clip or pin your fabric edges together.
*Note that at this point we will only be sewing the outside edge of the poncho; however, I still clip the neck hole to help prevent any sliding.
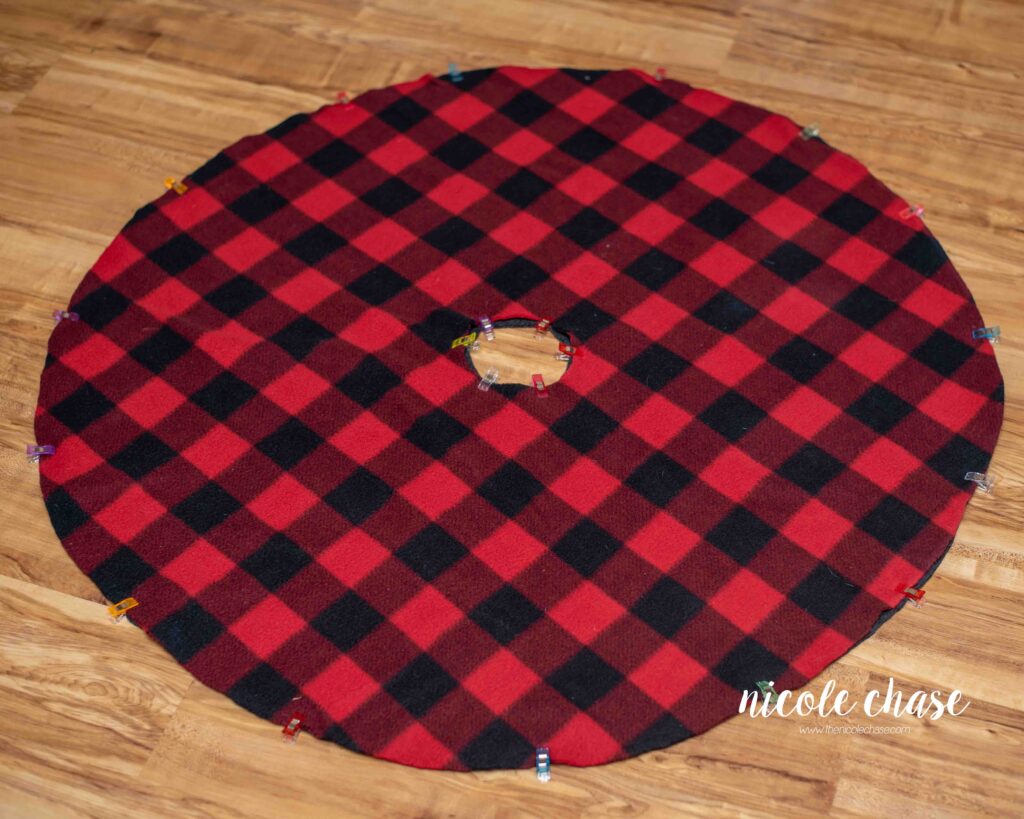
With about a half inch seam allowance, sew along the bottom edge of the poncho. Be sure to back stitch at the start and end of your stitching. You will continue sewing all the way around, but leave an opening approximately 10 inches wide. You will use this opening to turn your poncho’s right sides out.
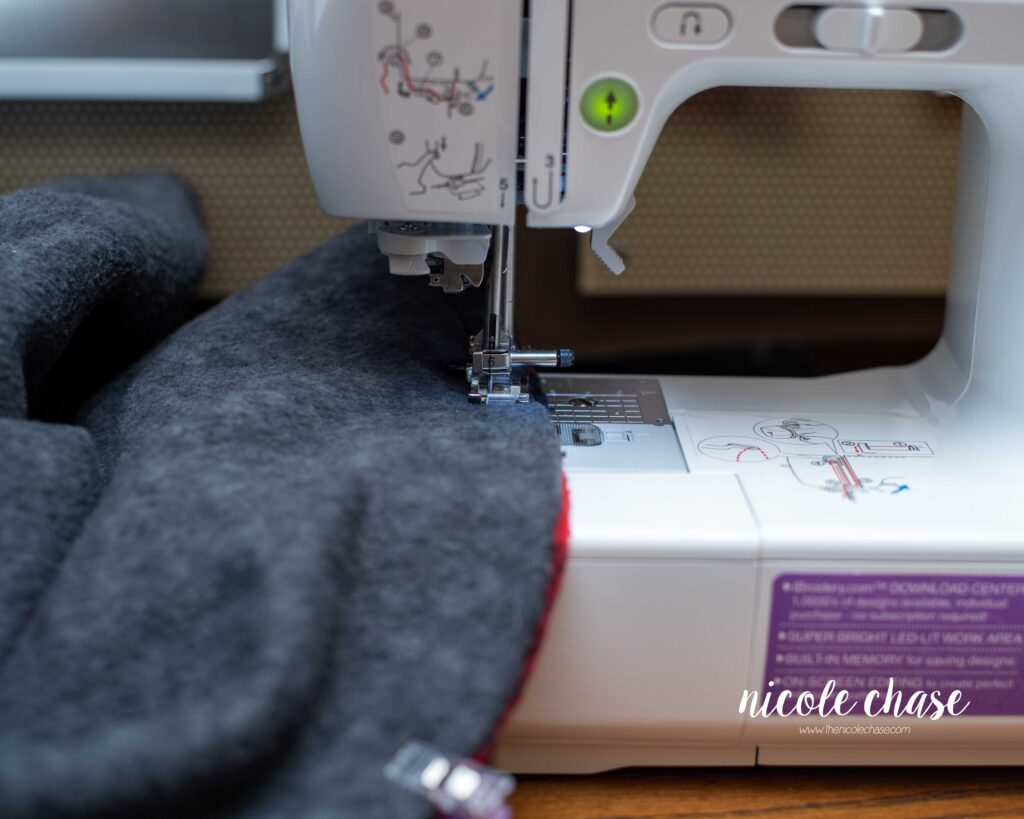
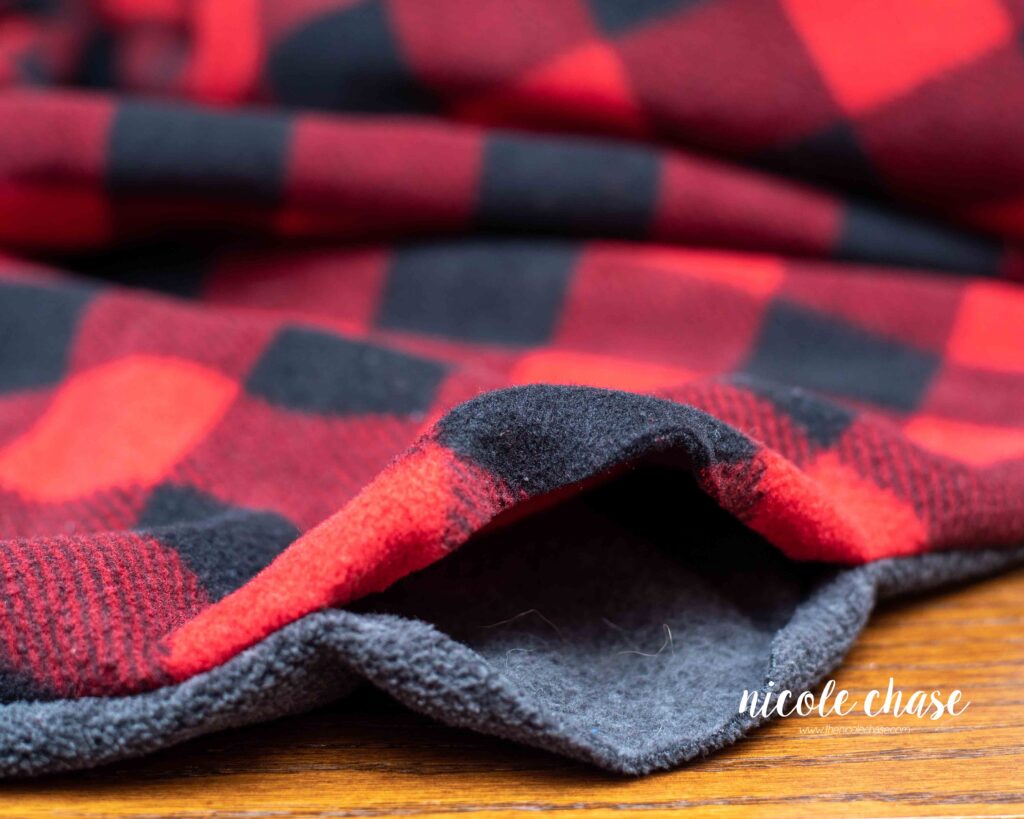
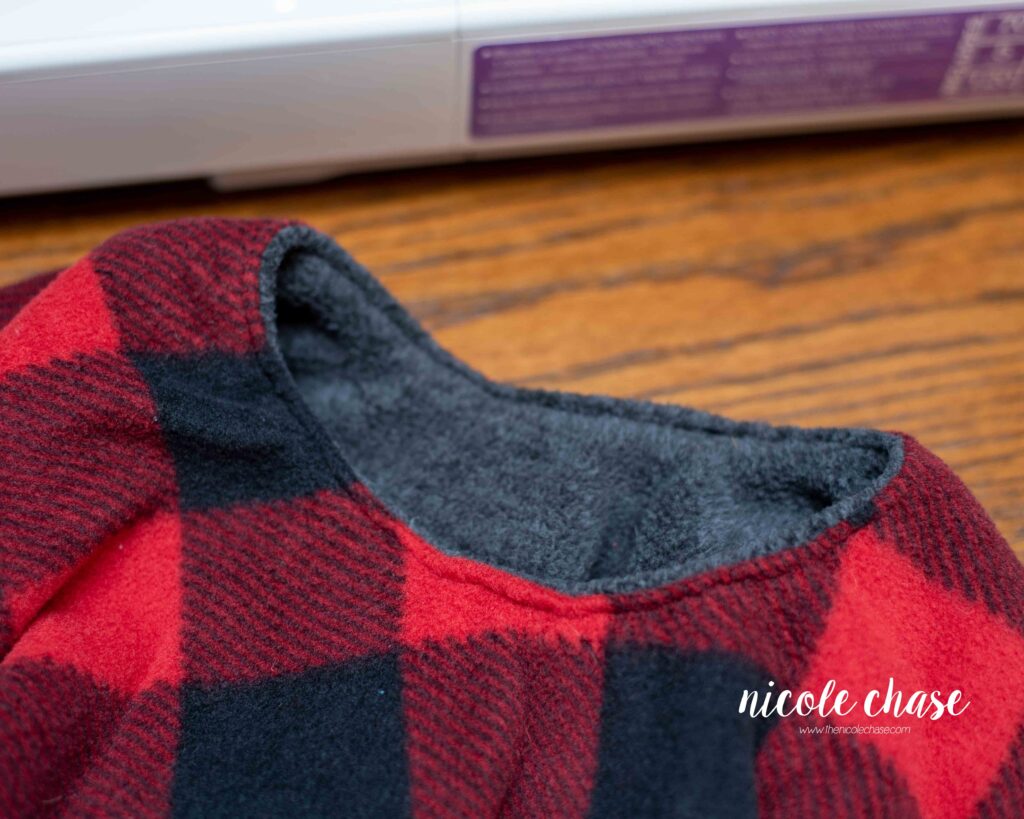
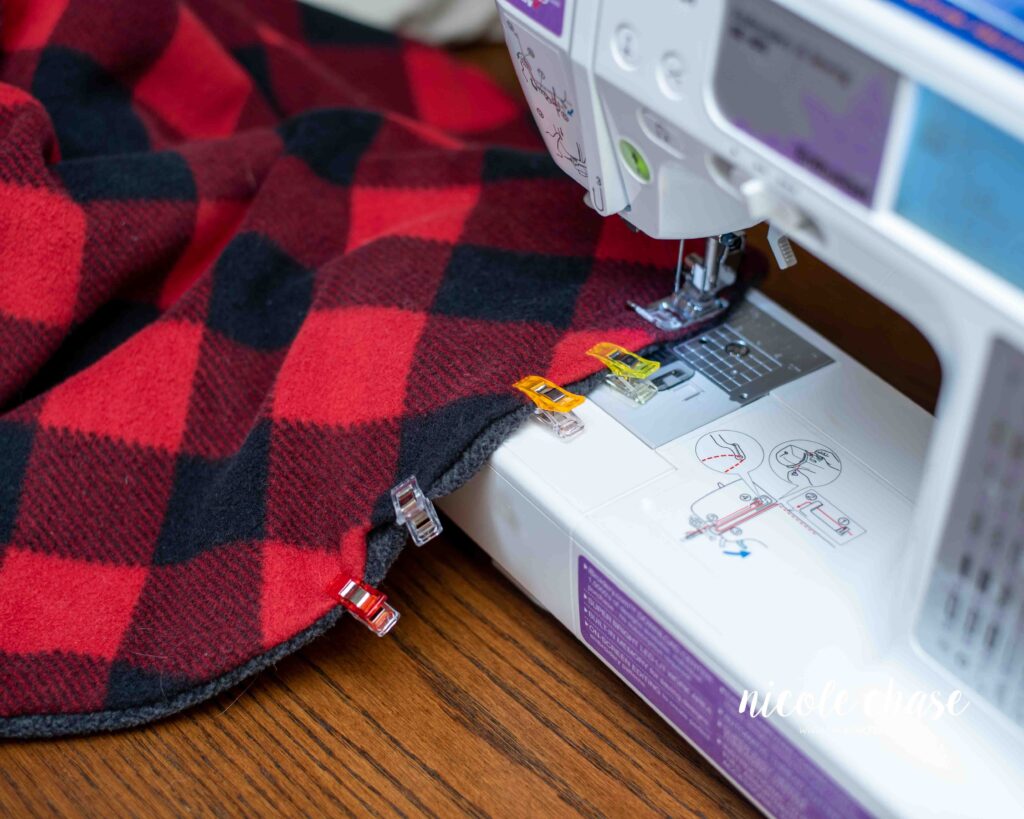
After you turn the poncho right side out, you’ll sew the neck hole. Fold in the edges of the neck hole inward and clip or pin around. Sew around the neck hole with an approximate 3/8” seam.
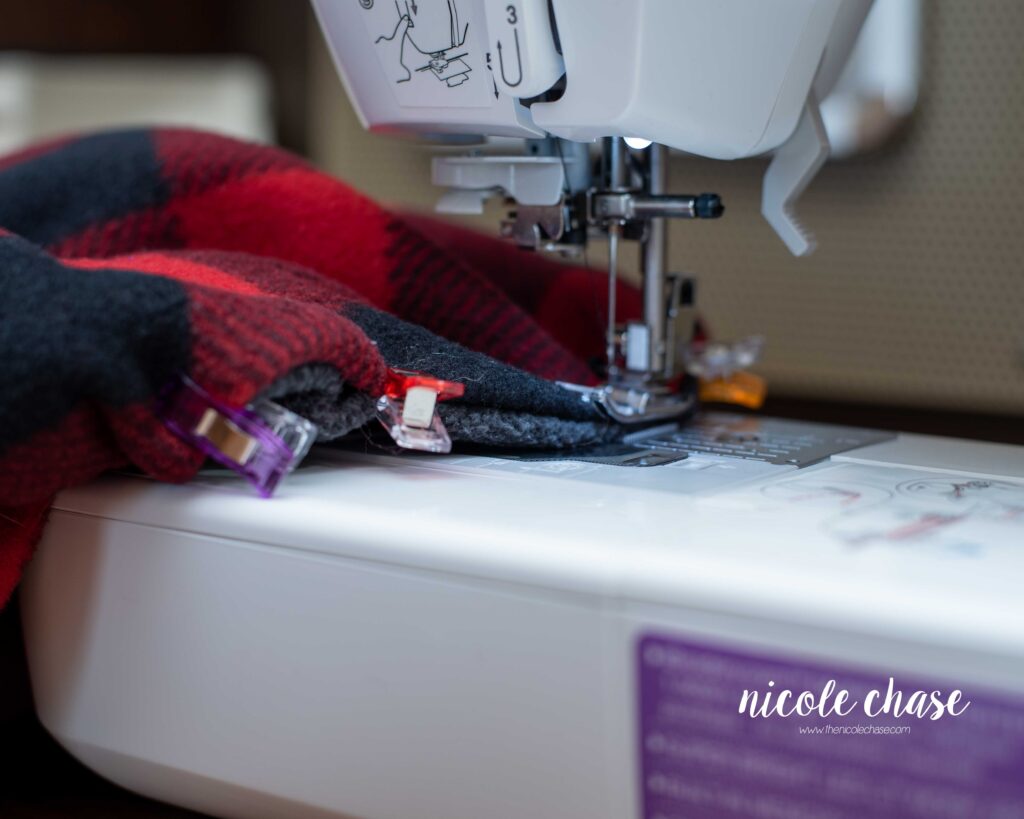
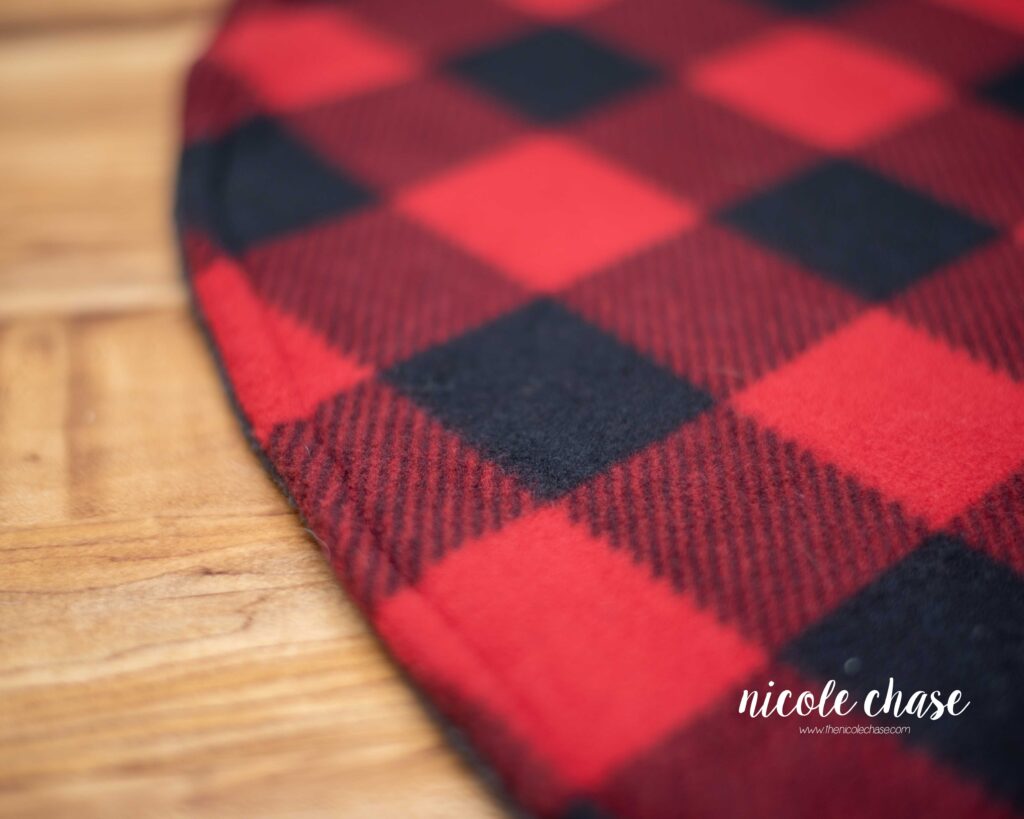
Fold in the edges of your poncho’s bottom opening and clip. Sew across the opening and all the way around with an approximate 3/8” seam.
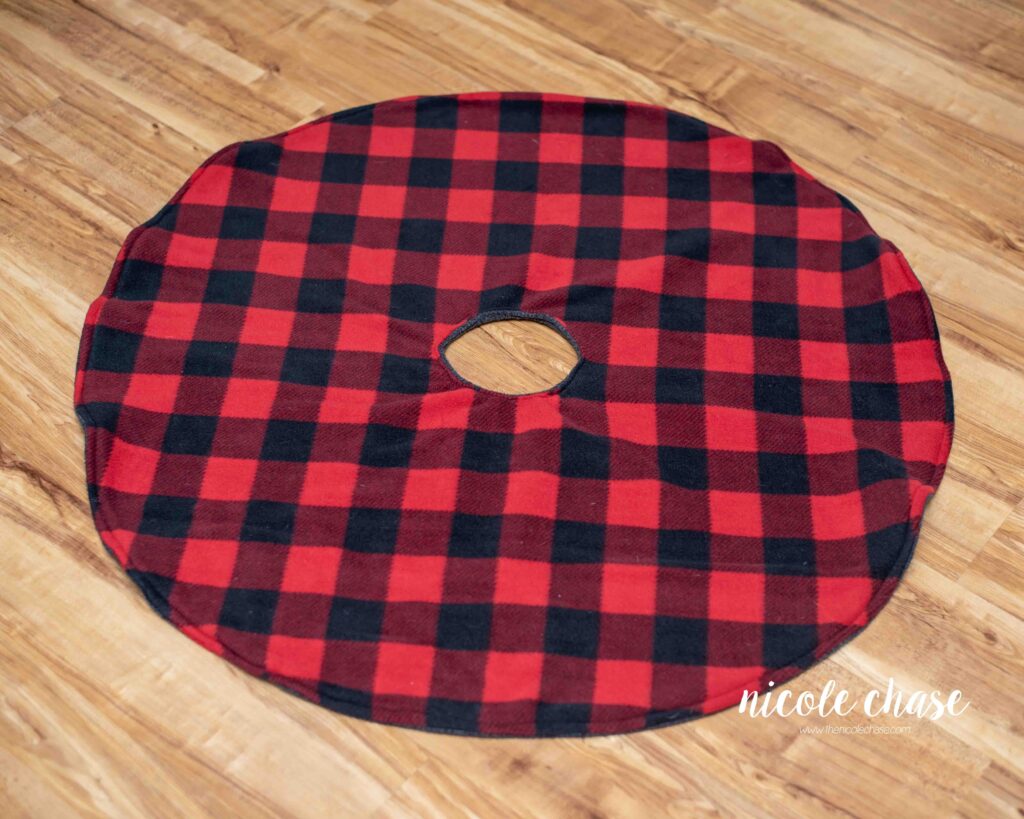
All done! Now all you need to do is add a cute baby!
I crocheted my son a plaid hat to go with his poncho. I just free-handed the hat using a combination of my Simply Slouchy Beanie and Spirit Earflap Hat.
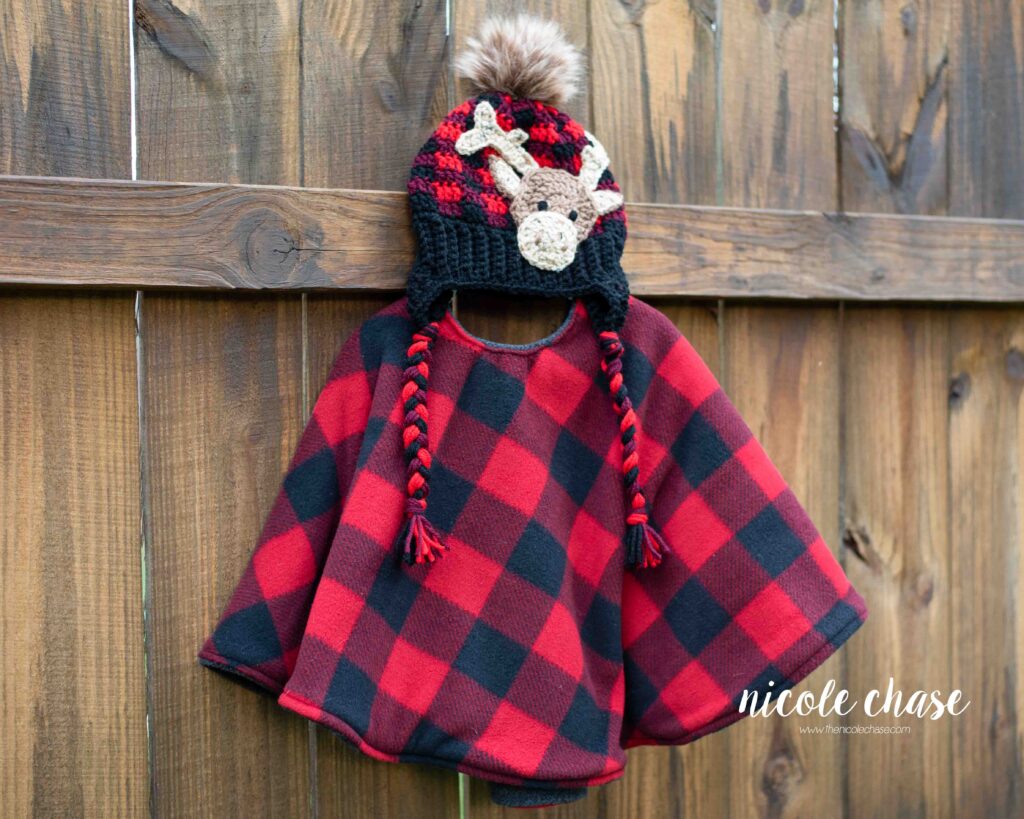
I also free-handed the moose applique. I love the combination!
If you’ve enjoyed this post, be sure to subscribe to my email newsletter so that you never miss a pattern release, and have subscriber only access to exclusive discount codes, offers, and freebies!
Thanks for stopping by! Happy crafting!
Nicole
PATTERN COPYRIGHT © 2026 NICOLE CHASE. ALL RIGHTS RESERVED.
PATTERN MAY NOT BE ALTERED, COPIED, REDISTRIBUTED OR SOLD AS YOUR OWN PATTERN.
YOU MAY SELL THE FINISHED PRODUCT ON A SMALL SCALE. PATTERN/DESIGN CREDIT GIVEN TO WWW.THENICOLECHASE.COM IS APPRECIATED. PERMISSION TO SELL DOES NOT INCLUDE MASS PRODUCTION. LARGE SCALE PRODUCTION IS PROHIBITED.
PHOTOGRAPHY COPYRIGHT © 2026 NICOLE CHASE. ALL RIGHTS RESERVED.
PHOTOS MAY NOT BE ALTERED, COPIED, REDISTRIBUTED OR SOLD AS YOUR OWN.
This post may contain affiliate links. If you make a purchase through links on our site, we may earn a commission.
Could you do a fringe all around the bottom rather than stitching?
Absolutely!
The hat is just adorable! Just made a reversable ponch for my grandbaby – what a trip. What’s that old saying? "Measure twice, cut once." Lordy – my first attempt lent itself to a ponch that would best fit an American Girl Doll. Disclosure – I did not find your tutorial here until after my second and final attempt. LOL
Thank you! Oh goodness! Haha, well I’m glad it worked out and now you have a second one to save for their toy. 🙂
Where you mention folding the fabric in half twice, which directions are those folds? Thanks!
You fold the right side over to the left side, and then would fold the bottom to the top. Making the area you cut for the neck hole be in the bottom right corner. I hope that helps!
Love this!
Could a person add a fill between the two layers to add some warmth? Or possibly keep the two fleece layers but add another third layer of Sherpa lining for the inside (again added warmth)?
Hi Erin! I definitely think you could do that. Although I do find that the 2 layers of fleece is plenty warm for my little guy. We usually have him wear a sweatshirt underneath it on really cold days, which is perfect for going to and from the car.
Happy crafting!
Nicole