Yarn Craft for Kids
This post may contain affiliate links. If you make a purchase through links on our site, we may earn a commission.
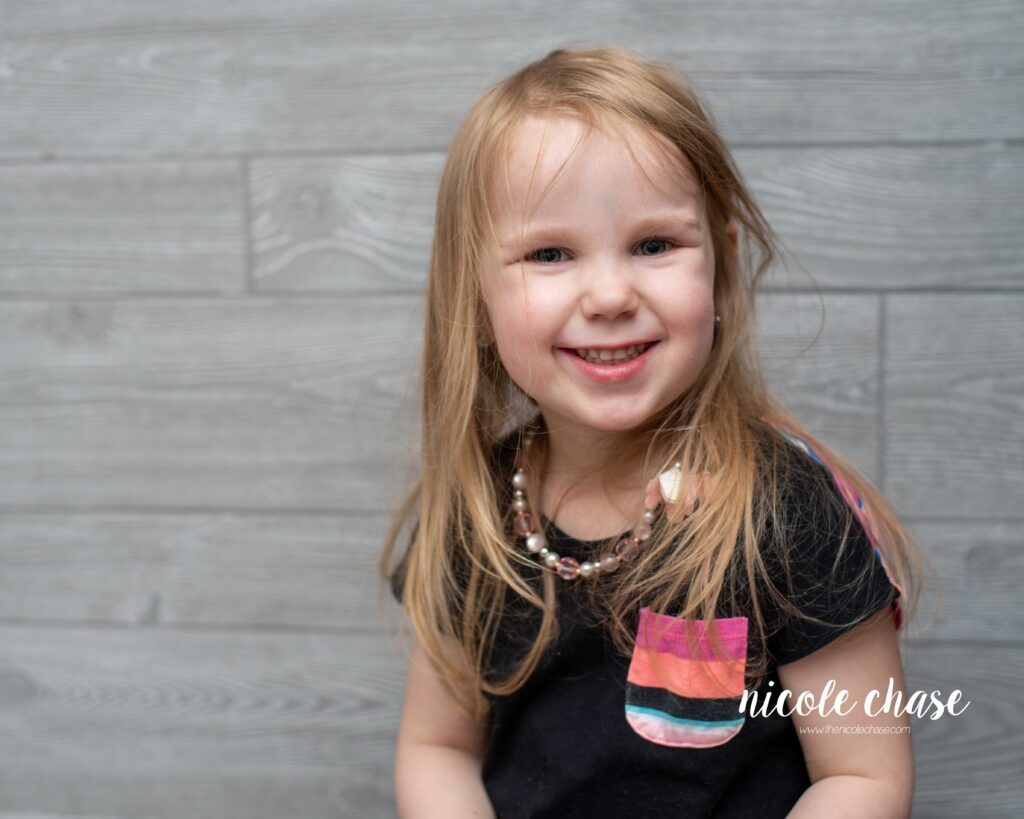
We’ve all been spending some extra time at home these days, and I’m so thankful to have that time with my kids, and my yarn of course! My daughter, Adaleigh, is always interested in what I’m crocheting and has asked a few times if she could learn how to do mommy’s “yarning”.
At 4 years old, I’m not sure that she has the patience to sit and actually learn crochet, but looking around at supplies I had on hand, I found the perfect yarn project for her!

This little activity not only kept her busy and is something that she wants to keep doing, but it also was a great way for me to use up some of my scrap yarns!
I’d love to see what you make with this tutorial! Don’t forget to share a photo of your finished work in your Ravelry projects and my Facebook group!
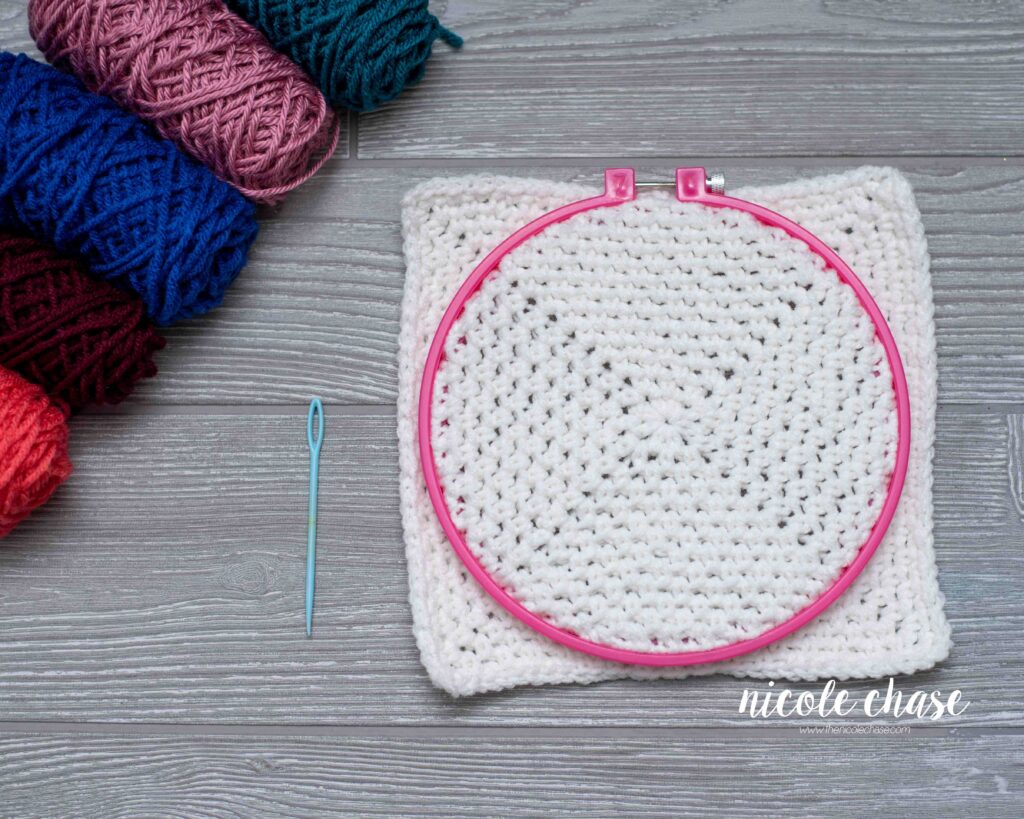
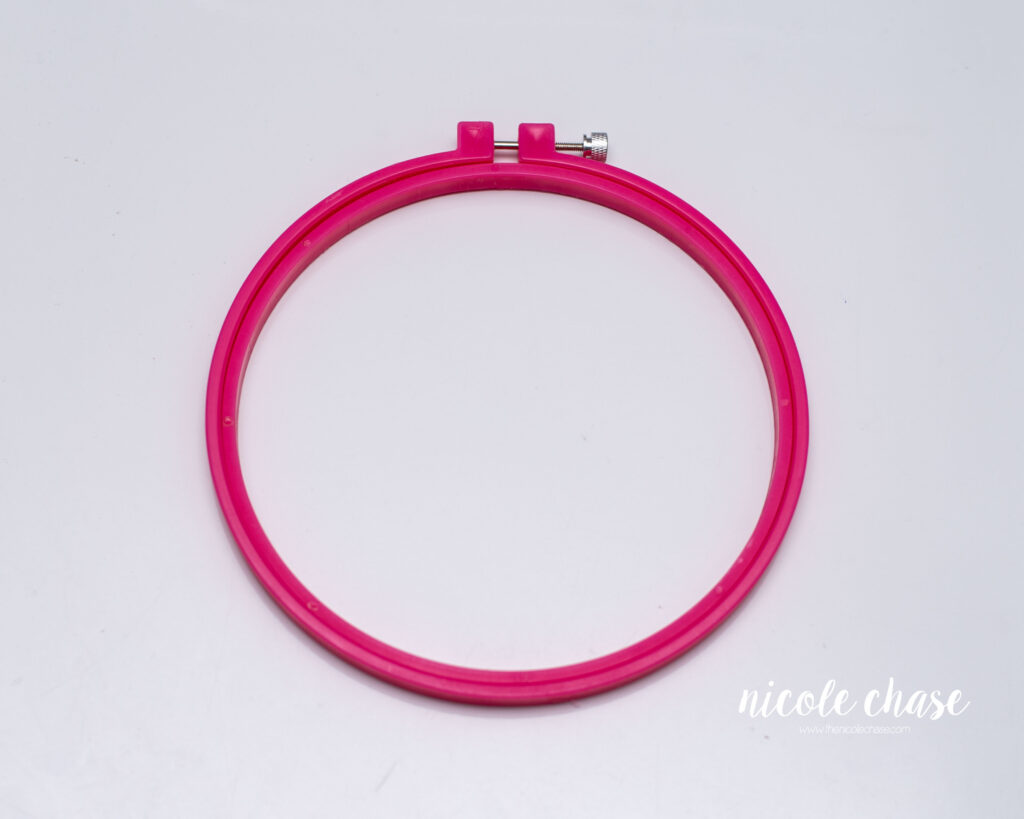
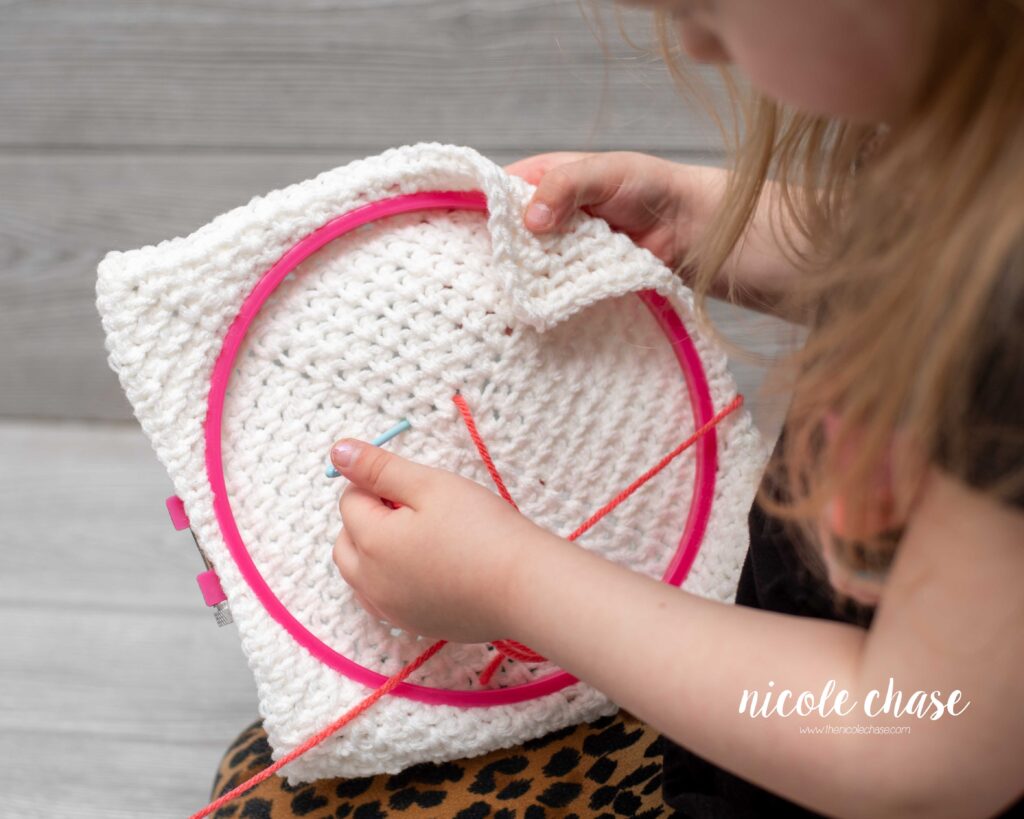
The first thing that you’ll need is an embroidery hoop, although I’m sure that she wouldn’t have any trouble without one!
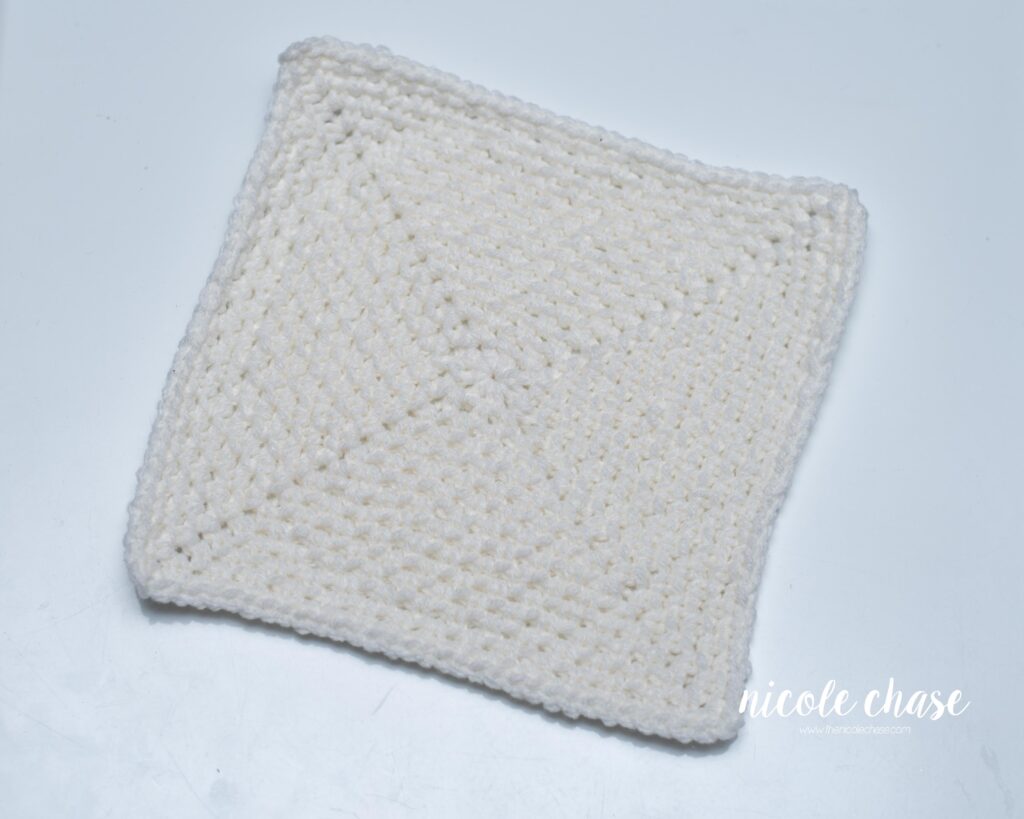
Next you’ll need to crochet up some “fabric” for your kiddo to embroider. You could do this in a variety of stitches, but I found the moss stitch to be ideal. It allows for a solid piece, but isn’t so tight that it is hard to push a craft needle through.
SUPPLIES USED
- 7” embroidery hook
- craft sewing needle
- 5.0mm (H) crochet hook
- scrap yarn
The pattern for the fabric piece is below. Gauge isn’t necessary, as you will just work your pattern until it is just big enough to fit in your embroidery hoop, or to your desired size. I used a 5.0mm crochet hook and medium (4) worsted weight yarn.
PATTERN
Notes:
- Corners of blanket are made of the following sequence: SC, ch 2, SC.
- Mark the start of each round with a st marker at the beginning ch 3.
R1: Begin with a magic ring. Ch 3, SC (creating first corner). *Ch 1, SC, Ch 2, SC. Repeat from * an additional 2 times. Ch 1. Join with a sl st into your beginning ch 3 space. Pull the magic ring closed. (4 ch 1 spaces, 4 corner spaces)
R2: Ch 3. SC into ch 3 space from previous round (creating first corner). *Ch 1. SC+ch 1 in ch 1 space from previous round. Work SC, ch 2, SC in corner space. Repeat from * an additional 2 times. Ch 1. SC+ch 1 in ch 1 space from previous round. Join with a sl st into your beginning ch 3 space. (8 ch 1 spaces and 4 corner spaces)
R3: Ch 3. SC into ch 3 space from previous round (creating first corner). *Ch 1. SC+ch 1 in each ch 1 space from previous round to corner. Work SC, ch 2, SC in corner space. Repeat from * an additional 2 times. Ch 1. SC+ch 1 in each ch 1 space from previous round to beginning. Join with a sl st into your beginning ch 3 space. (12 ch 1 spaces and 4 corner spaces)
R4: Ch 3. SC into same ch 3 space from previous round (creating your first corner). *Ch 1. SC+ch 1 in each ch 1 space from previous round to corner. Work SC, ch 2, SC in corner space. Repeat from * an additional 2 times. Ch 1. SC+ch 1 in each ch 1 space from previous round to beginning. Join with a sl st into your beginning ch 3 space.
R5-?: Repeat R4 until you reach desired size.
Fasten off.
Weave in ends.
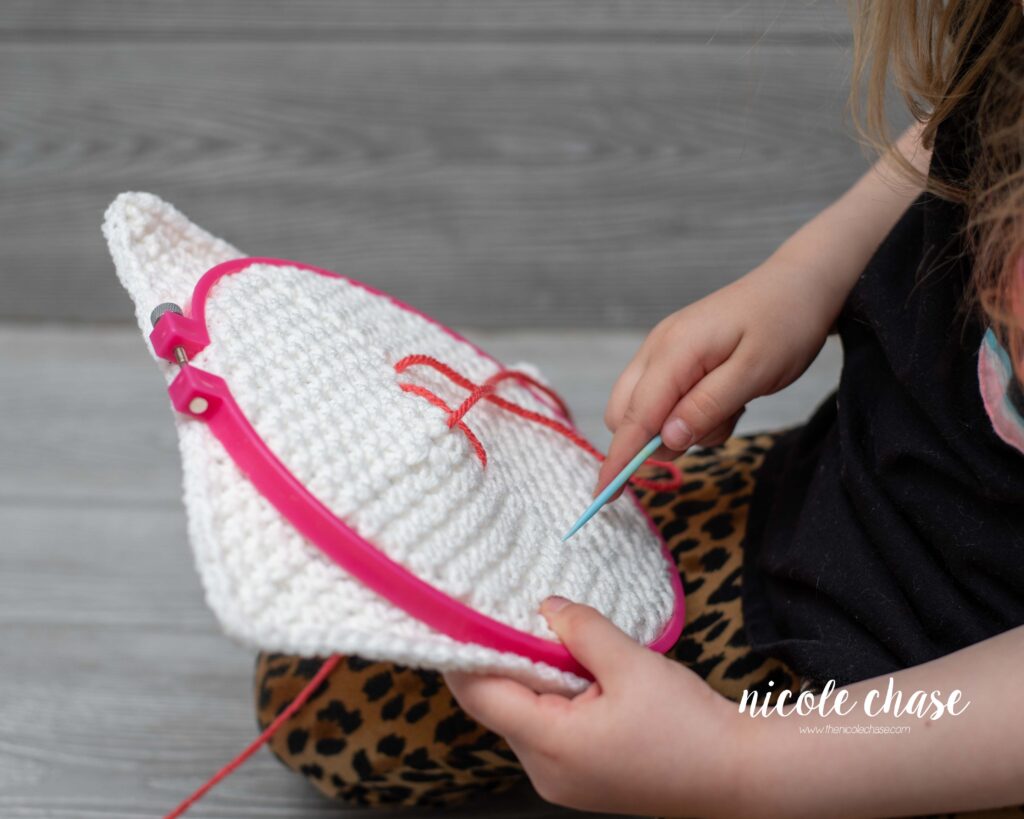
Next you will insert your crocheted fabric piece into the embroidery hoop. This can be a little tricky due to the thickness of your crocheted piece.
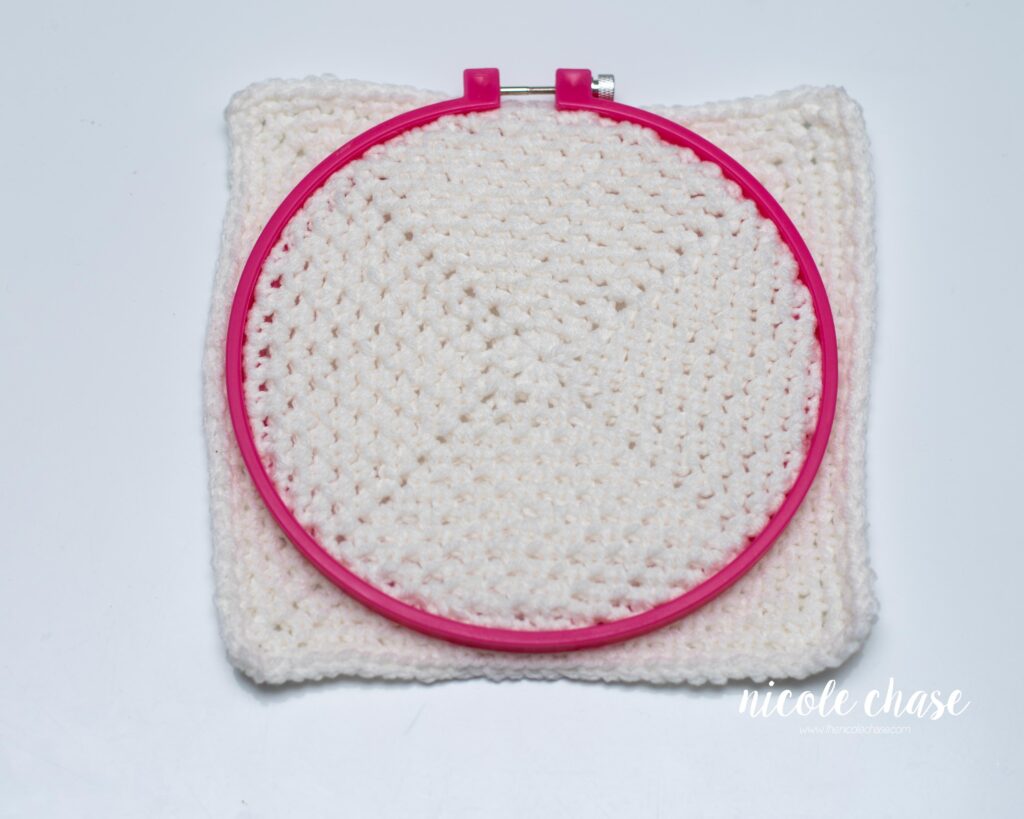
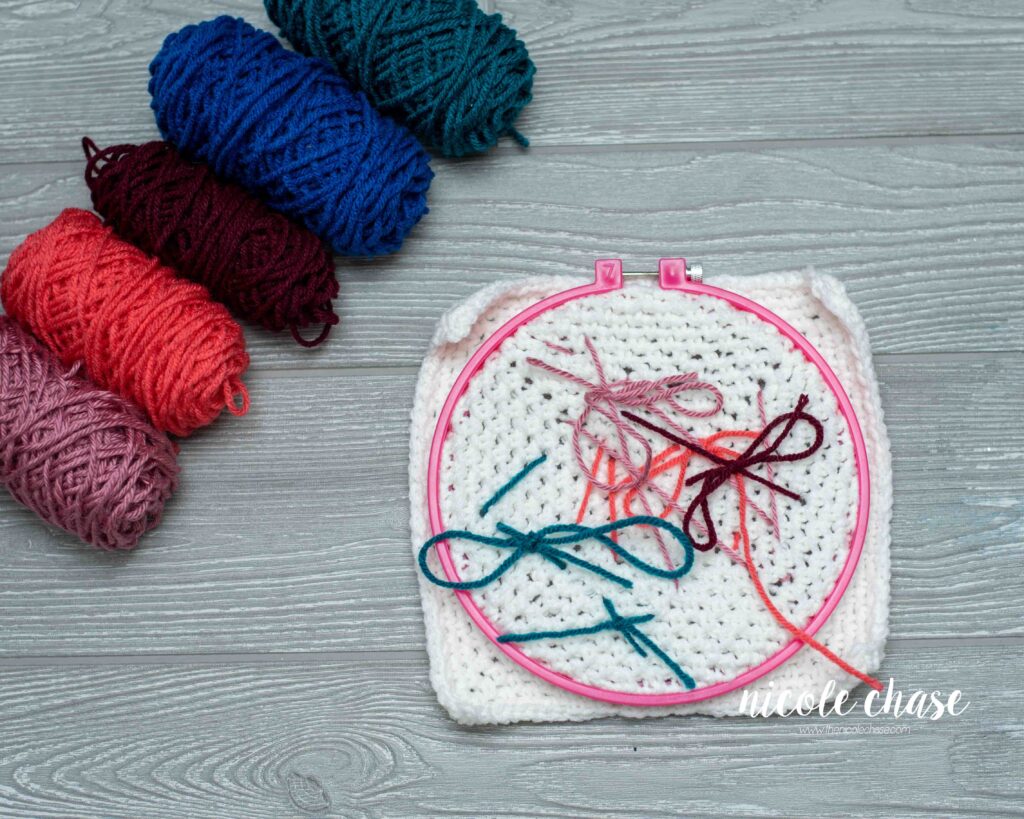
Gather some yarn scraps from your stash, and a craft needle. I recommend using a plastic craft sewing needle.
And the most important supply you need for this project… a little cutie who loves yarn!
She had a little trouble threading the needle, but after that was taken care of, she was off!
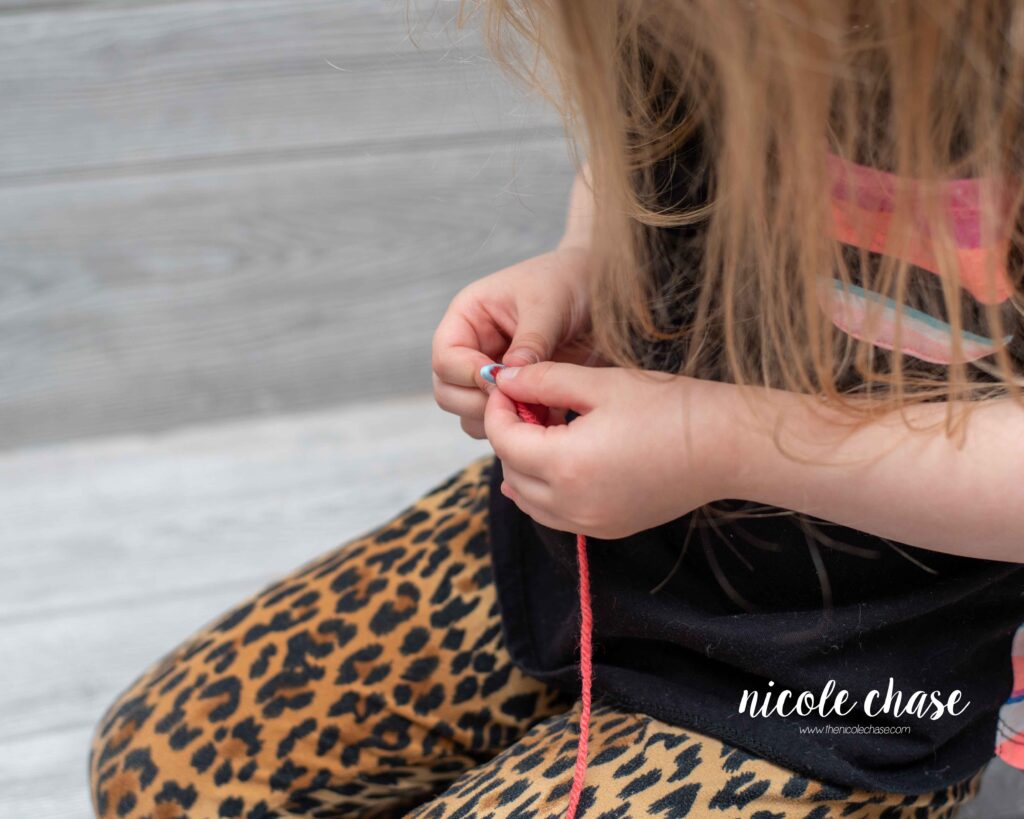
We decided to tie off the ends of her yarn in the front of her work, because she wanted bows.
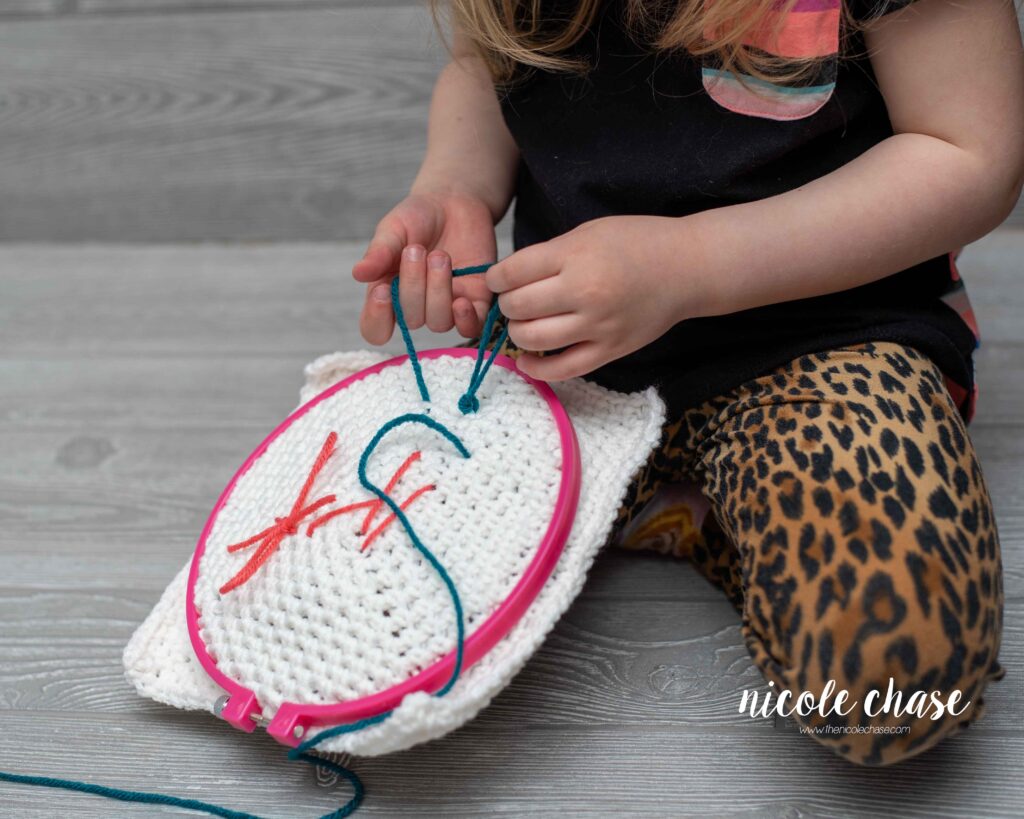
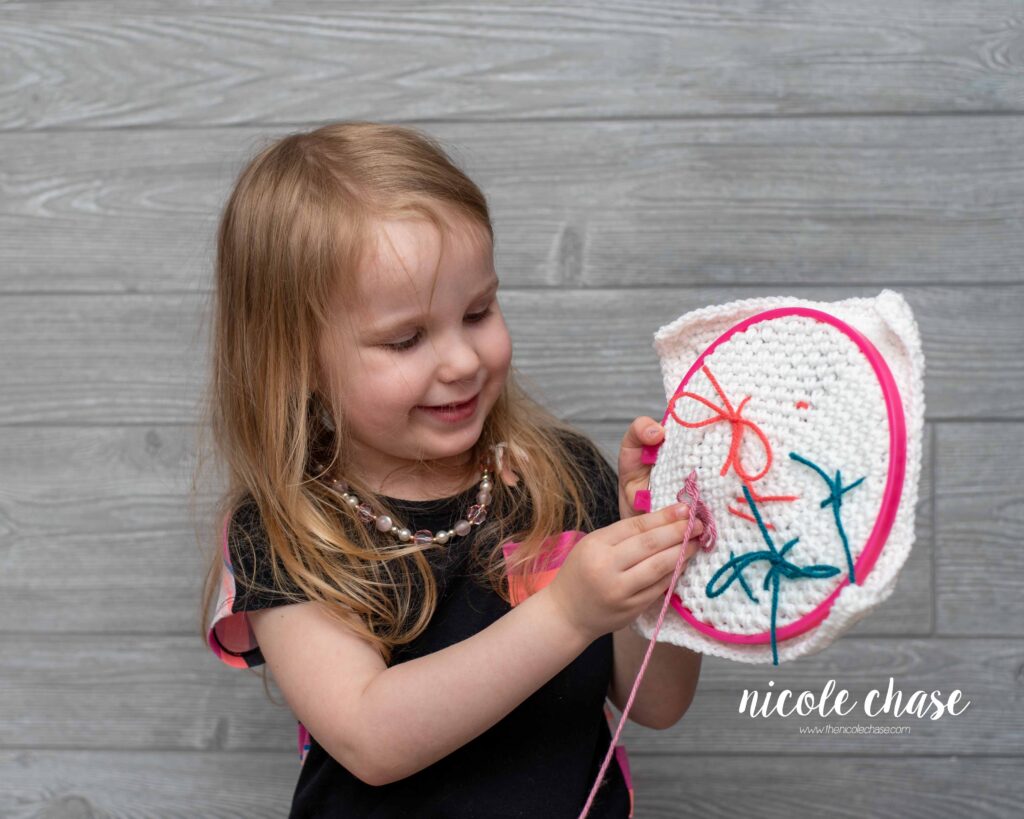
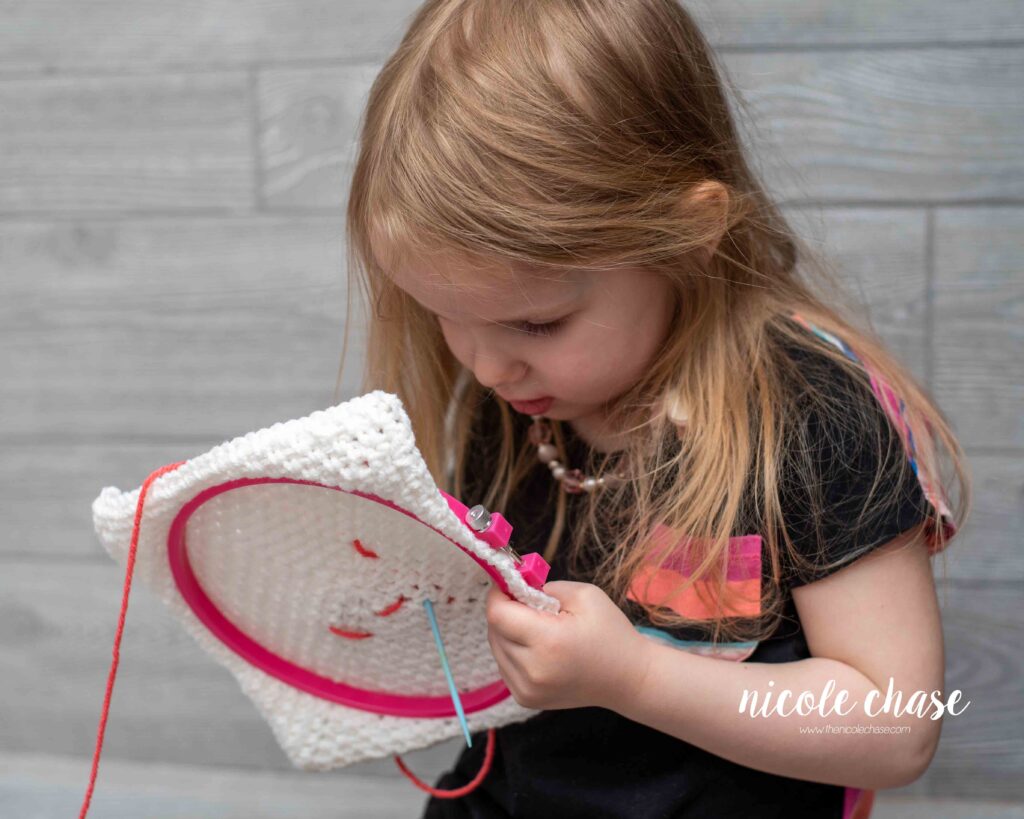
This is a really great project for kids of all ages. Younger kiddos like mine can enjoy something they know mom is passionate about, and can do their yarn scribbles, and older kids could work more precisely in creating pictures and lettering!
Voila! Adaleigh’s finished “yarning”! She loves it and she wants to hang it in her bedroom. I think we’ll add some fringe to it together and make it into a cute wall hanging!
If you’ve enjoyed this post, be sure to subscribe to my email newsletter so that you never miss a pattern release, and have subscriber only access to exclusive discount codes, offers, and freebies!
Thanks for stopping by! Happy crafting!
Nicole
PATTERN COPYRIGHT © 2026 NICOLE CHASE. ALL RIGHTS RESERVED.
PATTERN MAY NOT BE ALTERED, COPIED, REDISTRIBUTED OR SOLD AS YOUR OWN PATTERN.
YOU MAY SELL THE FINISHED PRODUCT ON A SMALL SCALE. PATTERN/DESIGN CREDIT GIVEN TO WWW.THENICOLECHASE.COM IS APPRECIATED. PERMISSION TO SELL DOES NOT INCLUDE MASS PRODUCTION. LARGE SCALE PRODUCTION IS PROHIBITED.
PHOTOGRAPHY COPYRIGHT © 2026 NICOLE CHASE. ALL RIGHTS RESERVED.
PHOTOS MAY NOT BE ALTERED, COPIED, REDISTRIBUTED OR SOLD AS YOUR OWN.
This post may contain affiliate links. If you make a purchase through links on our site, we may earn a commission.