Rainbow Dreams Wall Hanging – Free Crochet Pattern
This post may contain affiliate links. If you make a purchase through links on our site, we may earn a commission.
I bought this gorgeous roving yarn a while back, with absolutely no clue what I was going to do with it. It was just too pretty to pass up! After a while, I thought this yarn would be perfect to make a crochet wall hanging for my daughter’s room.
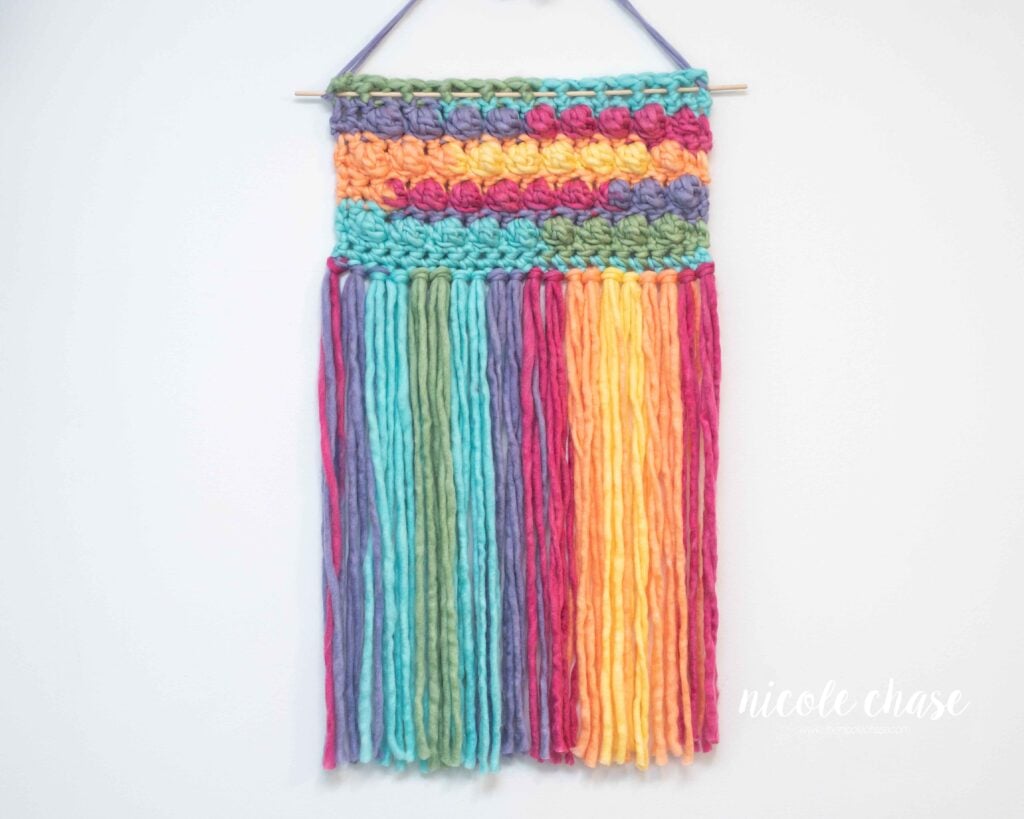
Table of Contents
I would classify this crochet wall hanging as “advanced beginner”.
I hope you enjoy this free crochet pattern available here on my blog! An ad-free, formatted PDF version of this crochet pattern is also available for purchase here:
I used two balls of Lion Brand Wool Ease Roving Stripes to make this crochet wall hanging, and a dowel rod for hanging when it was finished.
If you’re unfamiliar with the bobble stitch, you can find a tutorial to use while making this crochet wall hanging here on my blog.
Save this cute crochet wall hanging on Pinterest.
Add this crochet wall hanging to your project queue on Ravelry.
Free Crochet Pattern for Rainbow Dreams Wall Hanging

Pattern Specifics
Measurements: 15” wide x 8” long (without fringe) or 28” long (with fringe)
Gauge: Not necessary for this pattern
Hook Size: 15.0mm (P/Q) crochet hook
Other Tools: tapestry needle, scissors
Yarn Weight: Super Bulky (6)
Yarn Used: Lion Brand Wool Ease Roving Stripes
Yardage: 105 yds
Other Materials: wooden dowel rod (approximately 17” long)
Abbreviations
st = stitch
sl st = slip stitch
ch = chain
FSC = foundation single crochet
SC = single crochet
BOBBLE = bobble stitch
Special Stitches
BOBBLE (bobble stitch): Yarn over, insert hook into designated stitch, yarn over, draw up a loop, yarn over, pull through 2 loops. *Yarn over, insert hook into same designated stitch, yarn over, draw up a loop, yarn over, pull through 2 loops. Repeat from * a second time (4 loops on your hook). Yarn over, pull through all 4 loops on hook. For a full photo tutorial of this stitch, click here.
Notes
- Checking your gauge is not required for this pattern. Use the hook size that is recommended on your yarn label. Cut your dowel rod to fit the width of your finished piece, plus 2 inches.
- *** The foundation single crochet stitch is preferred; however, you could alternatively replace R1 with: Loosely ch 21, SC in second ch from hook and each ch to end. (20 sts), and then proceed as written with R2.
- See tutorial photos.
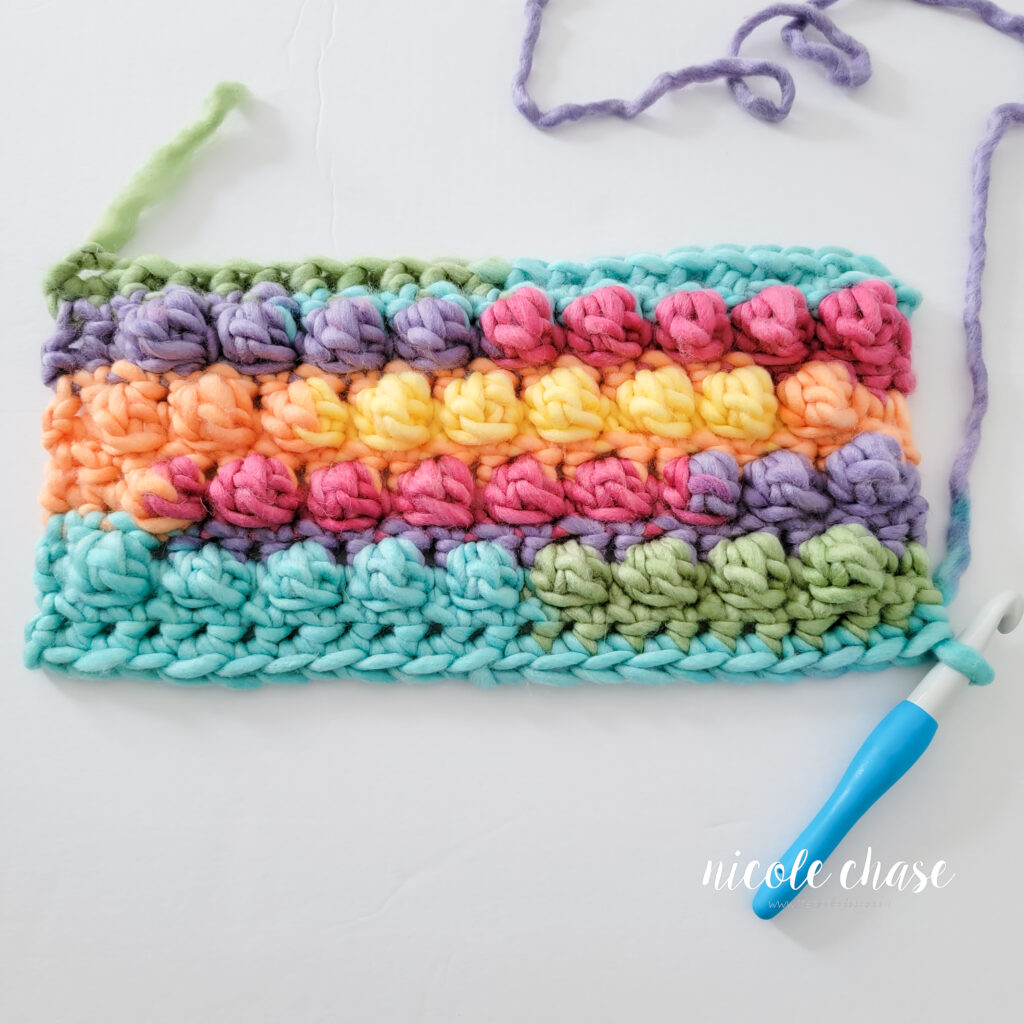
Pattern
Main Piece
R1: 20 FSC***. (20 sts)
R2: Ch 1, turn, 1 SC in each st across. (20 sts)
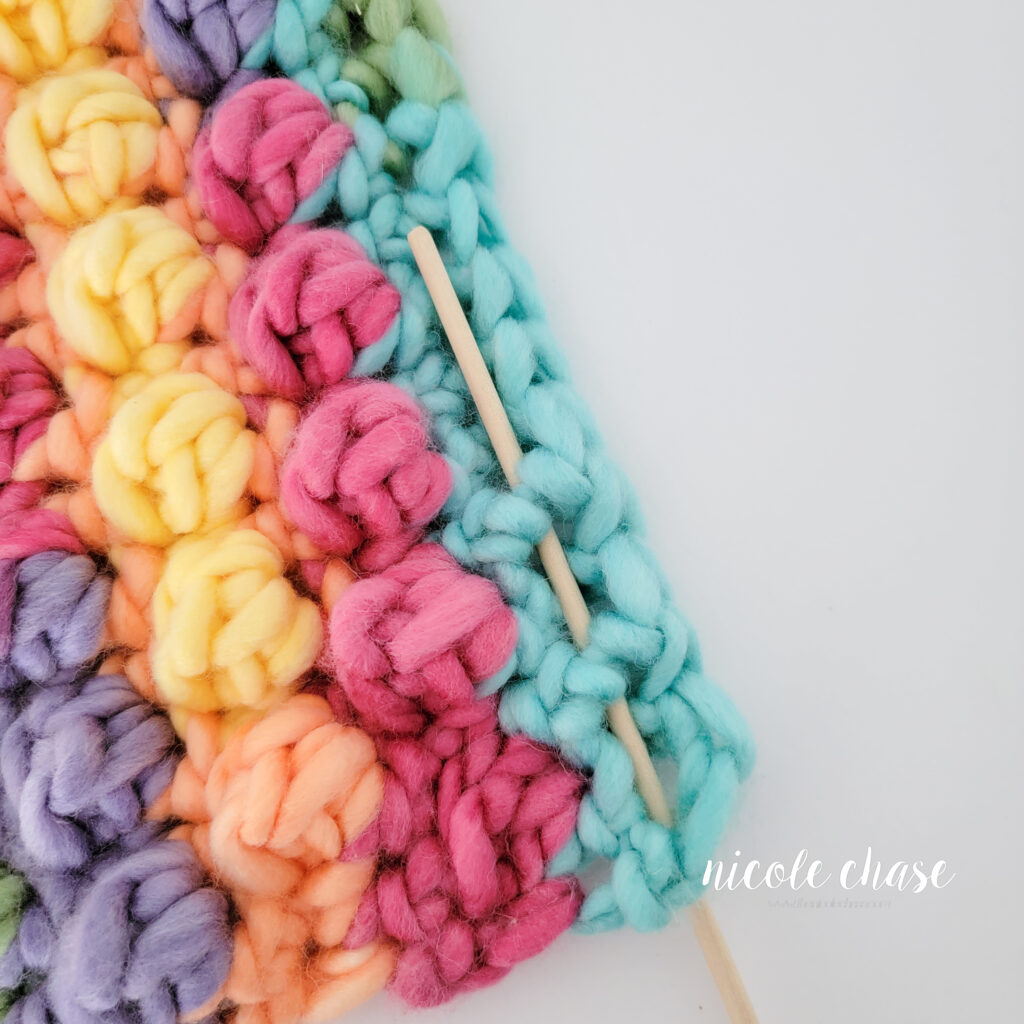
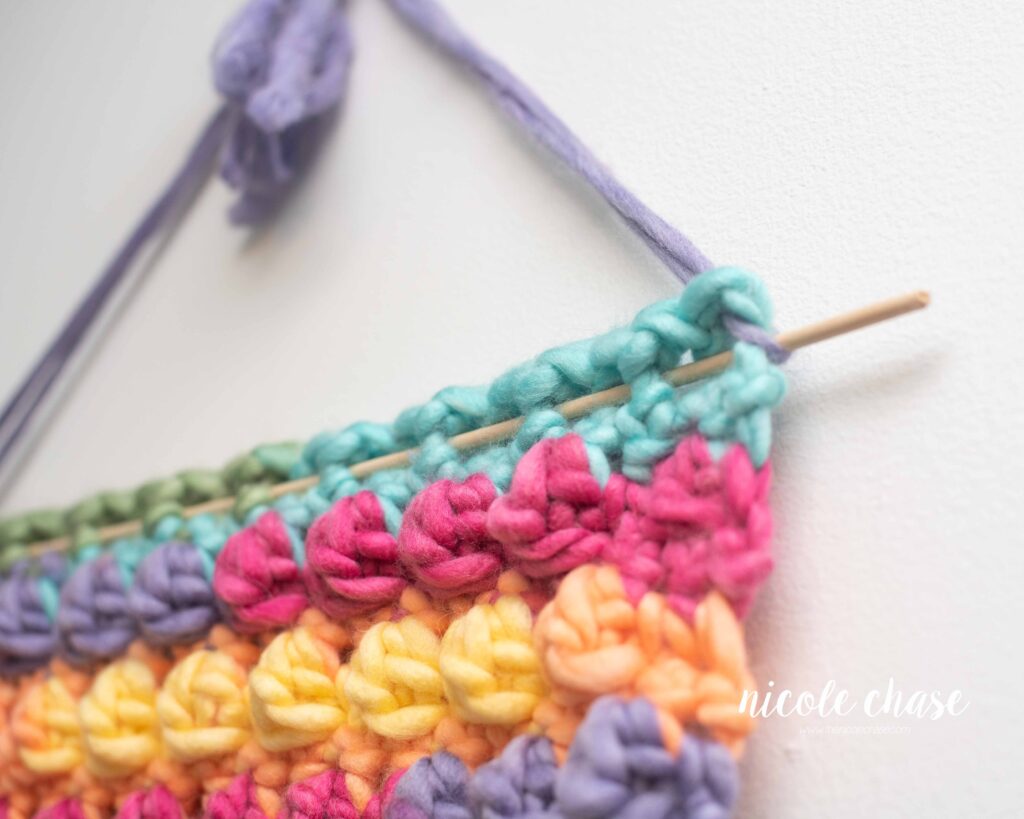
R3: Ch 1, turn, 1 SC in each of the next 2 sts, *(BOBBLE in next st, SC in next st), repeat from * to end. (20 sts)
R4: Ch 1, turn, 1 SC in each st across. (20 sts)
R5: Ch 1, turn, 1 SC in next st, *(BOBBLE in next st, SC in next st), repeat from * to end leaving 1 st remaining, SC in last st. (20 sts)
R6: Ch 1, turn, 1 SC in each st across. (20 sts)
R7-10: Repeat R3-6.
R11: Ch 1, turn, 1 SC in each st across. (20 sts)
Cut yarn, fasten off, and weave in ends.
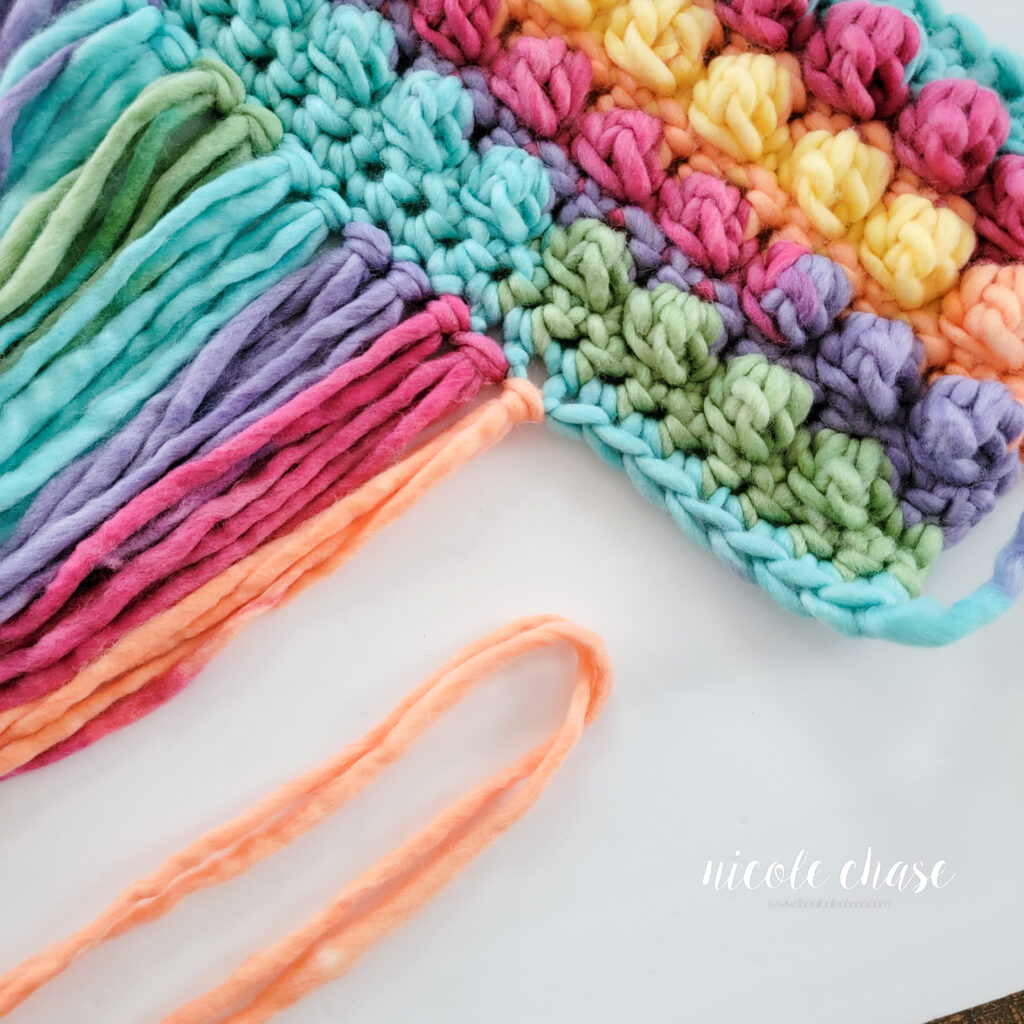
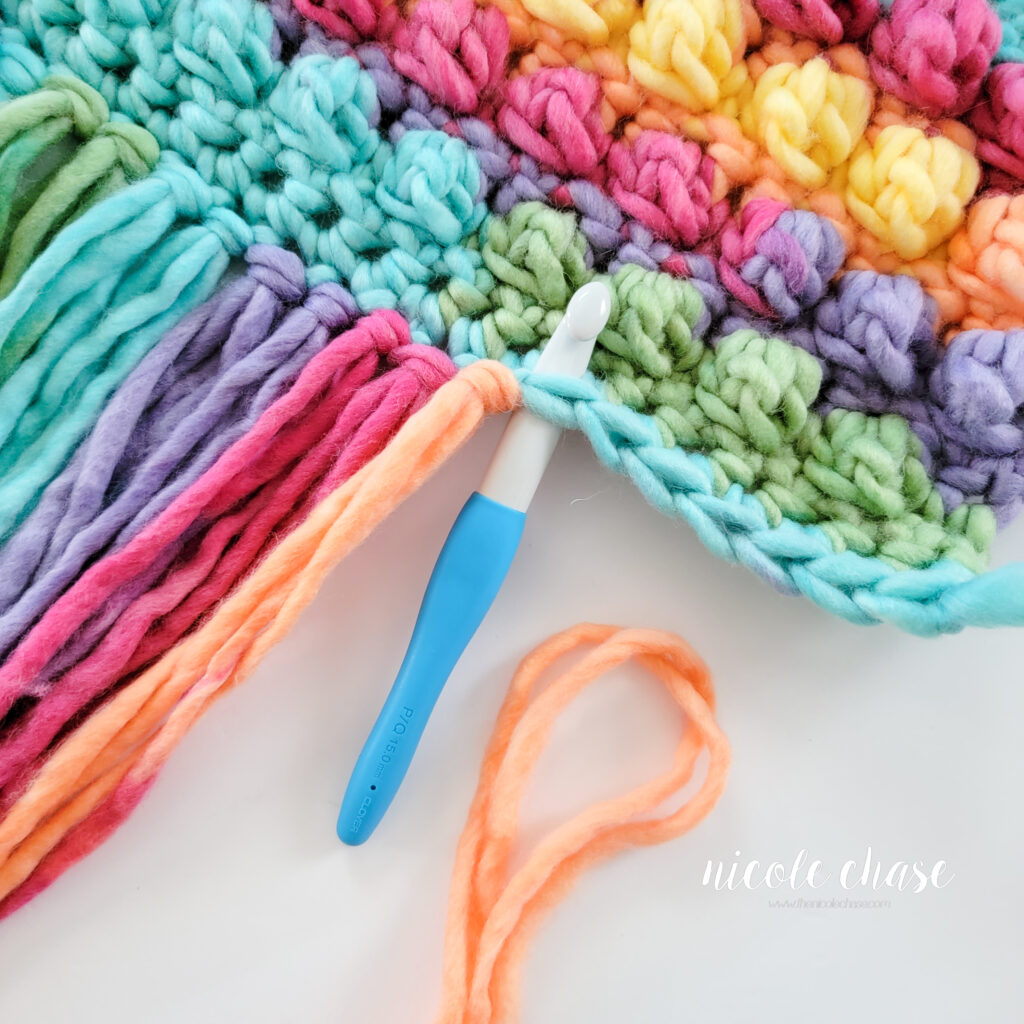
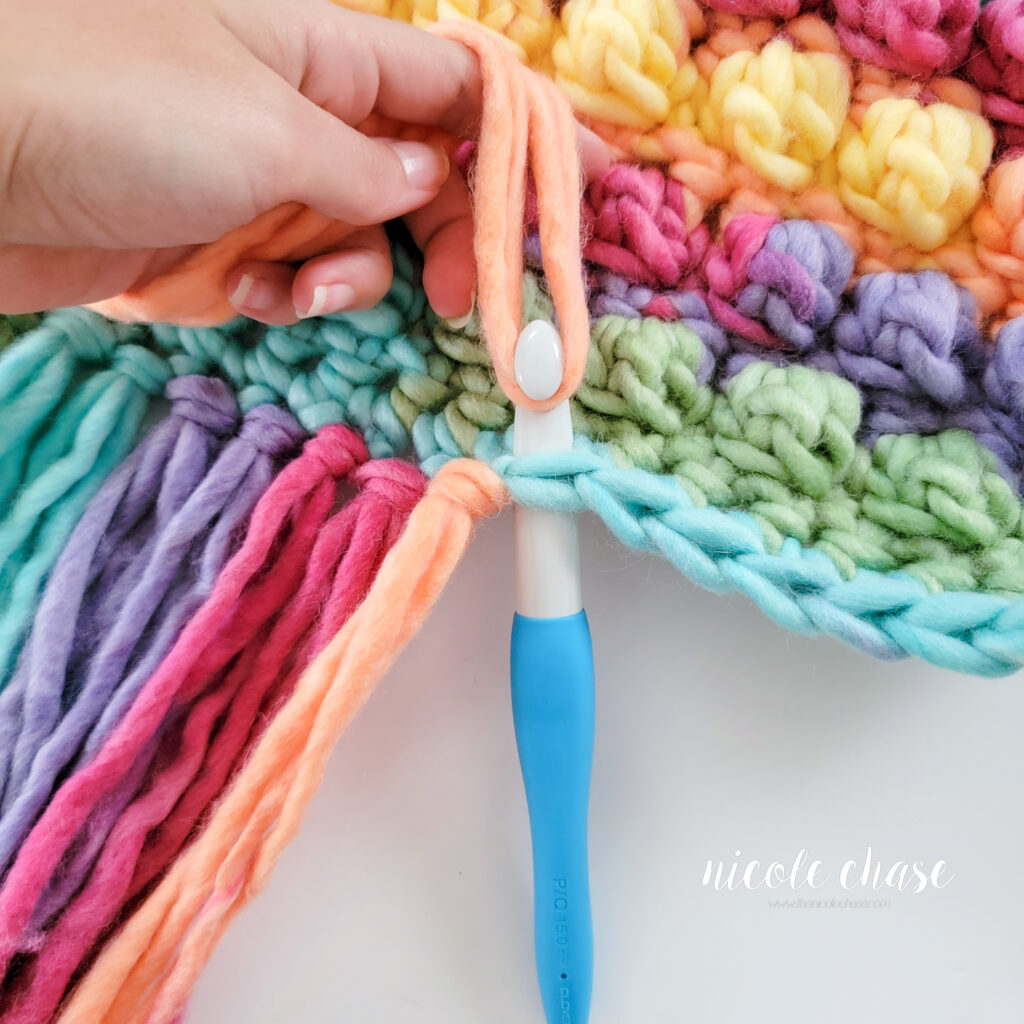
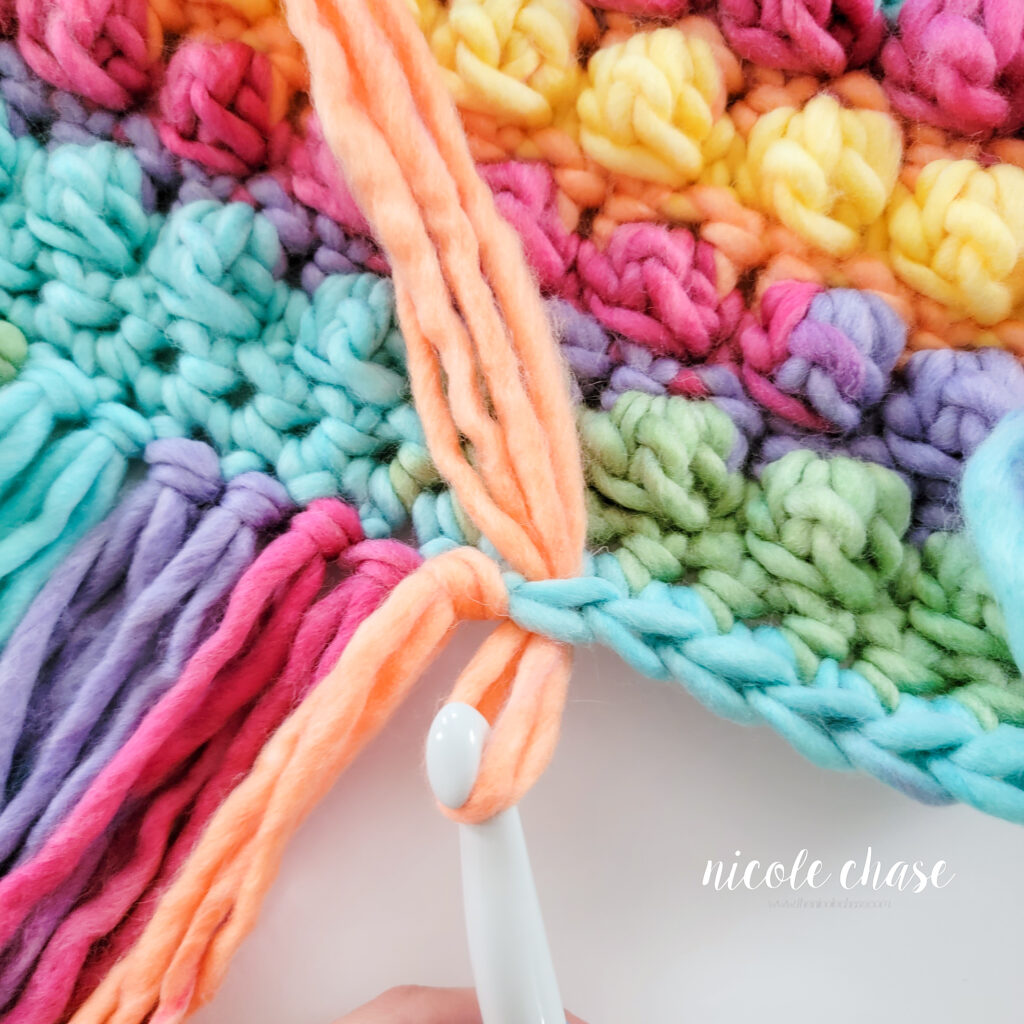
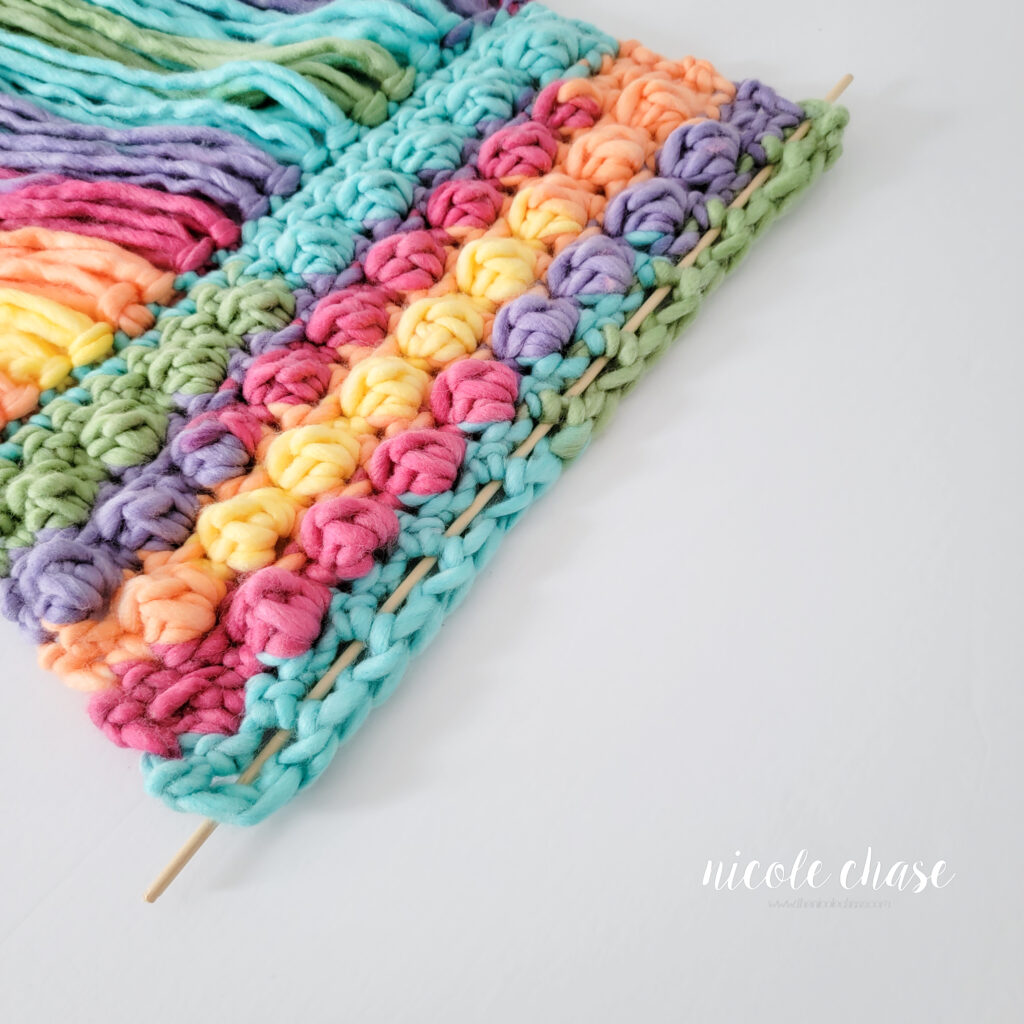
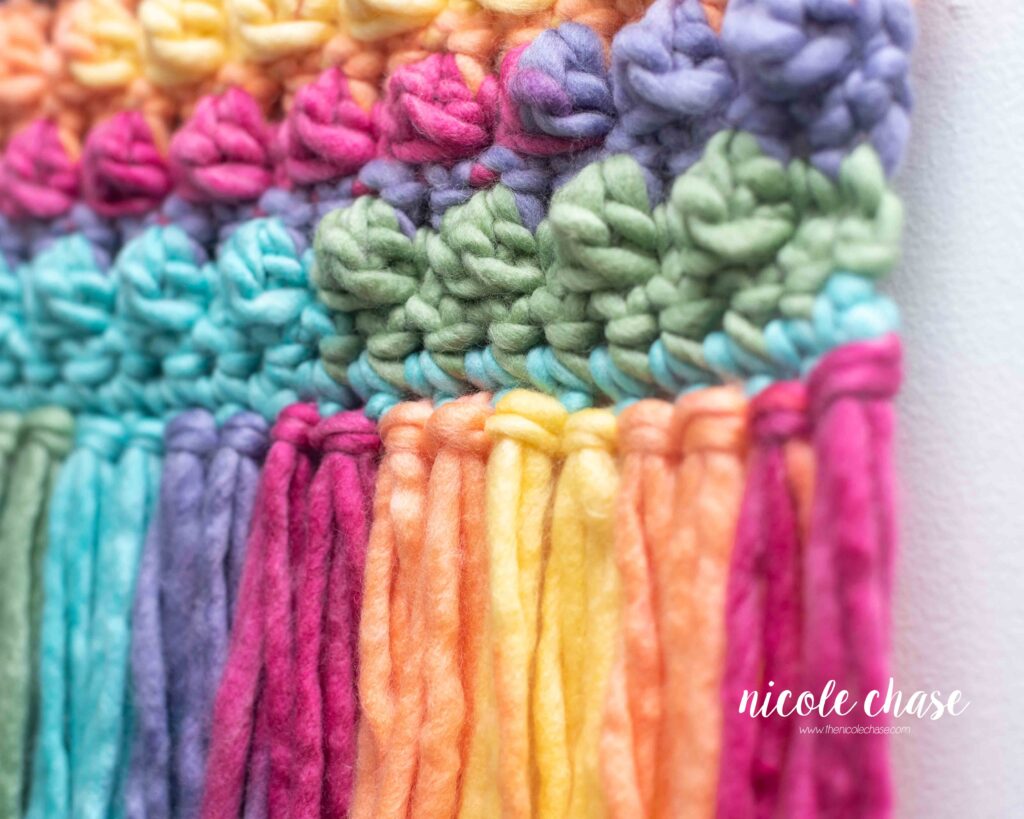
Fringe
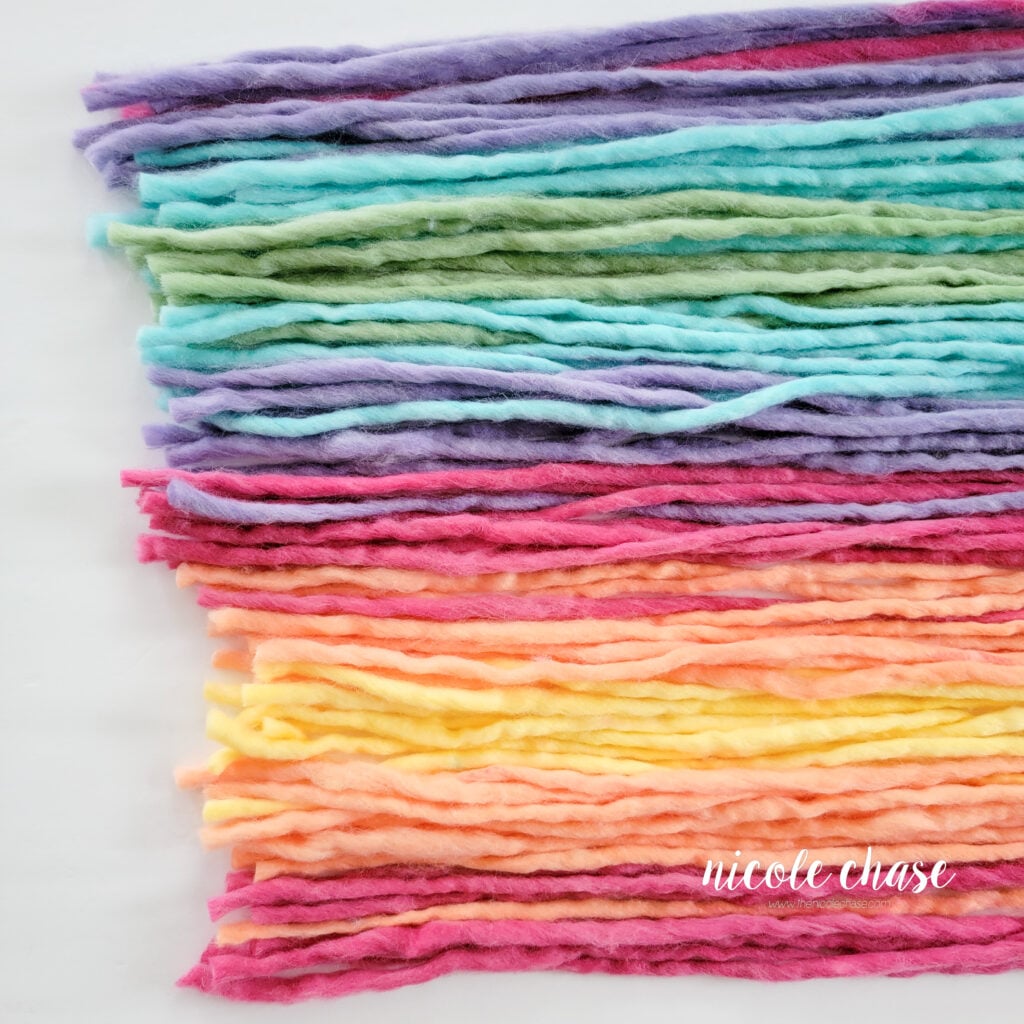
Cut 40 strands of yarn, approximately 41 inches long (or desired length).
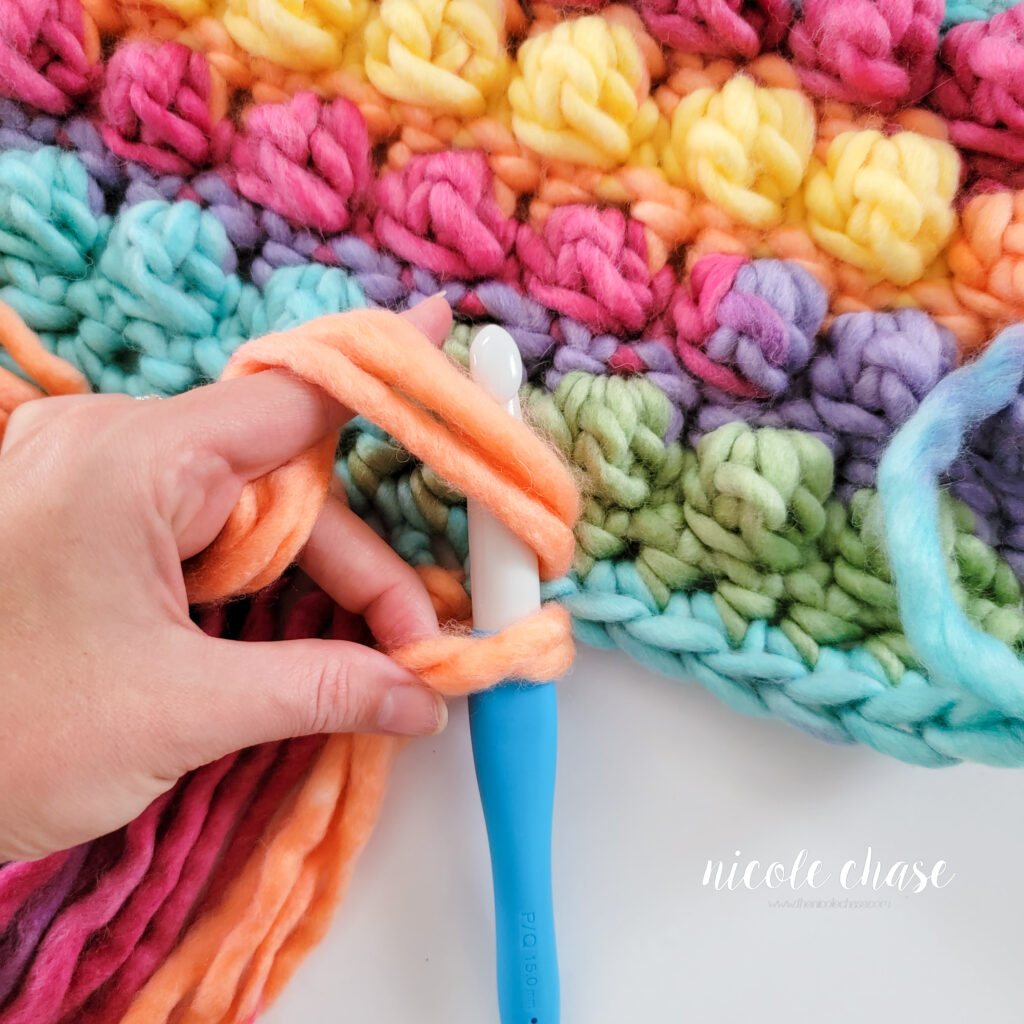
Hold 2 strands together and attach to each st in R11 by inserting your hook through the back of the piece, pull the strands through from the front to the back creating a loop, yarn over, and pull the strands through the loop. See tutorial photos.
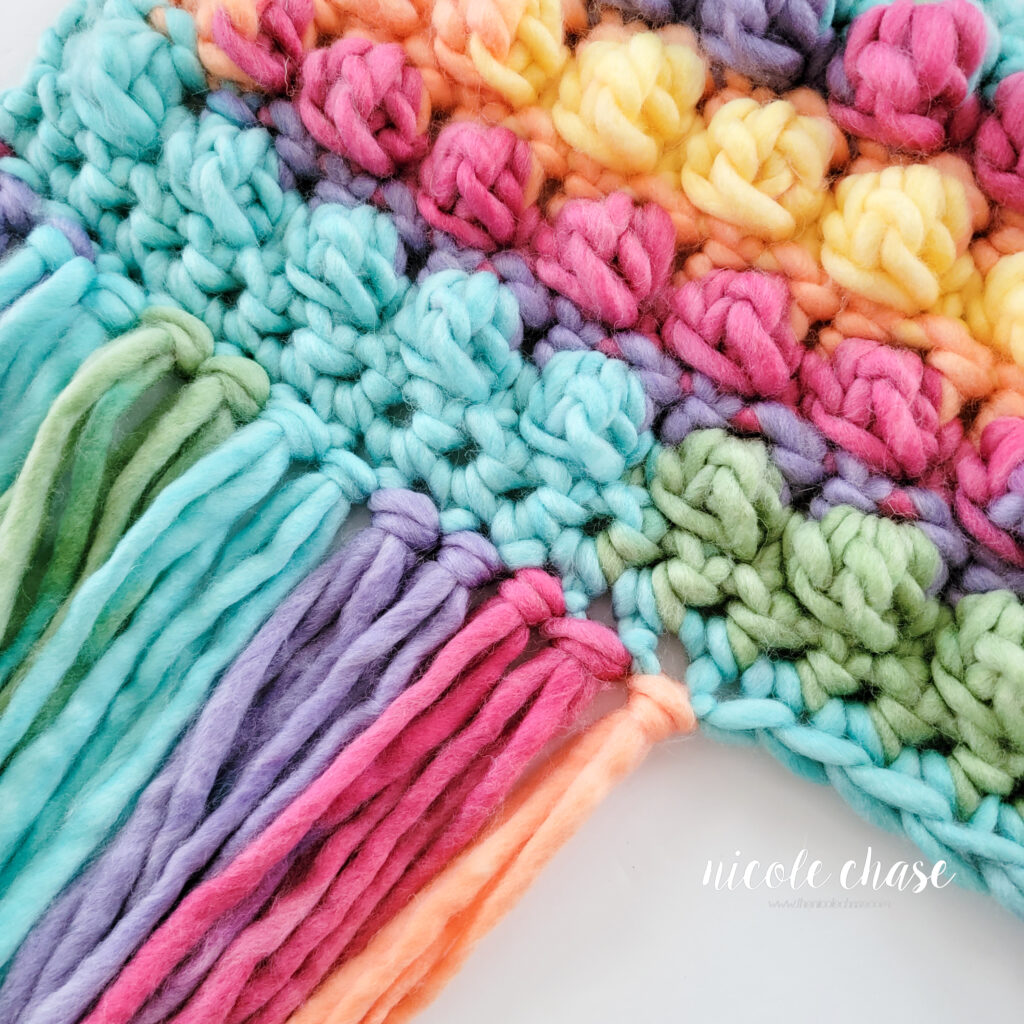
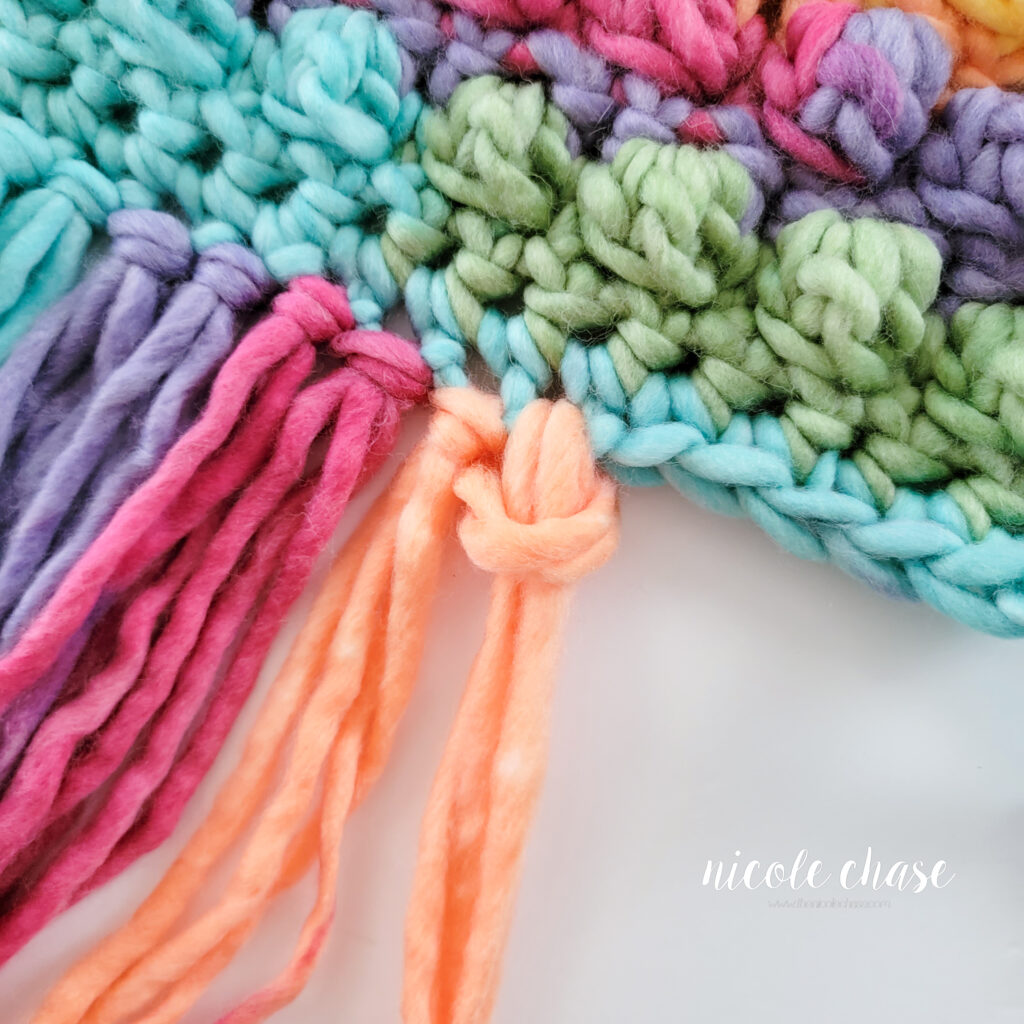
Trim the fringe.

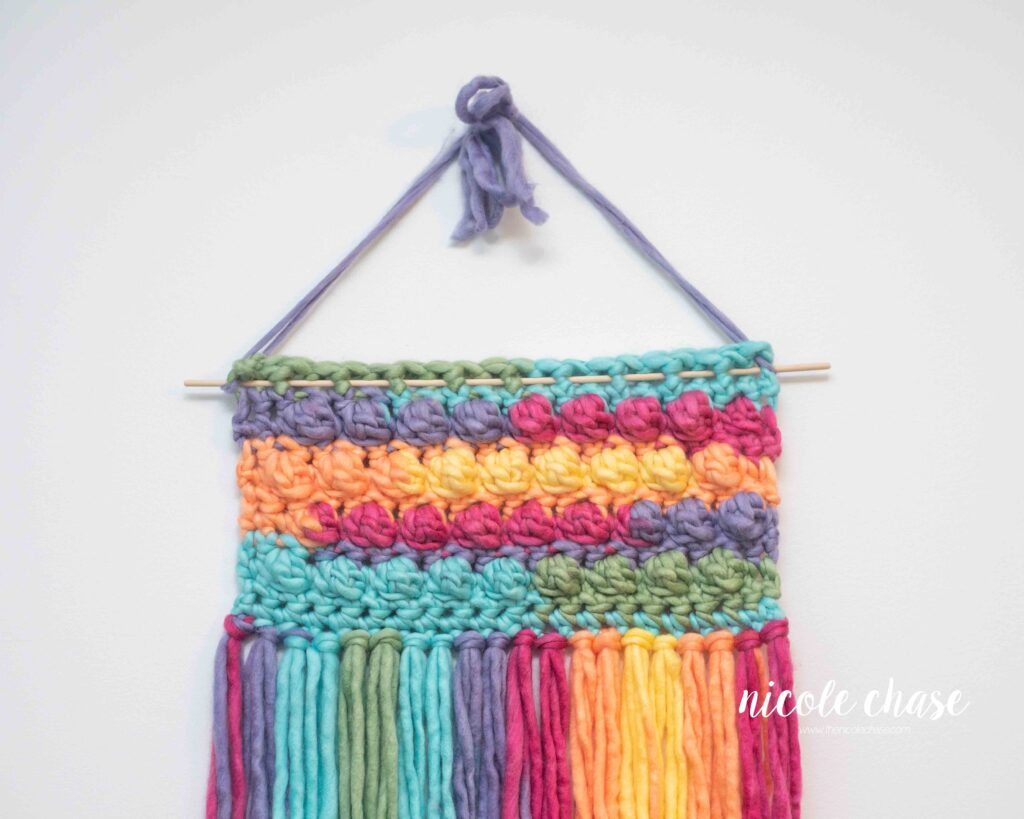
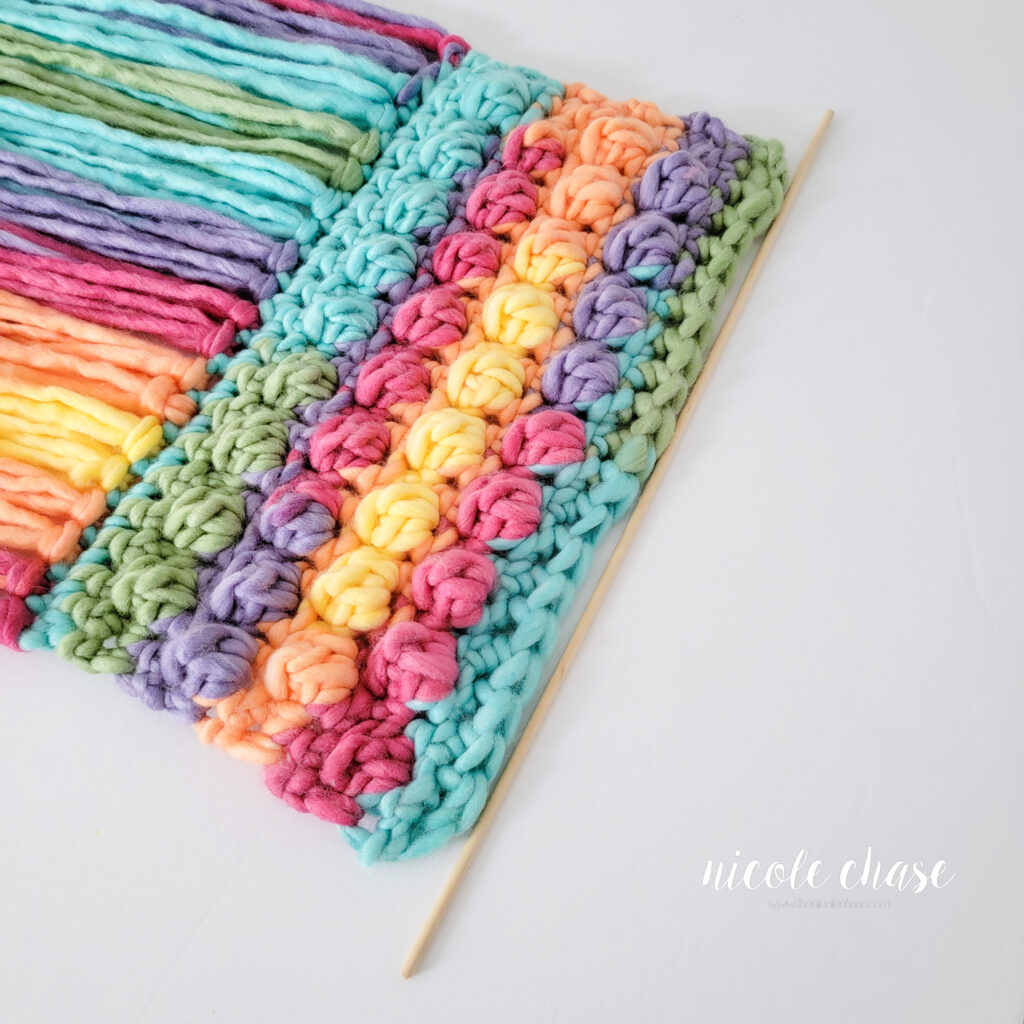
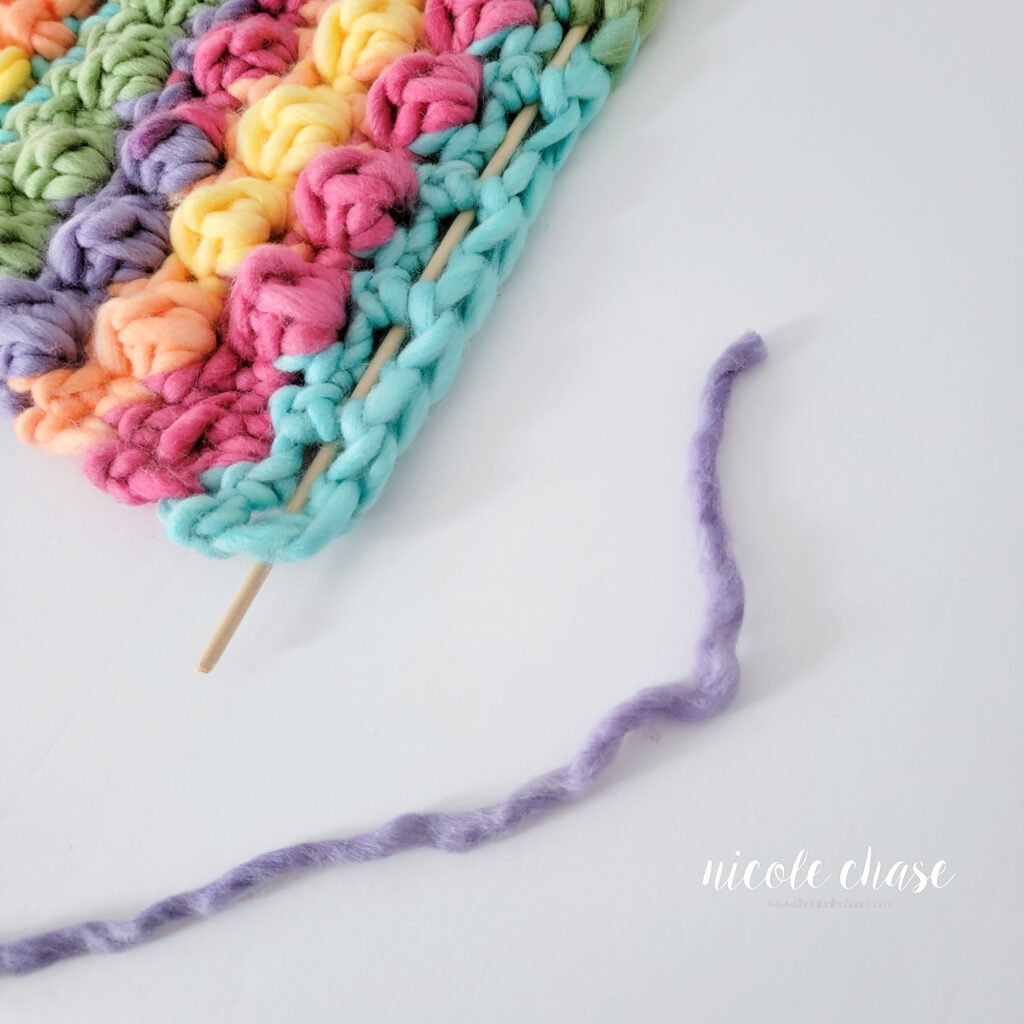
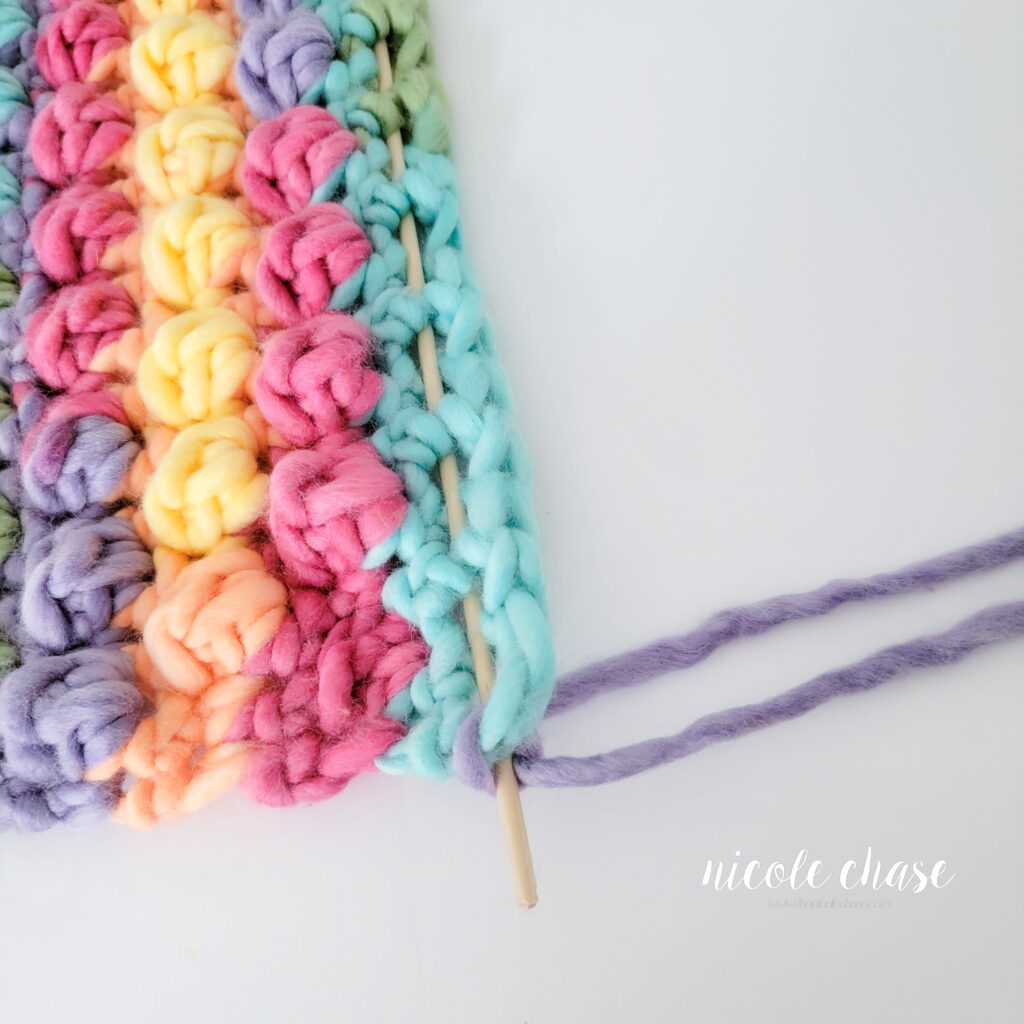
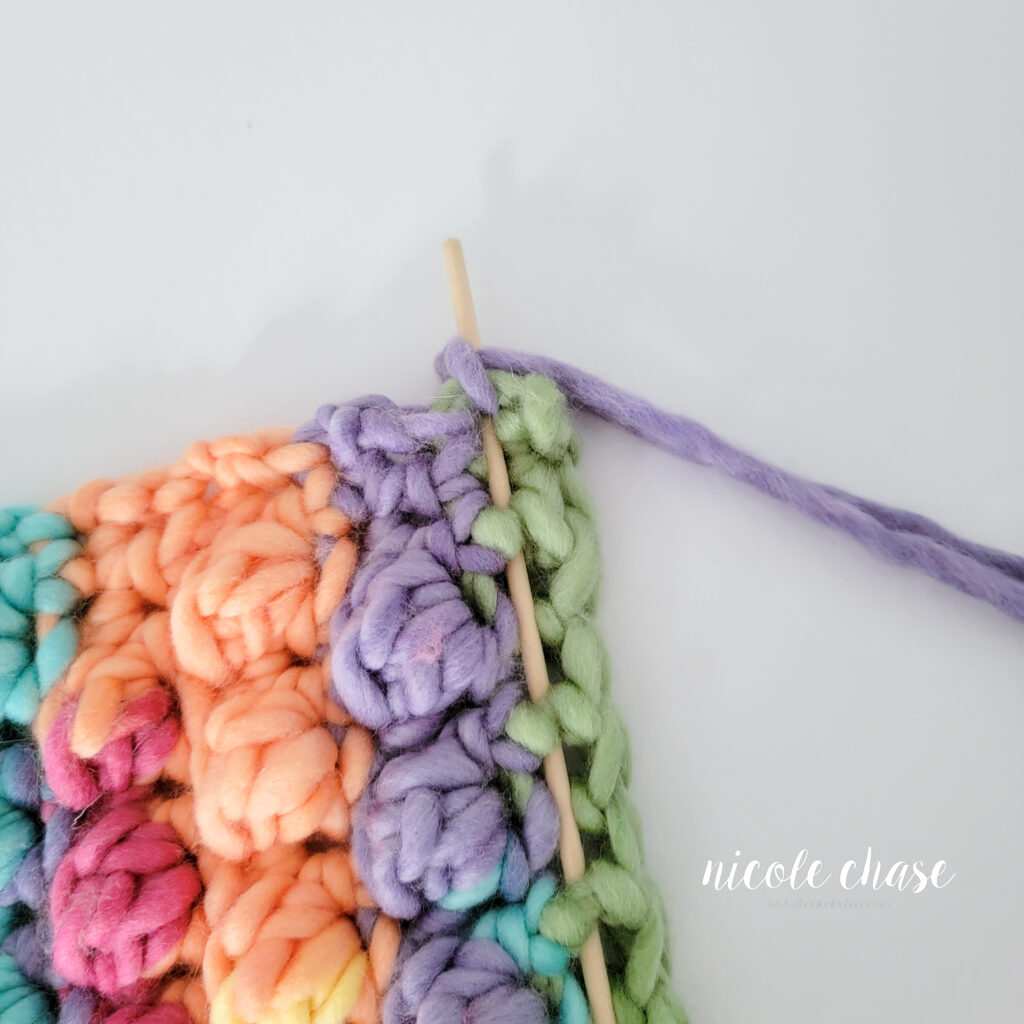
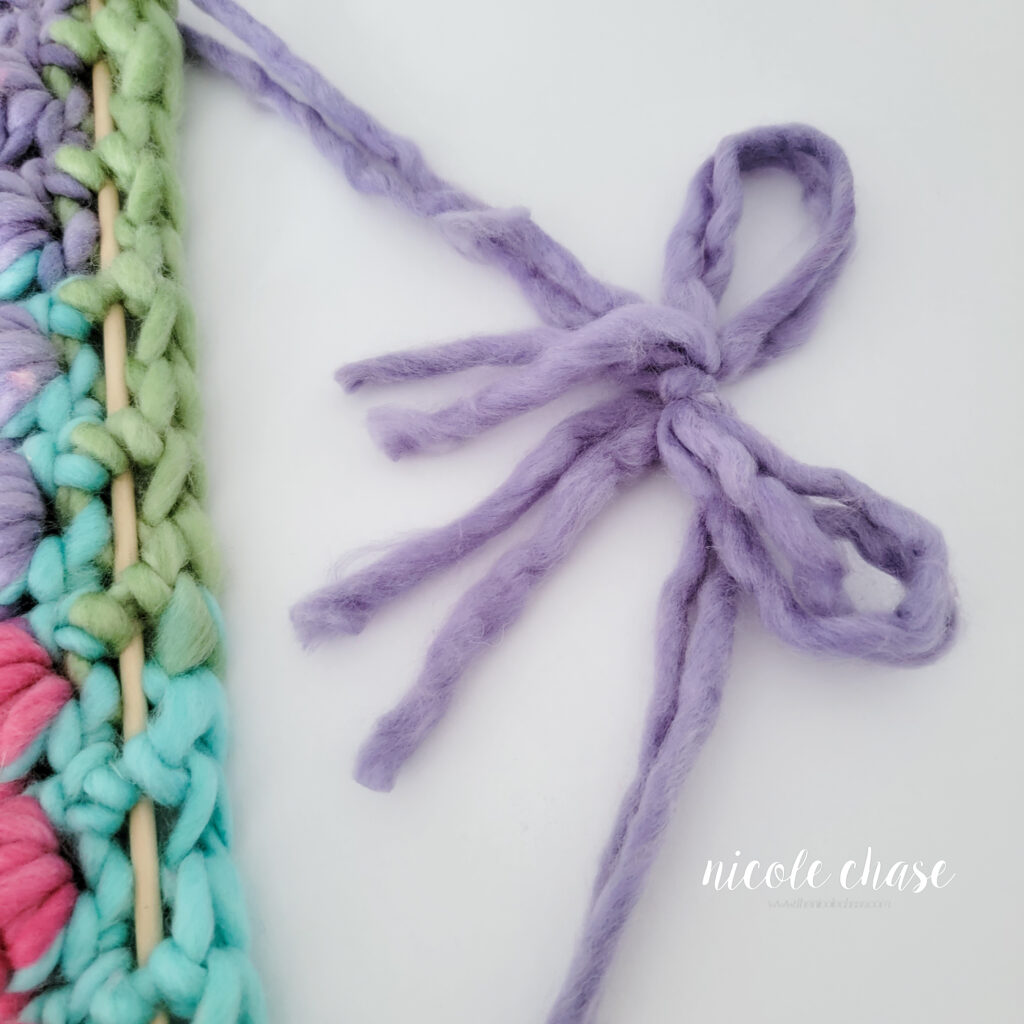
Hanging
Weave your dowel rod through every other stitch of R1. Attach string for hanging as desired, securing to both the dowel rod and each end of R1. See tutorial photos.

I hope you enjoyed this crochet wall hanging pattern!


Ad-Free PDF Pattern for Rainbow Dreams Wall Hanging
Tips & Alterations
- To make this crochet wall hanging smaller, use a thinner yarn and a smaller hook size.
- If you aren’t familiar with the bobble stitch, be sure to check out my full tutorial.
More Free Home Decor Crochet Patterns
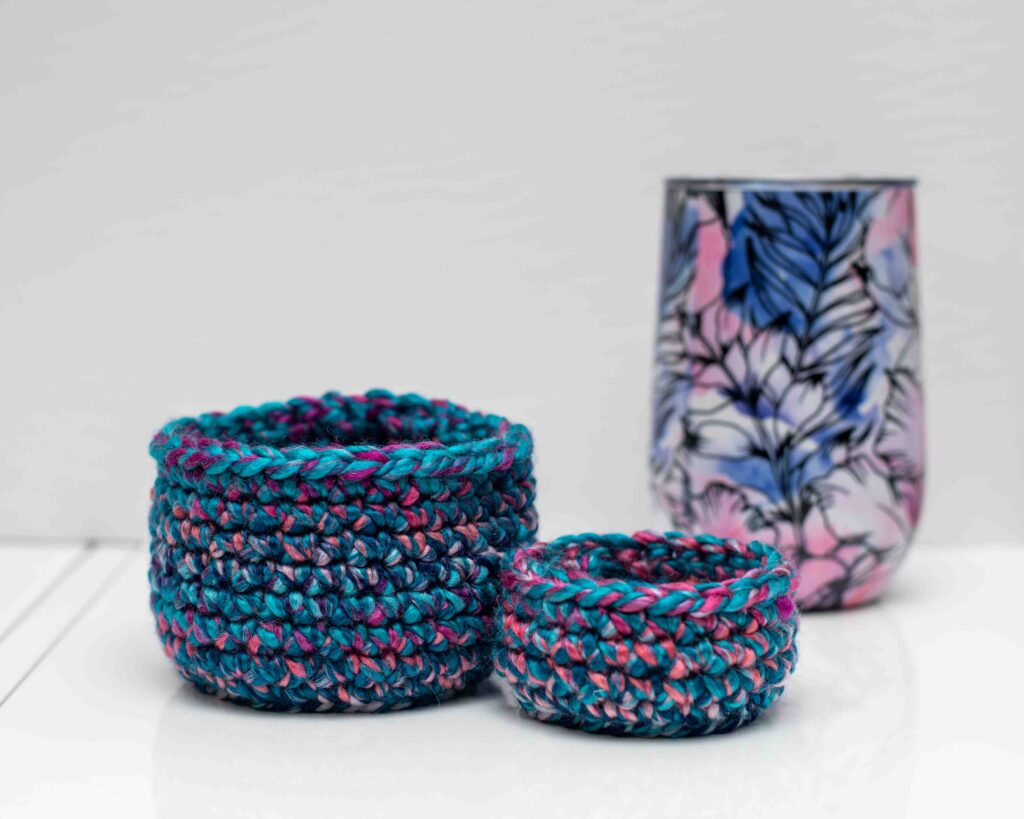
If you’ve enjoyed this free crochet wall hanging pattern, you may also enjoy some of my other free home decor crochet patterns. Be sure to check out my storage bowl pattern or small plant hanger.

I hope you enjoyed this pattern! If you make it, leave me a comment below.
Want to see more from me? Be sure to subscribe to my email newsletter so that you never miss a pattern!
Follow along with me on Instagram for daily updates and a behind the scenes look at my designs.
I’d love to see what you make with this tutorial! Don’t forget to share your finished work with me: on social media by tagging me @thenicolechase, in your Ravelry projects, or post over in my Facebook group!
Thanks for stopping by! Happy crafting!
Nicole
PATTERN COPYRIGHT © 2026 NICOLE CHASE. ALL RIGHTS RESERVED.
PATTERN MAY NOT BE ALTERED, COPIED, REDISTRIBUTED OR SOLD AS YOUR OWN PATTERN.
YOU MAY SELL THE FINISHED PRODUCT ON A SMALL SCALE. PATTERN/DESIGN CREDIT GIVEN TO WWW.THENICOLECHASE.COM IS APPRECIATED. PERMISSION TO SELL DOES NOT INCLUDE MASS PRODUCTION. LARGE SCALE PRODUCTION IS PROHIBITED.
PHOTOGRAPHY COPYRIGHT © 2026 NICOLE CHASE. ALL RIGHTS RESERVED.
PHOTOS MAY NOT BE ALTERED, COPIED, REDISTRIBUTED OR SOLD AS YOUR OWN.
This post may contain affiliate links. If you make a purchase through links on our site, we may earn a commission.