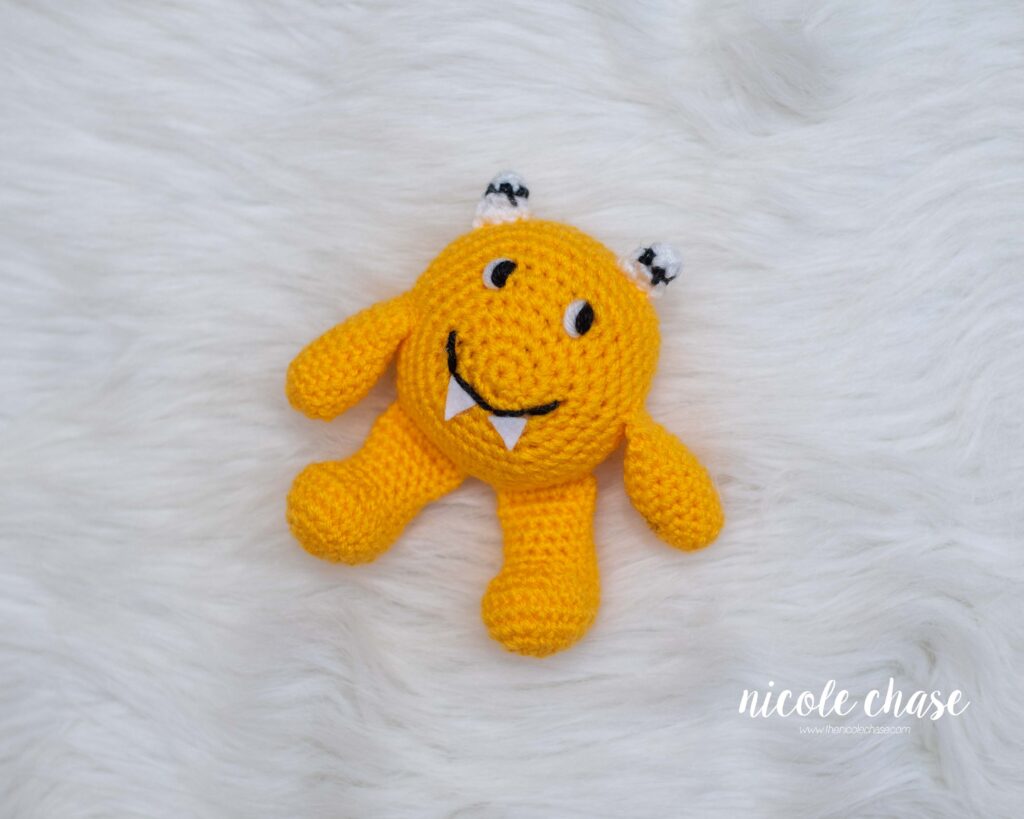
Nibbles the Monster – Free Crochet Pattern
This post may contain affiliate links. If you make a purchase through links on our site, we may earn a commission.
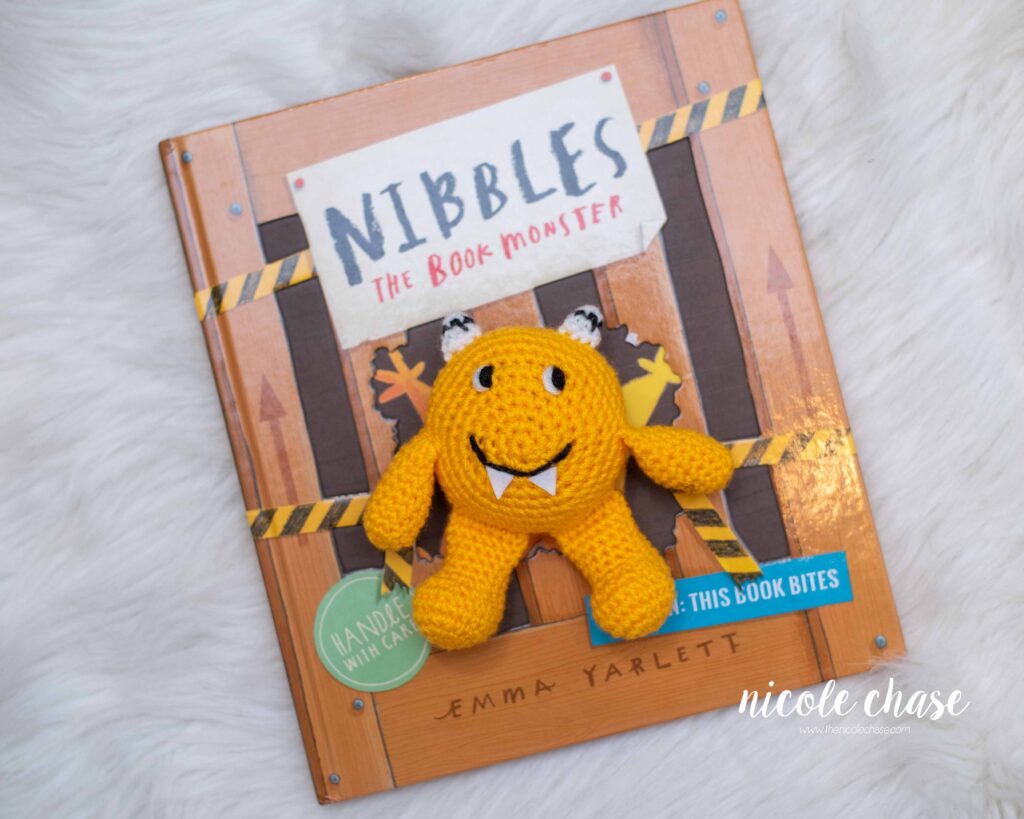
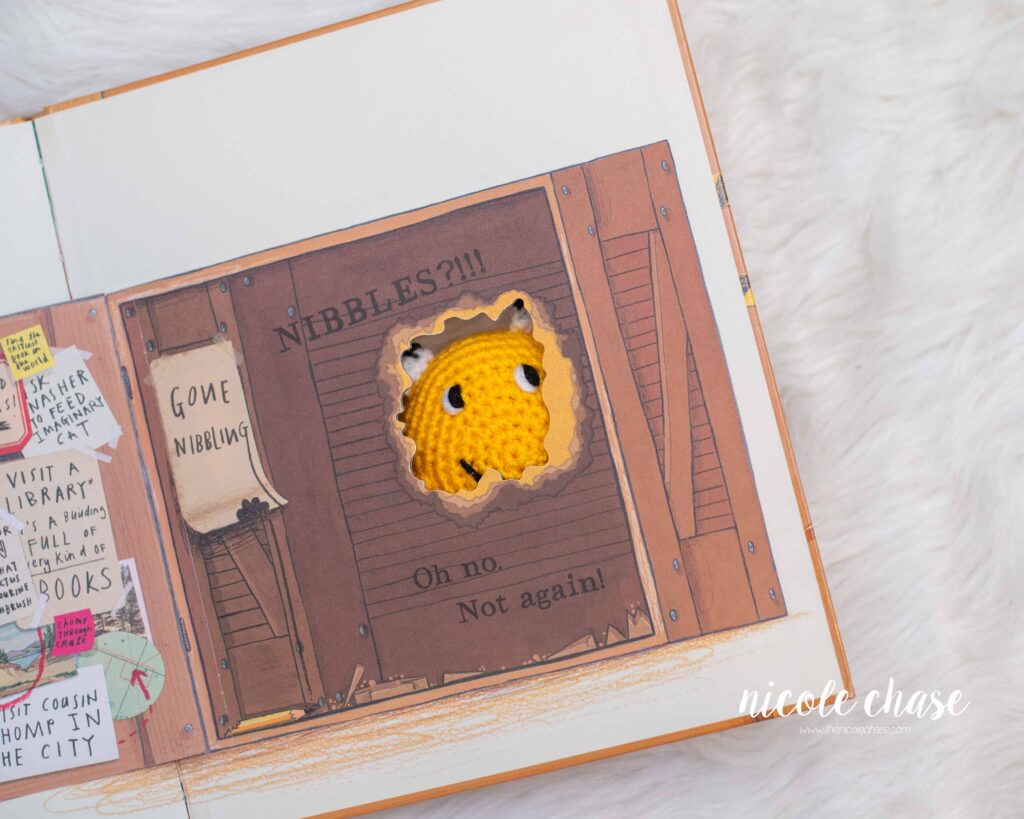
My son is a little bookworm, and he has a few books that he wants to read over and over again. One of those books is Nibbles the Book Monster. If you haven’t heard of this one and have little kids, I totally recommend! Nibbles is a mischievous little monster who escapes from his story, and nibbles his way through other books!
I’ve been thinking ahead to Christmas, and in addition to the two other Nibbles books that I got for him, I thought a huggable Nibbles would be the perfect gift!
There is very minimal sewing in this pattern! The legs and horns are attached as you work (with no sewing), leaving only the arms needing to be attached later!
For this pattern I used my favorite yarn, WeCrochet Brava Worsted and my 4.0mm Clover Amour crochet hook.

Don’t forget to save this pattern in your favorites and add it to your project queue to save it for later! View this pattern on Ravelry here.
I would classify this pattern as “advanced beginner”. It would be helpful to have had some experience with amigurumi before creating this project.
I’d love to see what you make with this tutorial! Don’t forget to share a photo of your finished work in your Ravelry projects and my Facebook group!
Nibbles the Monster

PATTERN SPECIFICS
Measurements: Approximately 5.5” tall (from top of horn to bottom of foot)
Gauge: Not necessary for this pattern; see notes
Hook Size: 4.0mm (G) crochet hook
Other Tools: tapestry needle, stitch markers, scissors
Yarn Weight: Medium (4), Worsted
Yarn Used: WeCrochet / Knit Picks Brava Worsted
Yardage: color A (yellow): 60 yds, color B (white): 4 yds, color C (black): 4 yds
Other Materials: poly-fil stuffing, white felt
ABBREVIATIONS
st = stitch
sl st = slip stitch
SC = single crochet
SC2tog = single crochet 2 stitches together (invisible decrease is recommended)
SPECIAL STITCHES
SC2tog (using invisible decrease method): Insert hook into front loop of the first stitch. Insert hook into front loop of second stitch. Yarn over. Draw through the first two loops on hook. Yarn over. Draw through both loops on hook.
NOTES
- Checking your gauge is not required for this pattern. Use a hook that is smaller than the size recommended for your yarn weight. This will ensure that your stuffing will not show through the stitches.
- All pieces are worked in the round. Use a stitch marker to indicate the beginning of each round.
- Body, legs, and arms require stuffing. Stuff as you work it to ensure each piece is completely filled. Do not add stuffing to the horns.
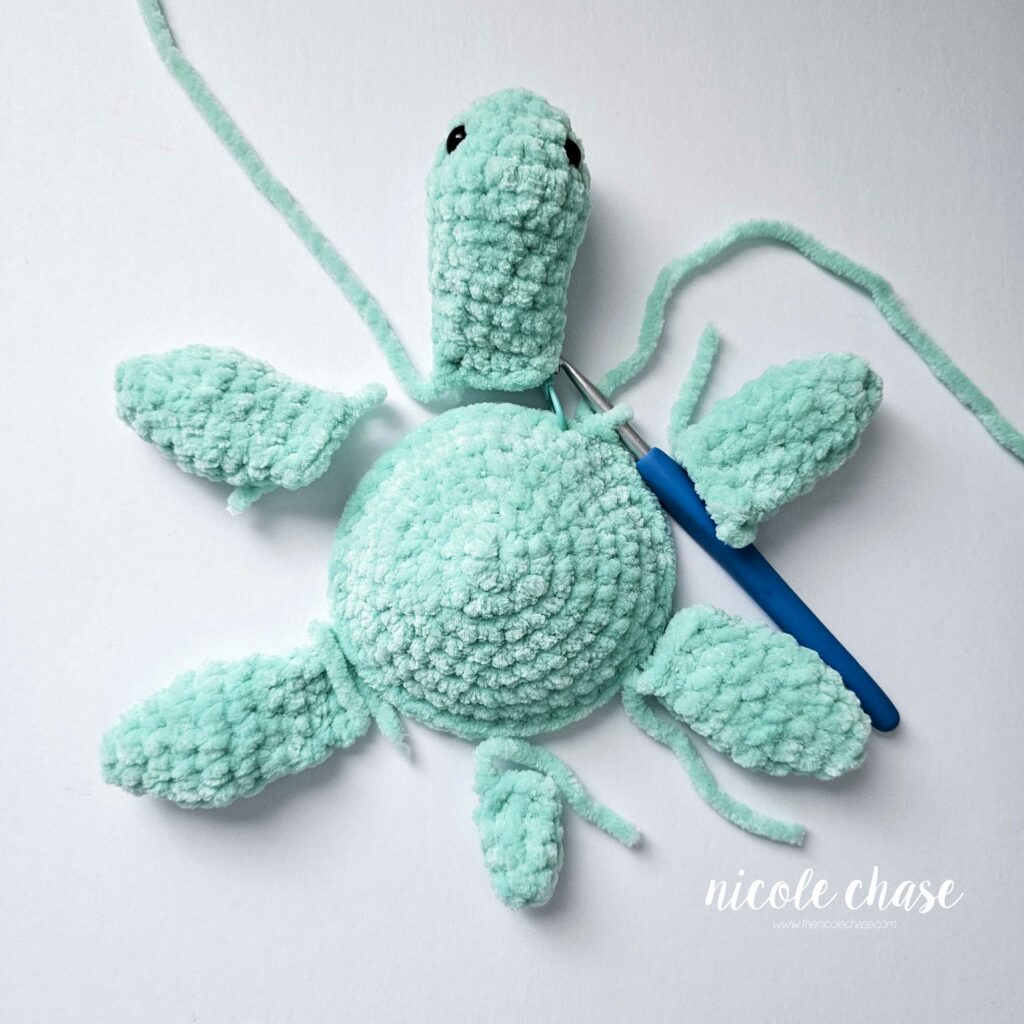
- See tutorial photos. Note that these photo are to demonstrate technique only and do not display the actual pieces of this pattern.
PATTERN
Legs (make 2)
Using color A (shown as yellow) :
R1: Begin with 6 SC in a magic ring. (6 sts)
R2: 2 SC in each st around. (12 sts)
R3: *2 SC in next st, 1 SC in next st. Repeat from * around. (18 sts)
R4: *2 SC in next st, 1 SC in each of the next 2 sts. Repeat from * around. (24 sts)
R5-6: 1 SC in each st around. (24 sts)
R7: *SC2tog, SC2tog, 1 SC in next st. Repeat from * an additional 2 times. 1 SC in each of the next 9 sts. (18 sts)
R8: SC2tog, SC2tog, 1 SC in next st, SC2tog, SC2tog, 1 SC in each of the next 9 sts. (14 sts)
R9-13: 1 SC in each st around. (14 sts)
Fill with stuffing.
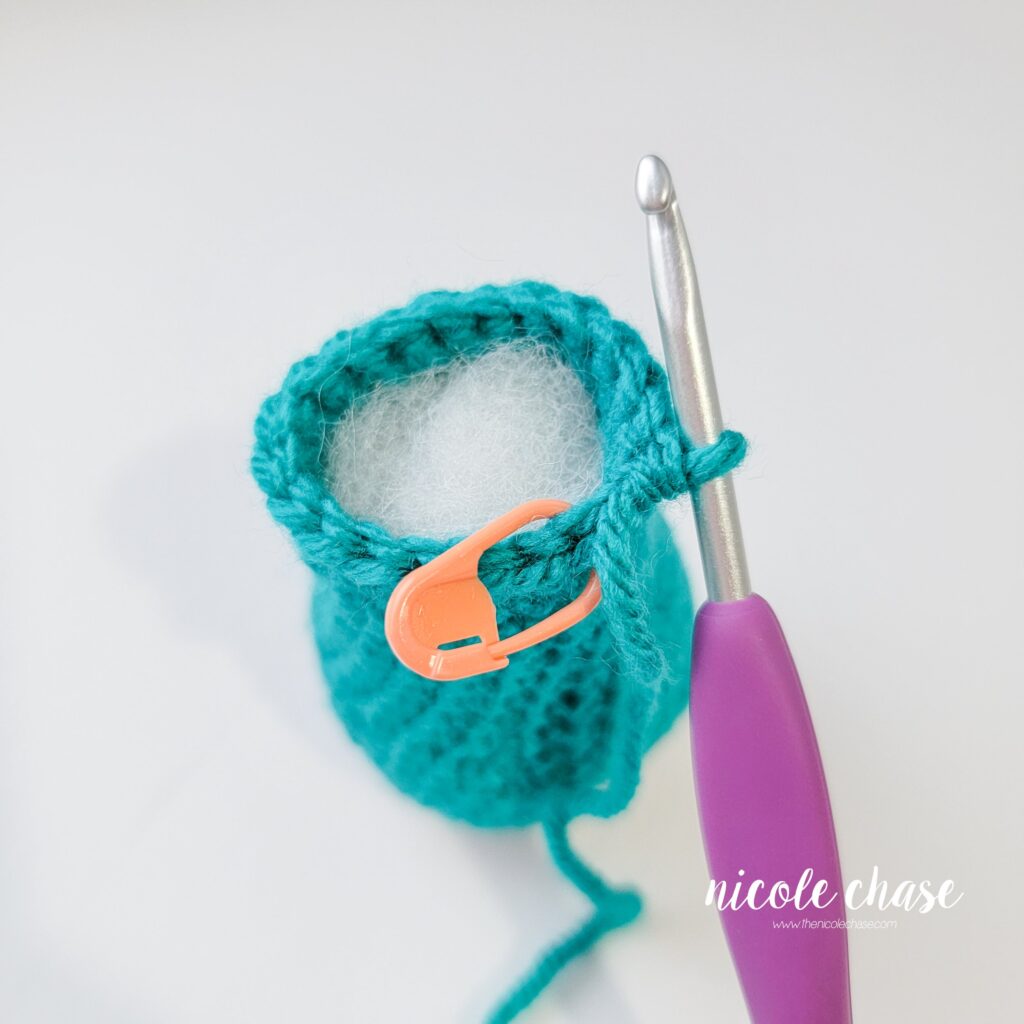
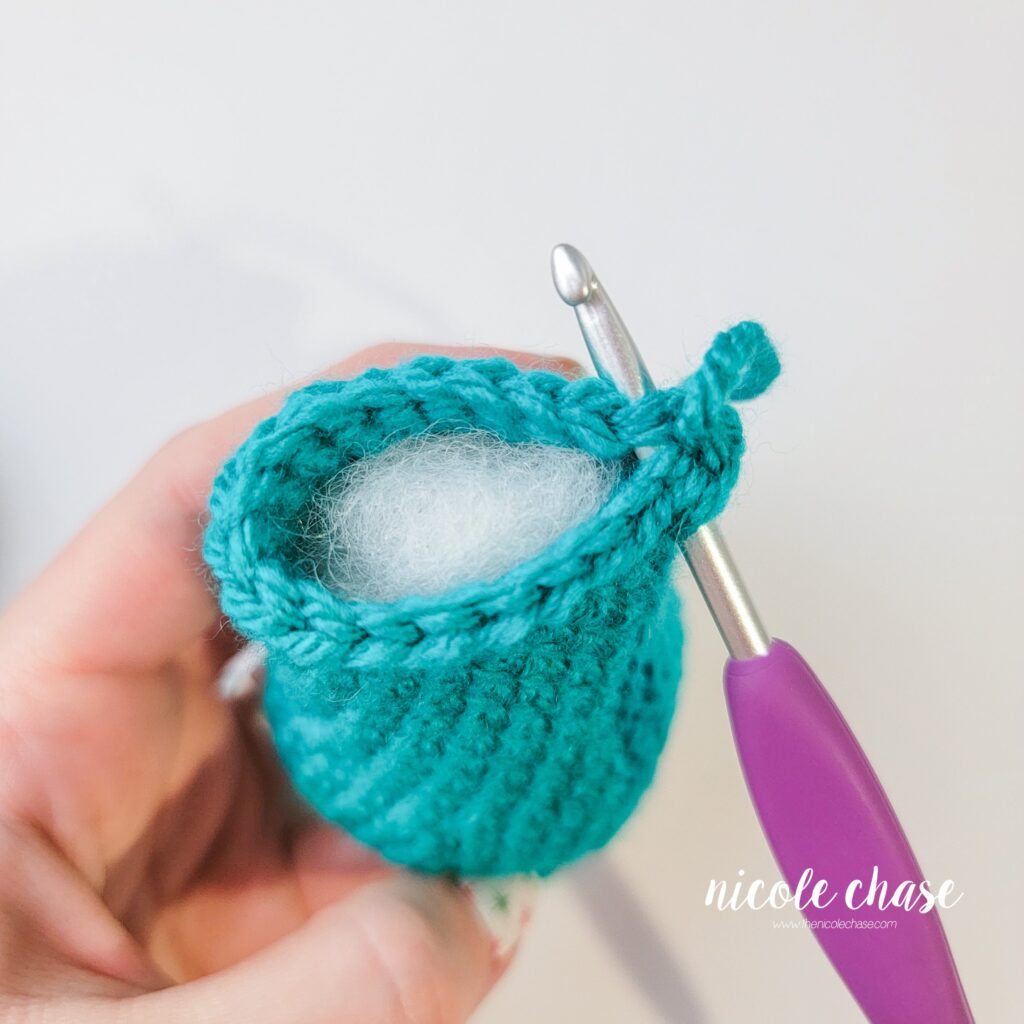
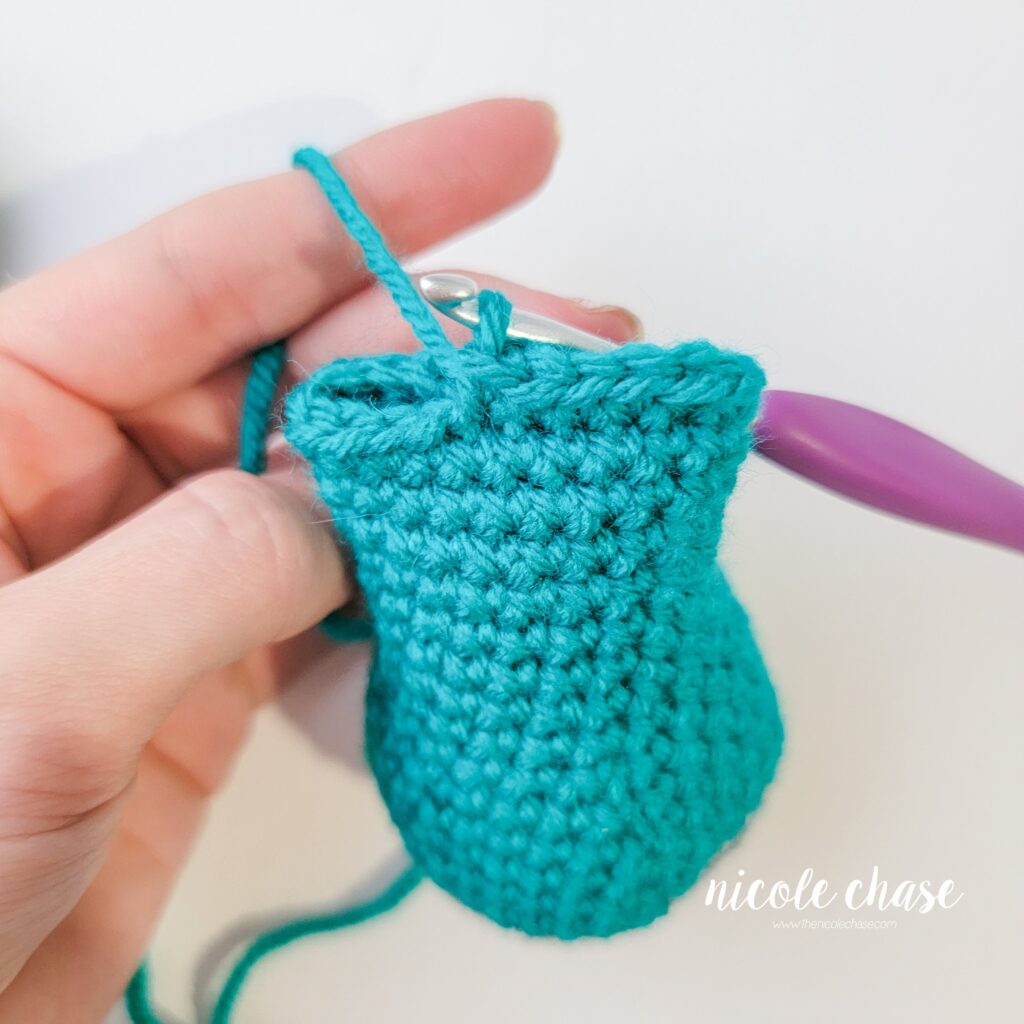
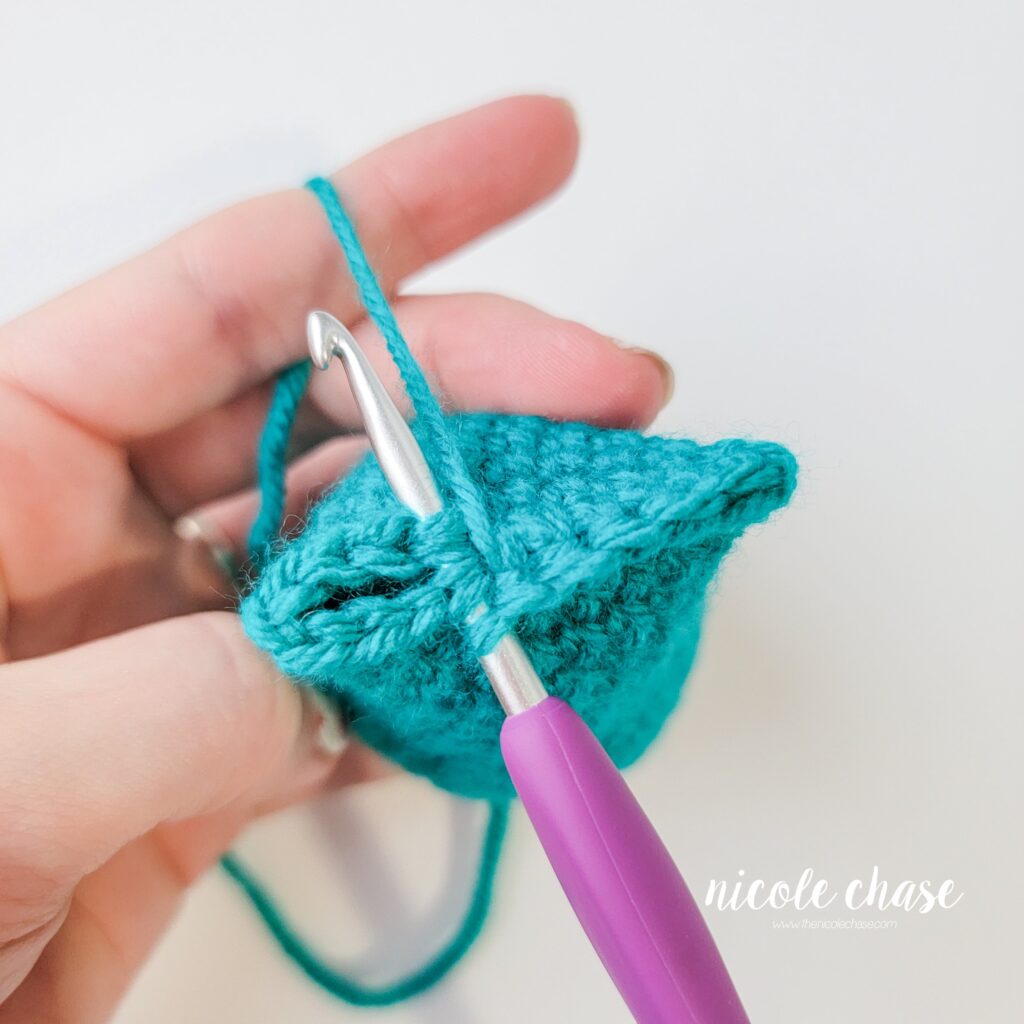
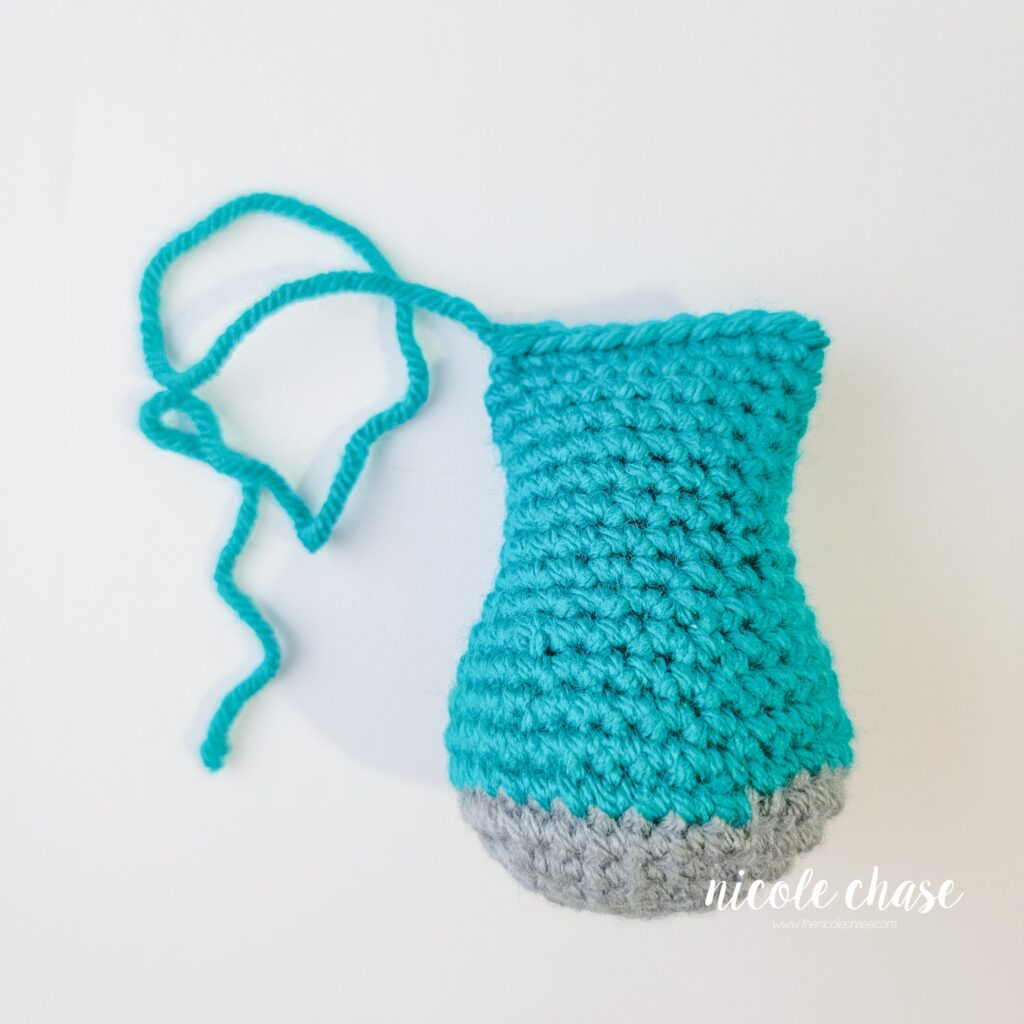
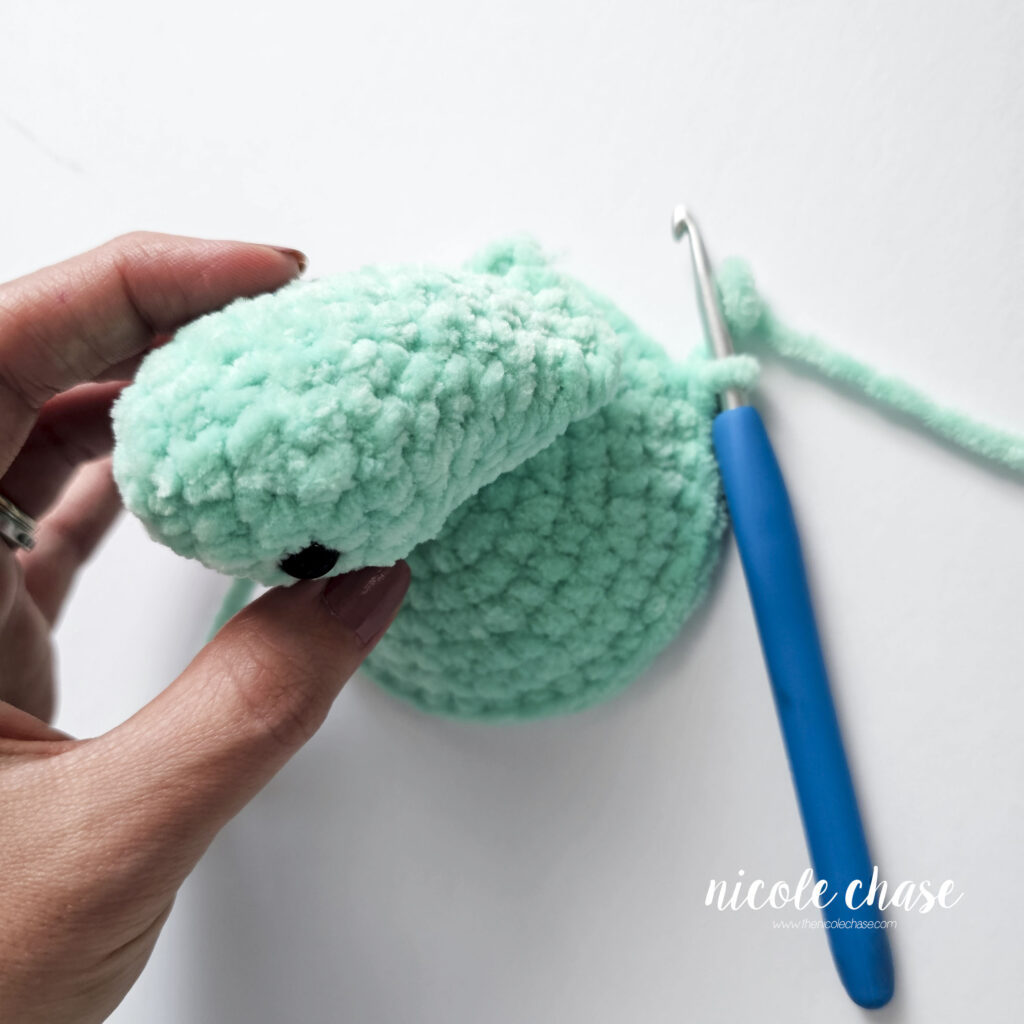
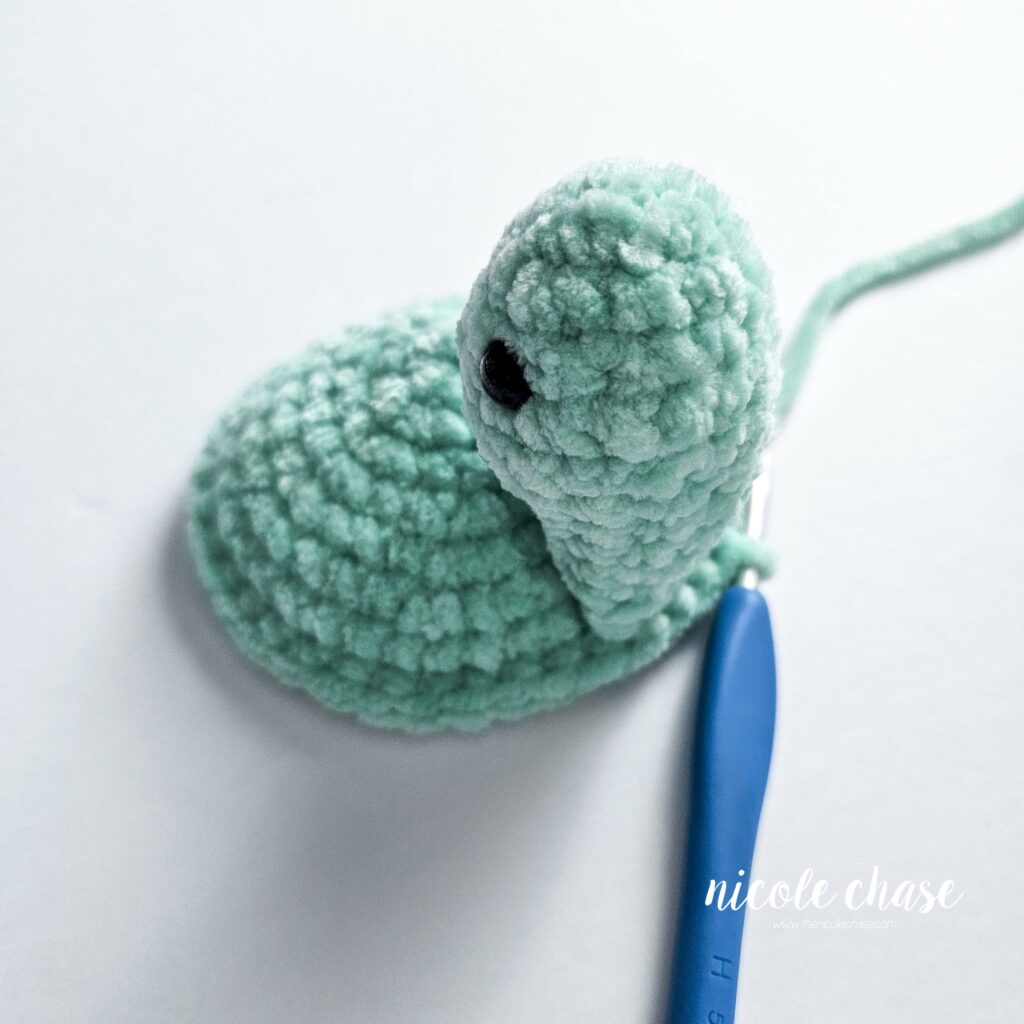
R14: Fold the leg closed leave 1 unworked st on each side for the fold. Working through both sides, to close the leg, SC across. (6 sts) See tutorial photos.
Cut yarn and fasten off.
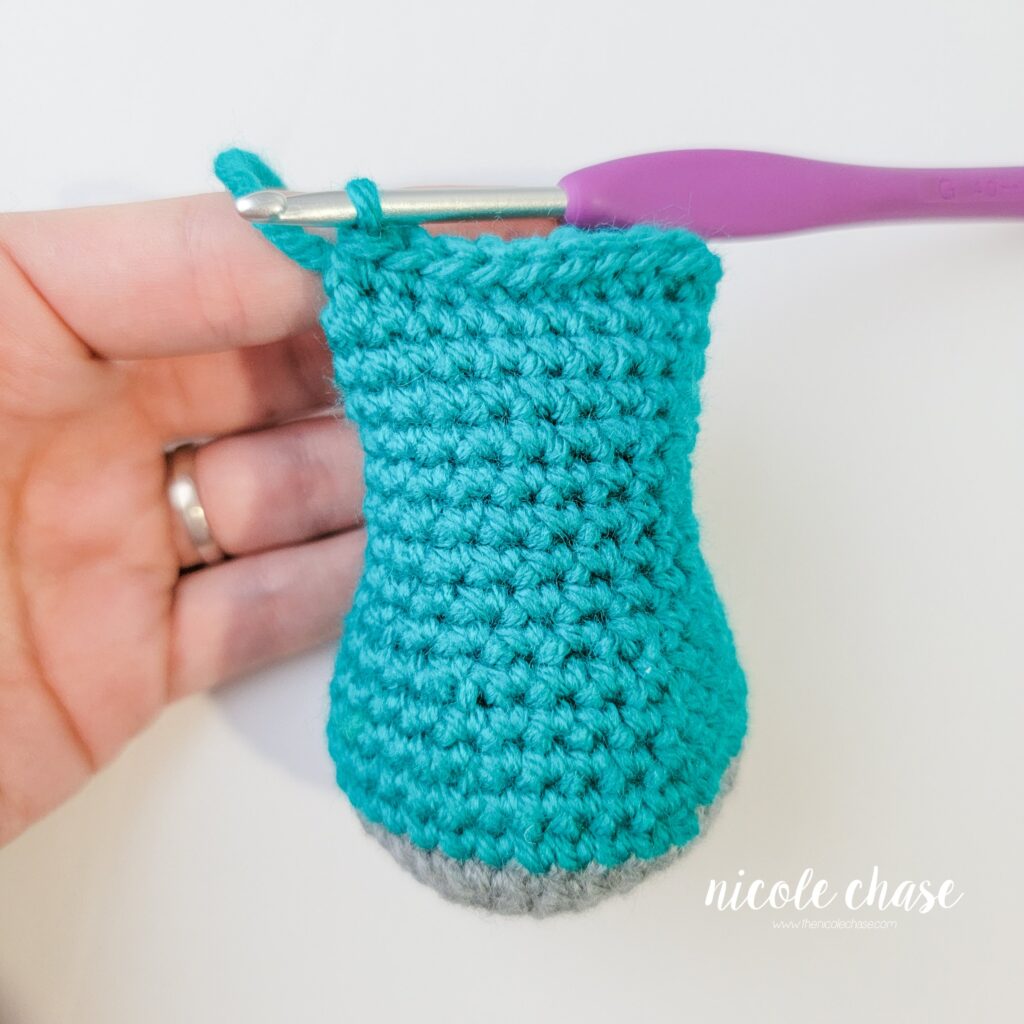
Closing technique (legs, horns, and arms):
Horns (make 2)
Using color B (shown as white):
R1: Begin with 4 SC in a magic ring. (4 sts)
Using color C (shown as black):
R2: 1 SC in each st around. (4 sts)
Using color B (shown as white):
R3: *2 SC in next st, 1 SC in next st. Repeat from * around. (6 sts)
R4: Fold the horn closed. Working through both sides to close the horn, SC across. (3 sts) Refer to tutorial photos above.
Cut yarn and fasten off.
Body
Using color A (shown as yellow):
R1: Begin with 6 SC in a magic ring. (6 sts)
R2: 2 SC in each st around. (12 sts)
R3: *2 SC in next st, 1 SC in next st. Repeat from * around. (18 sts)
R4: *2 SC in next st, 1 SC in each of the next 2 sts. Repeat from * around. (24 sts)
R5: *2 SC in next st, 1 SC in each of the next 3 sts. Repeat from * around. (30 sts)
R6: *2 SC in next st, 1 SC in each of the next 4 sts. Repeat from * around. (36 sts)
R7: *2 SC in next st, 1 SC in each of the next 5 sts. Repeat from * around. (42 sts)
R8: *2 SC in next st, 1 SC in each of the next 6 sts. Repeat from * around. (48 sts)
R9-10: 1 SC in each st around. (48 sts)
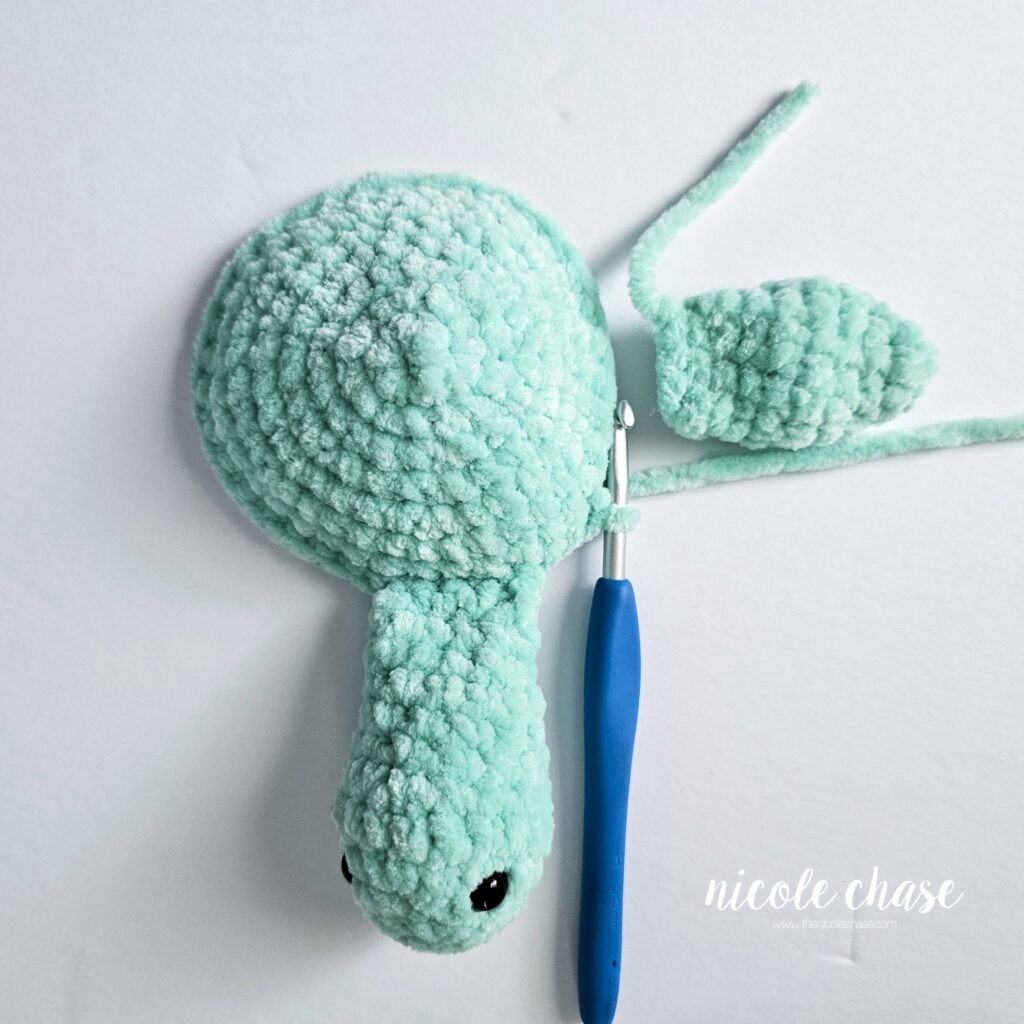
In the next round you will place the legs and horns. To attach, you will work through both the sts of the piece you are placing and the sts of the body. See tutorial photos.
R11: Place the first leg with 1 SC in each of the next 6 sts, 1 SC in each of the next 2 sts, place the second leg with 1 SC in each of the next 6 sts, 1 SC in each of the next 11 sts, place the first horn with 1 SC in each of the next 3 sts, 1 SC in each of the next 6 sts, place the second horn with 1 SC in each of the next 3 sts, 1 SC in each of the next 11 sts. (48 sts)
Attachment technique (legs and horns):
R12-13: 1 SC in each st around. (48 sts)
R14: *SC2tog, 1 SC in each of the next 6 sts. Repeat from * around. (42 sts)
R15: *SC2tog, 1 SC in each of the next 5 sts. Repeat from * around. (36 sts)
R16: *SC2tog, 1 SC in each of the next 4 sts. Repeat from * around. (30 sts)
R17: *SC2tog, 1 SC in each of the next 3 sts. Repeat from * around. (24 sts)
Fill with stuffing.
R18: *SC2tog, 1 SC in each of the next 2 sts. Repeat from * around. (18 sts)
R19: *SC2tog, 1 SC in next st. Repeat from * around. (12 sts)
R20: *SC2tog. Repeat from * around. (6 sts)
Cut yarn, leaving long strand. Weave yarn in and out of remaining sts. Pull tight to close. Fasten off and weave in ends.
Arms (make 2)
Using color A (shown as yellow):
R1: Begin with 6 SC in a magic ring. (6 sts)
R2: 2 SC in each st around. (12 sts)
R3-11: 1 SC in each st around. (12 sts)
Fill with stuffing.
R12: Fold the arm closed leaving 1 unworked st at the beginning of the fold. Working through both sides, to close the arm, SC across. (5 sts) See tutorial photos.
Cut yarn, leaving long strand for sewing. Fasten off.
ASSEMBLY & FINISHING
Using black yarn, embroider pupils at R6 of body, leaving approximately 5 sts between. Using white yarn, embroider around left edges of pupils to complete eyes.
Using black yarn, embroider mouth along R3.
Cut 2 small triangles out of white felt, and glue or sew along bottom of mouth. Alternatively, use white yarn to embroider teeth.
If you’ve enjoyed this pattern, be sure to subscribe to my email newsletter so that you never miss a pattern release, and have subscriber only access to exclusive discount codes, offers, and freebies!
Thanks for stopping by! Happy crafting!
Nicole
PATTERN COPYRIGHT © 2026 NICOLE CHASE. ALL RIGHTS RESERVED.
PATTERN MAY NOT BE ALTERED, COPIED, REDISTRIBUTED OR SOLD AS YOUR OWN PATTERN.
YOU MAY SELL THE FINISHED PRODUCT ON A SMALL SCALE. PATTERN/DESIGN CREDIT GIVEN TO WWW.THENICOLECHASE.COM IS APPRECIATED. PERMISSION TO SELL DOES NOT INCLUDE MASS PRODUCTION. LARGE SCALE PRODUCTION IS PROHIBITED.
PHOTOGRAPHY COPYRIGHT © 2026 NICOLE CHASE. ALL RIGHTS RESERVED.
PHOTOS MAY NOT BE ALTERED, COPIED, REDISTRIBUTED OR SOLD AS YOUR OWN.
This post may contain affiliate links. If you make a purchase through links on our site, we may earn a commission.